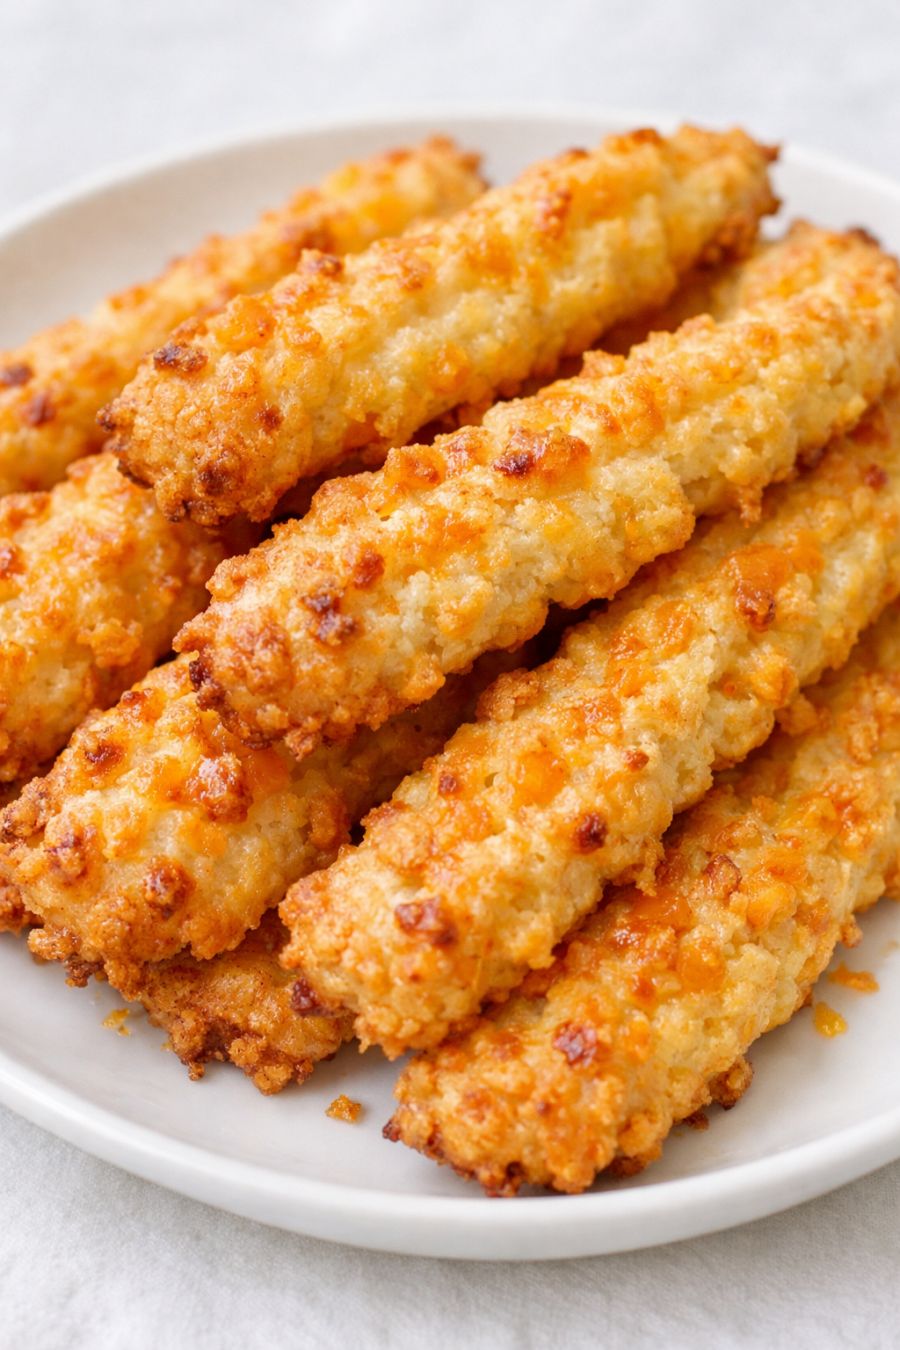
These southern 4-ingredient cheese straws are the kind of snack you promise to just taste once and then somehow end up eating the entire tin while standing at the kitchen counter. They’re sharp, salty, buttery, and completely addictive—exactly the kind of thing a generous neighbor might drop off still warm from the oven. This version sticks to the old-school Southern formula: lots of sharp cheddar, real butter, a little flour, and a kick of cayenne. No fancy equipment or extra ingredients, just a simple dough you can mix, pipe, or roll and cut. They’re perfect for holidays, parties, or honestly just a Tuesday night when you want something homemade and snacky without a big production.
Serve these cheese straws piled on a white plate or in a tin alongside cocktails, sweet tea, or a glass of chilled white wine. They’re great on a snack board with nuts, olives, and sliced apples or grapes, and they make an easy nibble before a holiday dinner. I also love tucking a few into lunchboxes or serving them with tomato soup or chili instead of crackers. If you’re hosting, bake them earlier in the day and keep them in an airtight container at room temperature; just set them out right before guests arrive so they stay crisp.
Southern 4-Ingredient Cheese Straws
Servings: 24–30 cheese straws
Ingredients
2 cups (8 oz / 225 g) finely shredded sharp cheddar cheese, firmly packed
1/2 cup (1 stick / 113 g) unsalted butter, softened to room temperature
1 1/2 cups (180 g) all-purpose flour
1/2 teaspoon cayenne pepper (or to taste)
Directions
Preheat the oven to 350°F (175°C). Line 2 baking sheets with parchment paper for easy cleanup and to help the cheese straws bake evenly and crisp up.
In a medium mixing bowl, combine the softened butter and finely shredded sharp cheddar cheese. Use a sturdy spatula, wooden spoon, or hand mixer on low speed to blend until the mixture is well combined and almost paste-like. The cheese should be very finely shredded so it blends smoothly and bakes into visible cheesy texture instead of big clumps.
Sprinkle the cayenne pepper over the cheese mixture, then add the all-purpose flour. Stir and press the dough together with your spatula or hands until it forms a soft, thick dough that holds together when squeezed. It will seem dry at first; keep pressing and folding until there are no dry flour pockets. If your kitchen is very cool and the dough is crumbly, knead it gently with clean hands for a minute to bring it together.
Decide how you want to shape the cheese straws: For classic ridged straws, transfer the dough to a heavy-duty piping bag fitted with a large star tip. For a simpler option, roll the dough. If piping, skip to the next step. If rolling, lightly flour a work surface and roll the dough into a rough rectangle about 1/4 inch thick, then use a sharp knife or pizza cutter to slice into thin strips about 1/2 inch wide and 4 to 5 inches long.
If piping, work with half the dough at a time so it’s easier to handle. Pipe long, thin strips of dough directly onto the prepared baking sheets, about 1/2 inch wide and 4 to 5 inches long. Leave a little space between each so the hot air can circulate and crisp the edges. If rolling and cutting, carefully transfer the strips to the baking sheets with a spatula or your fingers.
Once all the dough is shaped, gently straighten any very crooked pieces with your fingers. For the best crisp texture and that classic look, keep the strips fairly thin and even. They won’t spread much in the oven, so what you see now is close to how they’ll look when baked.
Bake one sheet at a time on the middle rack for 12 to 16 minutes, or until the cheese straws are a deep golden color on the edges and lightly golden on top. The exact time will depend on your oven and the thickness of your straws. They should smell toasty and cheesy, and the edges should look crisp, not pale.
Remove the baking sheet from the oven and let the cheese straws cool on the pan for 5 minutes to firm up, then carefully transfer them to a wire rack to cool completely. They will crisp more as they cool. Repeat with the remaining baking sheet(s) of dough.
Once fully cooled, pile the cheese straws onto a white ceramic plate or tuck them into a tin. Store any leftovers (if you somehow don’t eat the whole batch at the counter) in an airtight container at room temperature for up to 3 days. For the crispiest texture, let them cool completely before sealing the container.
Variations & Tips
For a milder version, cut the cayenne down to 1/4 teaspoon or use a pinch of black pepper instead; you’ll still get great cheesy flavor with less heat. For extra bite, bump the cayenne up to 3/4 teaspoon or add a pinch of smoked paprika (this would technically be a 5th ingredient, so only do it if you’re not strictly sticking to the 4-ingredient idea). If you like a very sharp flavor, use extra-sharp cheddar and make sure it’s freshly shredded from a block so it melts and bakes properly—pre-shredded cheese is often coated with starch and won’t give the same texture. You can also play with shapes: cut the dough into short sticks, long skinny straws, or even tiny bite-size squares for party snacks. To make ahead, prepare the dough, shape the straws, and freeze them flat on a baking sheet; once firm, transfer to a freezer bag and bake from frozen, adding a couple extra minutes to the bake time. Food safety tips: Keep the butter and cheese refrigerated until you’re ready to mix the dough, and don’t leave the dough sitting out for hours before baking—mix, shape, and bake within about an hour for best quality. Since these are low-moisture and fully baked until crisp, they’re safe at room temperature for a few days, but always discard if they smell off, taste stale, or lose their crispness and become overly soft or greasy.
