These oven baked 3-ingredients buttery potato chips are the kind of thing that quietly steal the show at a Sunday dinner. The inspiration is classic Midwestern practicality: take something everyone knows (potato chips), make them from scratch with pantry basics, and suddenly the store-bought bag looks a little sad in the corner. Thinly sliced potatoes, real butter, and a good pinch of salt transform into shatteringly crisp chips with golden, lacy edges. They’re simple, nostalgic, and much easier than hauling out a deep fryer.
Serve these chips still warm in a shallow bowl or on a platter, with a little extra flaky salt on top. They’re perfect alongside roast chicken, burgers, sandwiches, or a big pot of chili. For snacking, pair them with a cold beer, sparkling water with citrus, or a casual cheese board. If you want a dip, keep it simple: sour cream with chopped chives or Greek yogurt with lemon and black pepper lets the buttery flavor of the chips stay front and center.
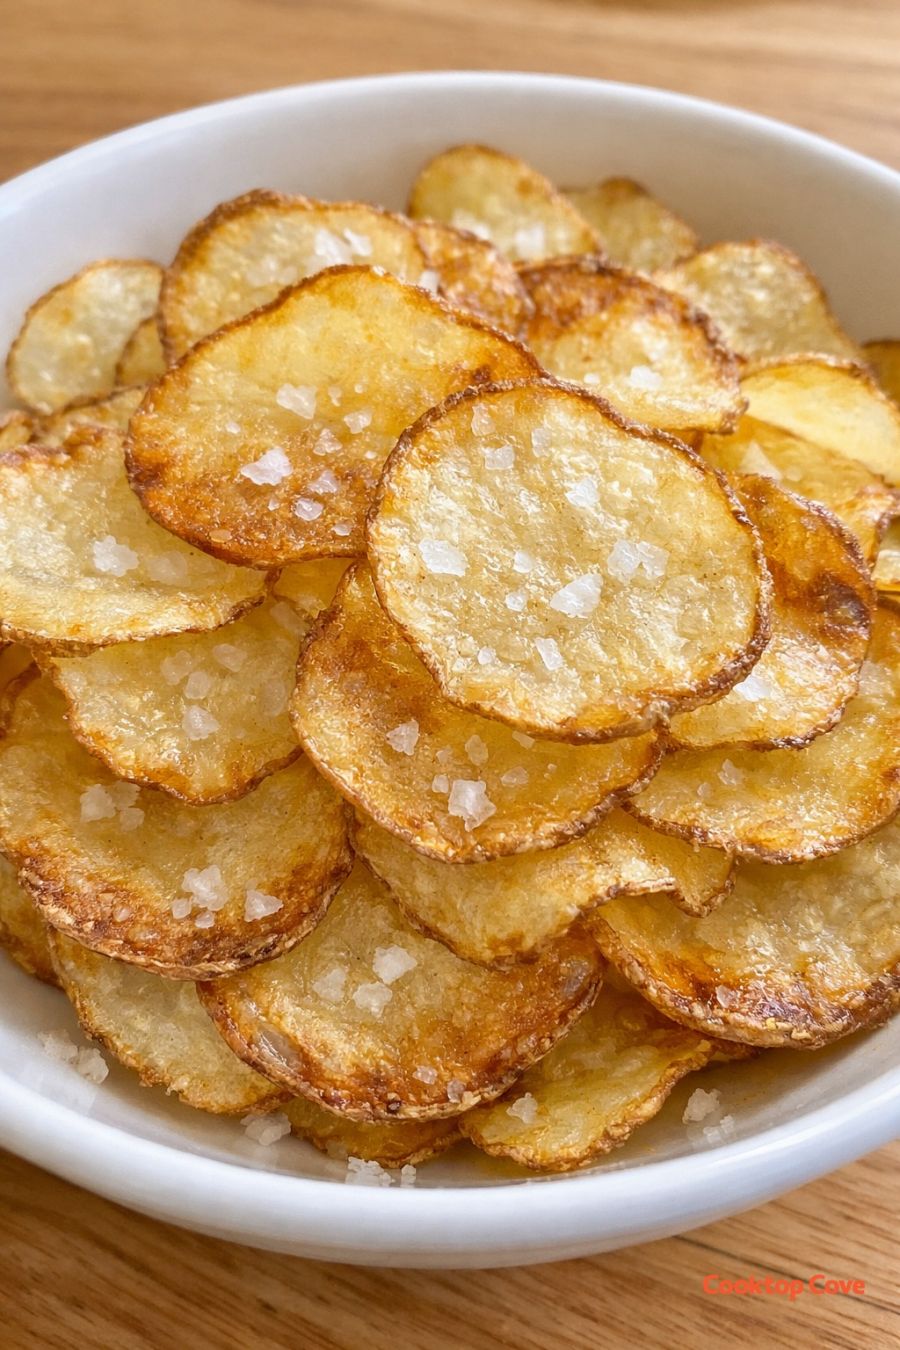
Oven Baked 3-Ingredients Buttery Potato Chips
Servings: 4
Ingredients
1 1/2 pounds russet potatoes (about 3–4 medium), scrubbed
4 tablespoons unsalted butter, melted (plus a little extra if needed)
1 1/4 teaspoons fine sea salt, divided (plus flaky salt for finishing, optional)
Directions
Preheat your oven to 400°F (200°C). Line 2 large baking sheets with parchment paper. This keeps the thin slices from sticking and helps them crisp evenly.
Melt the butter in a small saucepan or microwave-safe bowl until fully liquid but not sizzling hot. Stir in 1 teaspoon of the fine sea salt so it dissolves into the butter and set aside.
Using a mandoline set to about 1/16 inch (paper-thin) or a very sharp knife, slice the scrubbed potatoes into thin rounds. Keep the slices in neat stacks as you go so they’re easy to separate later.
Fill a large bowl with cold water. As you slice, drop the potato rounds into the water to prevent browning and to rinse off excess surface starch, which helps the chips bake up crisp instead of leathery.
Once all the potatoes are sliced, gently swish them in the water, then drain them in a colander. Refill the bowl with fresh cold water and swish again for a quick second rinse. Drain thoroughly.
Spread a clean kitchen towel or a few layers of paper towels on the counter. Lay the potato slices out in a single layer and pat them completely dry on both sides. Removing as much moisture as possible is key to getting that glassy, crisp texture in the oven.
Transfer the dry potato slices to a large mixing bowl. Drizzle the melted salted butter over the potatoes, tossing gently with your hands to coat every slice lightly. If any slices look dry, add up to 1 additional tablespoon melted butter, a little at a time, just until all slices have a thin sheen. You want them glistening, not swimming.
Arrange the buttered potato slices on the prepared baking sheets in a single layer, making sure they do not overlap. A tiny bit of edge-to-edge touching is fine, but overlapping will cause soft spots instead of chips.
Sprinkle the remaining 1/4 teaspoon fine sea salt evenly over the slices. This light pre-bake seasoning helps draw out a touch more moisture and deepens the flavor.
Bake the chips on the upper and middle racks for 10 minutes, then rotate the pans front to back and switch their positions. Continue baking 8–15 minutes more, watching closely toward the end. The exact time will depend on your oven and how thin your slices are. The chips are done when the centers are dry and pale golden and the edges are a deeper golden brown with some tiny browned spots.
As individual chips reach that deep golden stage, you can pull them off the tray with tongs and transfer them to a cooling rack or a clean sheet of parchment. This staggered removal keeps the thinnest slices from burning while the slightly thicker ones finish crisping.
Let the chips cool completely on the rack or parchment; they will firm up and become even crisper as they cool. While still warm, sprinkle lightly with flaky salt, if using, and serve in a shallow white bowl so the golden edges and salt flakes are visible.
Variations & Tips
For a slightly smokier version, add 1/4 teaspoon smoked paprika or sweet paprika to the melted butter before tossing with the potatoes. You can also stir in 1/4 teaspoon garlic powder or onion powder for a flavor reminiscent of seasoned store-bought chips, while still keeping the ingredient list short. If you’d like a herb note, toss the finished, still-warm chips with a pinch of dried thyme or finely chopped fresh rosemary; add herbs after baking so they don’t burn. For a dairy-free option, swap the butter with a neutral-tasting oil like avocado or grapeseed oil; you’ll lose the buttery aroma but still get crisp, golden chips. To keep the slices consistently thin, a mandoline is the most reliable tool—use the hand guard and go slowly to protect your fingers. Food safety and quality tips: Always start with firm, un-sprouted potatoes; discard any with green patches or a strong off-odor. After slicing, don’t skip the rinse and thorough drying, as excess starch and moisture can cause uneven cooking and potential sogginess. Keep the oven at 400°F; much hotter and the butter solids can burn before the centers dry out. Store fully cooled chips in an airtight container at room temperature and enjoy within 1–2 days for best texture; discard if they develop any unusual smell or visible mold.
