This 4-ingredient cherry dump cake is the kind of vintage spring dessert that shows up at every Midwestern potluck for a reason. My grandmother made it long before “dump cakes” were trendy, and she loved that it delivered a bubbling, jammy cherry filling under a golden, buttery crust with almost no effort. Everything is built right in the baking dish—no mixing bowls, no electric mixer—yet the result tastes like you spent the afternoon working on it. It’s a practical, pantry-friendly recipe that’s perfect for busy weeknights, last-minute guests, or any time you want something warm and nostalgic without fuss.
Serve this cherry dump cake warm, scooped straight from the glass baking dish so you can see the bright red cherry filling and the crisp, buttery cake topping. A scoop of vanilla ice cream is classic, but lightly sweetened whipped cream or a spoonful of vanilla yogurt works nicely if you prefer something lighter. For a little contrast, pair it with hot coffee or black tea—the slight bitterness balances the sweetness. If you’re serving a spring brunch or holiday meal, this dessert fits beautifully alongside simple savory dishes like roast chicken or a ham-and-cheese quiche, since it can bake while you eat and be ready just as everyone is looking for something sweet.
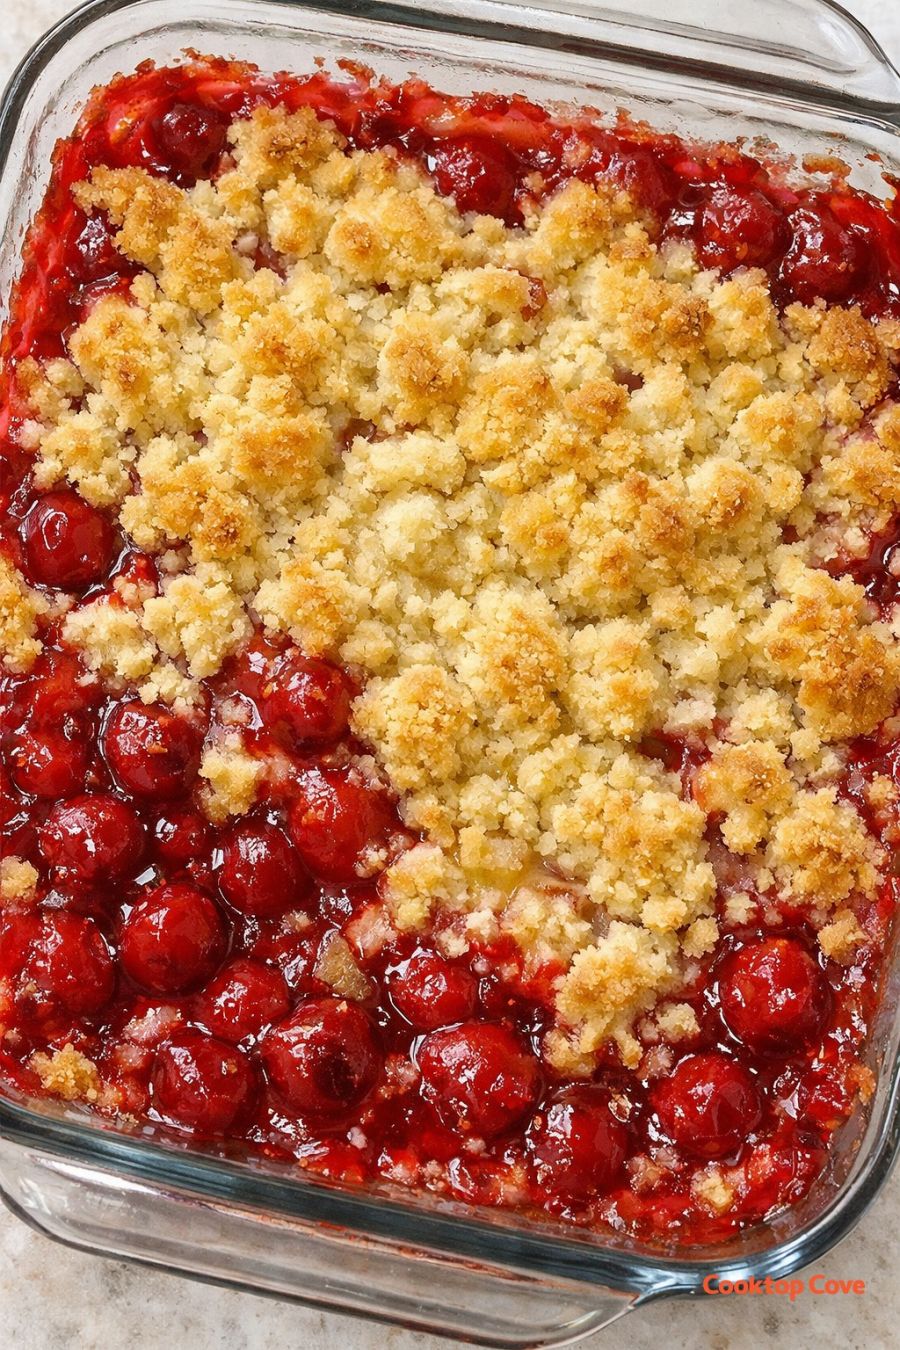
4-Ingredient Cherry Dump Cake
Servings: 8-10
Ingredients
2 cans (21 ounces each) cherry pie filling
1 box (15.25 ounces) yellow cake mix (dry, unprepared)
3/4 cup (1 1/2 sticks) unsalted butter, melted
1/3 cup chopped walnuts or pecans (optional but counted as the 4th ingredient)
Directions
Preheat your oven to 350°F (175°C). Lightly grease a 9x13-inch glass baking dish with a thin film of butter or nonstick spray so the fruit doesn’t stick.
Spread the cherry pie filling evenly in the bottom of the prepared baking dish. Take a moment to nudge it into the corners so the cherries form a level layer; this helps the topping bake up evenly and gives you that bright, bubbly red base.
Sprinkle the dry yellow cake mix evenly over the cherry pie filling. Do not stir. Use your hands or a spoon to gently spread the mix so it covers the cherries from edge to edge; any bare spots can lead to uneven browning.
Pour the melted butter slowly and evenly over the dry cake mix, trying to moisten as much of the surface as possible. It’s fine if a few dry patches remain; they’ll turn into pleasantly crisp, crumbly bits as the cake bakes.
Sprinkle the chopped walnuts or pecans evenly over the top. They’ll toast as the dessert bakes, adding a vintage-style crunch that contrasts with the soft cherries and buttery crust.
Bake in the preheated oven for 40–50 minutes, or until the cherry filling is bubbling up around the edges and the cake topping is golden brown with some deeper brown, crisp spots. The surface should look like a rustic, buttery crumble rather than a smooth cake.
Remove the baking dish from the oven and let the dump cake cool on a wire rack for at least 15–20 minutes. The filling will thicken slightly as it rests, which makes it easier to scoop clean servings while still enjoying it warm.
Serve warm, scooped straight from the dish. Store any leftovers, cooled completely, covered in the refrigerator for up to 3 days. Reheat individual portions in the microwave until just warmed through.
Variations & Tips
To keep the spirit of a 4-ingredient vintage dessert, think of tweaks that swap rather than add. For a different fruit profile, replace one can of cherry pie filling with a can of crushed pineapple (drained) while keeping the total number of ingredients at four. You can also trade the yellow cake mix for white or French vanilla cake mix for a slightly lighter, more floral flavor without changing the method. If you prefer to skip nuts, simply omit them and use the butter as your fourth ingredient; the topping will still bake into a crisp, buttery crust. For a slightly less sweet version, choose a tart cherry pie filling if available, or serve with unsweetened whipped cream or Greek yogurt to balance the sugars. Food safety tips: Because this dessert contains fruit and butter, don’t leave it at room temperature for more than 2 hours—especially in warm weather or a crowded kitchen. Cool leftovers completely before covering and refrigerating to prevent condensation and sogginess. Reheat portions until hot and steaming in the center, and discard if the dessert develops an off smell, visible mold, or has been left out too long. If you use glass bakeware, avoid placing a hot dish directly on a cold surface or under cold water, as sudden temperature changes can cause the glass to crack.
