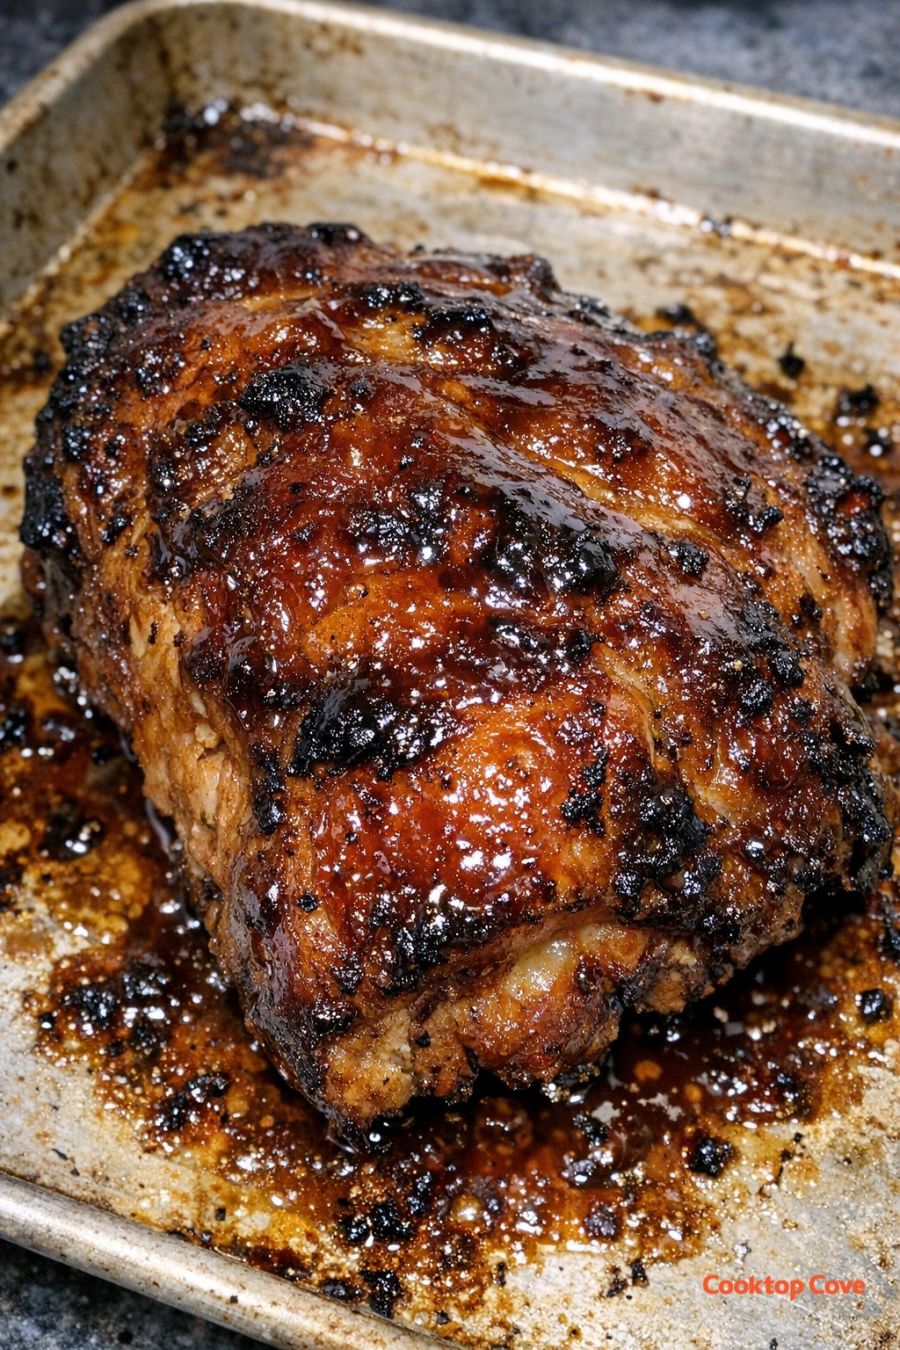
These 3-ingredient oven pork spareribs are my go-to for long holiday weekends when I want dinner handled hours before everyone wanders into the backyard. The ribs roast low and slow in the oven until the meat is tender and the fat turns glossy and caramelized, then get slathered in a dark, sticky glaze that clings to every edge. This isn’t a fussy barbecue competition recipe—just a simple, practical way a busy parent can get a big pan of crowd-pleasing ribs ready ahead of time, then relax and enjoy the gathering.
Serve these ribs straight from the baking sheet with plenty of napkins. They’re wonderful with classic backyard sides like coleslaw, potato salad, baked beans, or corn on the cob. For something lighter, pair them with a big green salad and sliced watermelon. If you’re feeding kids, add buttered rolls or garlic bread so they can mop up the extra sauce. A pitcher of iced tea or lemonade rounds everything out and keeps the meal easy and relaxed.
3-Ingredient Oven Pork Spareribs
Servings: 4–6
Ingredients
4–5 pounds pork spareribs (1 large rack or 2 smaller racks)
2 teaspoons kosher salt (or 1 1/2 teaspoons table salt)
1 1/2 cups thick barbecue sauce (dark, smoky style)
Directions
Heat your oven to 300°F (150°C). Line a large rimmed baking sheet with heavy-duty foil for easy cleanup, then lay a sheet of parchment on top if you have it to help keep the sauce from sticking.
Prepare the ribs: If there is a thin silver membrane on the bone side of the spareribs, slide a butter knife under it at one end, loosen it, then grab it with a paper towel and pull it off. This helps the ribs get more tender and lets the seasoning soak in.
Season simply: Pat the ribs dry with paper towels. Sprinkle both sides evenly with the kosher salt, rubbing it in lightly so it sticks. Place the ribs meaty side up on the prepared baking sheet.
Cover for a gentle bake: Cover the ribs tightly with foil, tenting it slightly so it doesn’t press into the meat. Seal the edges well so steam stays inside. This slow, covered bake is what makes them tender and juicy without any babysitting.
Bake low and slow: Place the pan on the middle rack and bake for 2 1/2 to 3 hours, or until the ribs are very tender and a fork slides easily between the bones. Thicker racks may need closer to 3 hours.
Uncover and drain excess fat: Carefully remove the pan from the oven and peel back the foil away from you to avoid steam. Spoon off or carefully pour off most of the rendered fat from the baking sheet, leaving just a thin layer for flavor and shine.
Glaze with barbecue sauce: Turn the oven up to 375°F (190°C). Brush the meaty side of the ribs generously with about half of the barbecue sauce, making sure to get into all the nooks and edges. Let them sit for 5–10 minutes while the oven heats so the sauce clings.
Roast to caramelize: Return the uncovered ribs to the oven and bake for 15–20 minutes, until the sauce is bubbling and turning a deep, glossy amber. If you like a little char, you can move the pan to the top rack for the last 3–5 minutes, watching closely so the sugars in the sauce don’t burn.
Finish with more sauce: Pull the pan from the oven and immediately brush on the remaining barbecue sauce for a shiny, sticky finish. Let the ribs rest on the baking sheet for about 10 minutes so the juices settle and the glaze thickens.
Slice and serve: Transfer the rack to a cutting board and slice between the bones into individual ribs or pairs of ribs. Pile them back onto the baking sheet or a platter and serve warm, letting everyone help themselves.
Variations & Tips
Flavor swaps: With only three ingredients, the barbecue sauce does most of the flavor work, so choose one that fits your crowd. For a sweeter, kid-friendly version, use a honey or brown sugar-style sauce. For a smokier, more grown-up flavor, pick a thick, dark, hickory or mesquite sauce. If your family likes a little heat, stir a spoonful of hot sauce or crushed red pepper into the barbecue sauce before brushing it on. You can also sprinkle a bit of black pepper over the salted ribs before baking without really adding to the ingredient list.
Make-ahead for gatherings: These ribs are perfect when you want dinner handled hours ahead. You can bake them covered at 300°F until tender earlier in the day, then cool slightly, cover, and refrigerate right on the baking sheet. About 30–40 minutes before you want to serve, scrape off any hardened fat from the pan, brush with barbecue sauce, and finish in a 375°F oven until hot and glazed. This makes them ideal for holiday weekends when you’d rather be outside with everyone than hovering over the grill.
For picky eaters: If you have kids who aren’t sure about sauce, bake the ribs with just the salt, then slice off a few plain pieces before glazing. Keep a small bowl of warmed barbecue sauce on the side so they can dip instead of having the ribs fully coated. You can also use a slightly sweeter sauce for the kids’ portion and a smokier or spicier one for the adults.
Texture tweaks: For extra caramelization, turn on the broiler for the last 2–3 minutes after glazing, watching constantly so the sugars don’t burn. If you prefer saucier ribs, warm an extra 1/2 cup of barbecue sauce in a small saucepan or the microwave and serve it at the table for drizzling.
Food safety tips: Always handle raw pork with clean hands and keep it separate from ready-to-eat foods. Use a separate cutting board and wash any knives, tongs, and surfaces that touch the raw ribs with hot, soapy water. When checking for doneness, you can use a meat thermometer inserted into the thickest part, away from the bone; the internal temperature should be at least 190°F for fall-apart tenderness, even though pork is safe at 145°F. Do not leave cooked ribs out at room temperature for more than 2 hours (or 1 hour if it’s very hot outside during a backyard gathering). Refrigerate leftovers promptly in shallow containers and reheat thoroughly before serving.
