
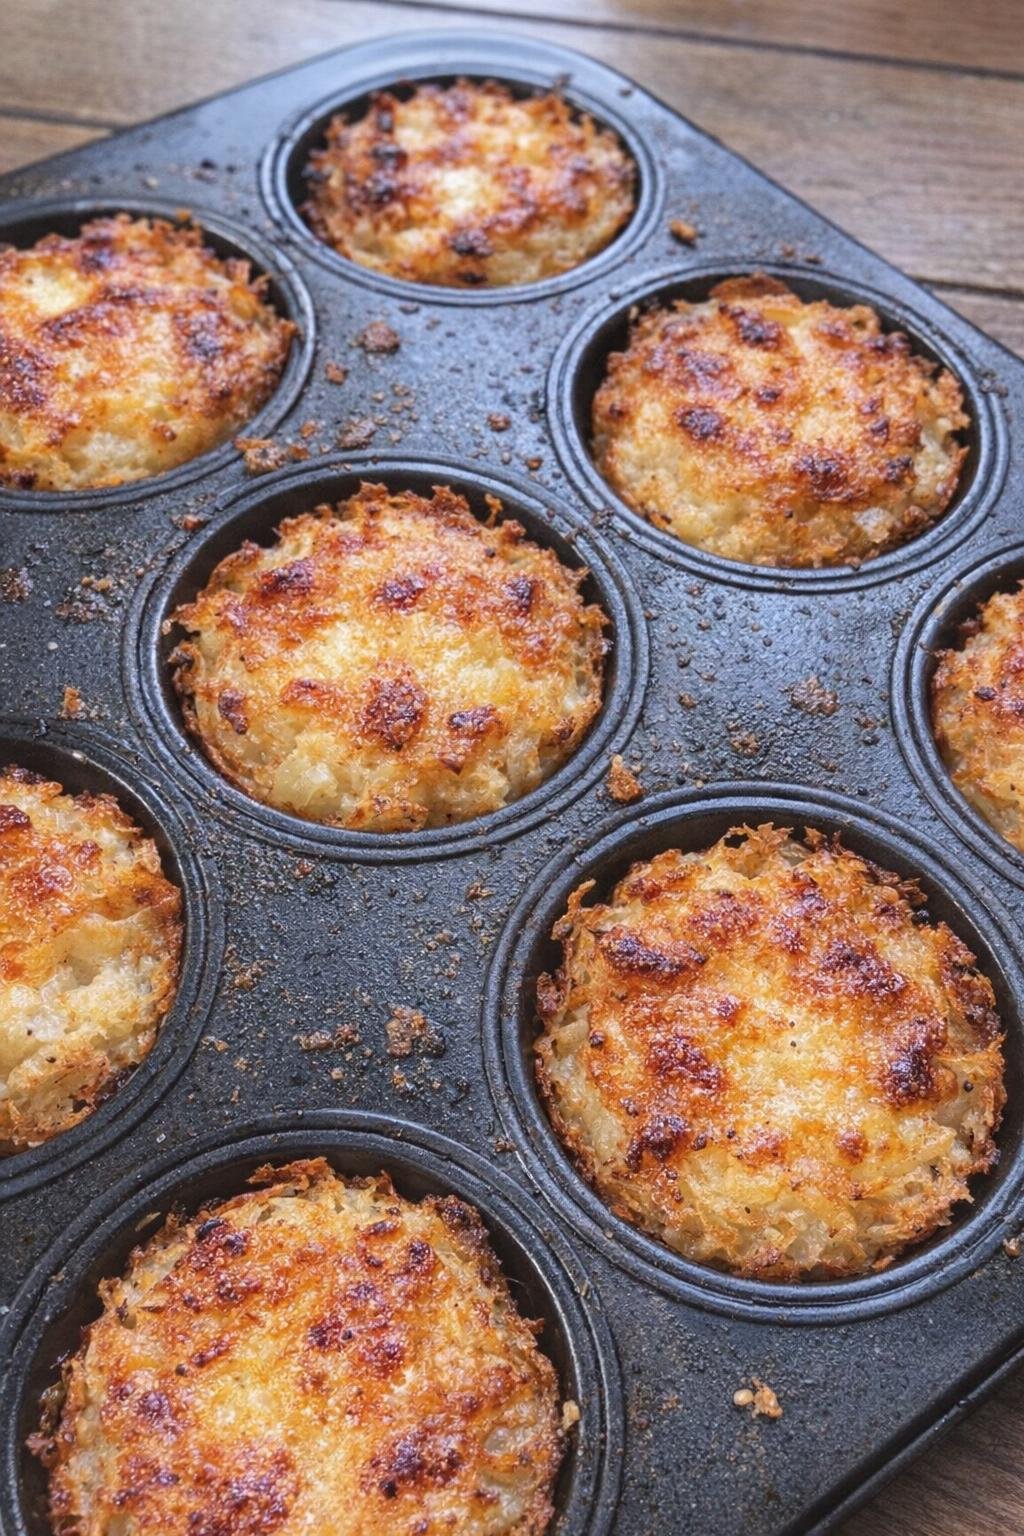
These oven baked hash brown nests are the kind of simple, comforting recipe that earns a permanent spot in a family recipe box. With just a handful of ingredients, they bake up crispy around the edges, tender inside, and wonderfully cheesy in the center. It’s easy to see why a tray of these would disappear fast at a church potluck back in the 1960s—they’re budget-friendly, crowd-pleasing, and just plain fun to serve.
Serve these little nests alongside scrambled eggs and fruit for breakfast, with soup or salad for lunch, or next to ham, roast chicken, or meatloaf at supper. They also make a wonderful party bite on a buffet table, and a spoonful of sour cream, chopped chives, or a little crumbled bacon on top can make them feel extra special.
Oven Baked 4-Ingredient Crispy Hash Brown Nests with Melted Cheese Centers
Servings: 12 hash brown nests
Ingredients
1 package (20 ounces) frozen shredded hash browns, thawed
Directions
1. Preheat the oven to 400°F and lightly grease a 12-cup muffin tin so the nests release easily after baking.
2. In a large bowl, toss the thawed hash browns with the melted butter and salt until the shreds are evenly coated.
3. Divide the hash brown mixture among the muffin cups, then press the potatoes firmly up the sides and across the bottom of each cup to form little nests.
4. Bake for 20 to 25 minutes, until the edges are deep golden brown and crisp.
5. Remove the pan from the oven, sprinkle shredded cheddar into the center of each nest, and return the pan to the oven for 3 to 5 minutes, just until the cheese is melted.
6. Let the nests cool in the pan for about 5 minutes, then carefully loosen with a small spoon or butter knife and serve warm.
Variations & Tips
For extra crispiness: After thawing the hash browns, pat them very dry with paper towels before mixing with the butter. Less moisture means more of those lovely crunchy edges.
Cheese swap: Cheddar is classic, but Monterey Jack, Colby, pepper jack, or a shredded cheddar blend all work nicely if that’s what you have on hand.
For picky eaters: Keep the basic version plain and cheesy, then let everyone add their own toppings at the table. A little topping bar with sour cream, chives, or crumbled bacon makes these especially fun for kids and guests.
Make-ahead tip: You can bake the potato nests ahead through the first bake, then add the cheese and finish warming them just before serving. That makes potlucks and holiday breakfasts much easier.
Mini meal idea: If you want to make them a bit heartier, tuck a tiny spoonful of cooked sausage or finely diced ham under the cheese before the final bake. It’s still simple, but a little more filling.
