
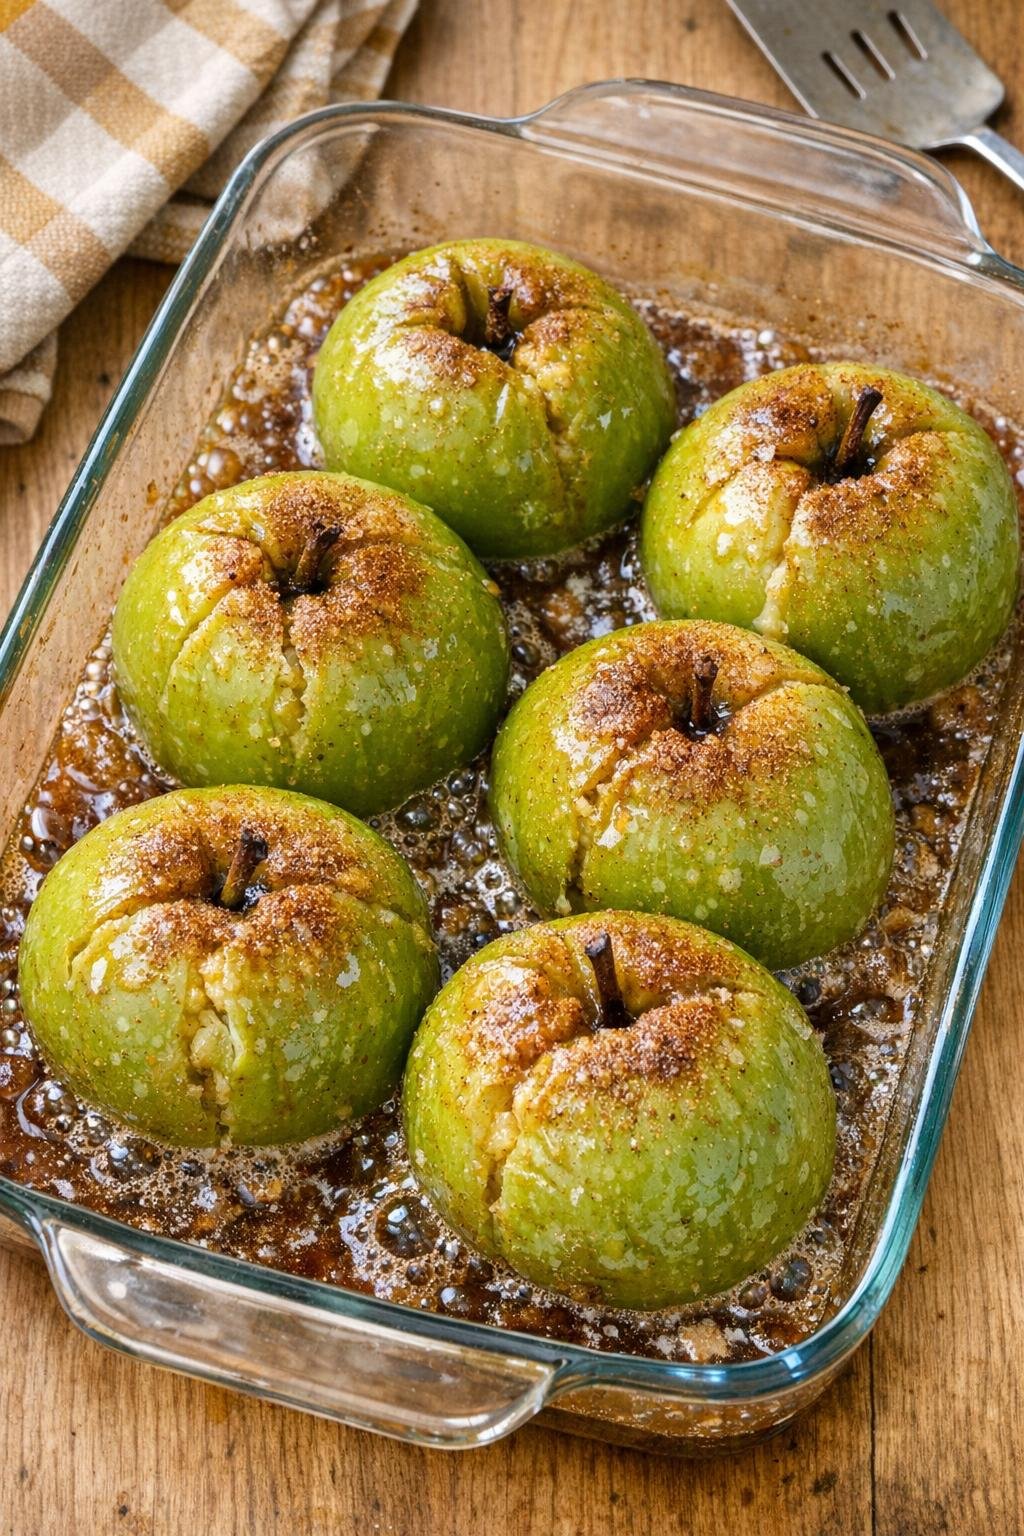
When school routines get busy, simple desserts that feel a little special are such a lifesaver. This easy baked apple dessert uses whole tart green apples and just three pantry staples to create a warm, sweet treat with almost no prep, which is exactly the kind of recipe I reach for on a weeknight when I still want something homemade. It has that cozy baked-fruit feel of old-fashioned apple desserts, but without fussing with peeling, chopping, or making a complicated topping.
Serve these baked apples warm on their own, or pair them with vanilla ice cream, whipped cream, or a spoonful of plain Greek yogurt for a less sweet option. If you are making them for an after-school snack or casual family dessert, they also go really well with a mug of hot cocoa, coffee, or cold milk, and a few butter cookies on the side can make it feel extra complete.
4-Ingredient Oven Baked Back to School Dessert
Servings: 4
Ingredients
4 raw unpeeled whole green apples
Directions
1. Preheat your oven to 375°F and lightly grease an oven-safe glass baking dish large enough to hold the apples with a little space between them.
2. Place the raw unpeeled whole green apples in the baking dish. Sprinkle the brown sugar evenly over and around the apples, then dust with the cinnamon.
3. Cut the butter into small pieces and scatter it over the apples and into the dish so it can melt into the sugar as everything bakes.
4. Bake for 35 to 45 minutes, until the apples are tender when pierced with a knife and the butter and sugar have formed a bubbly syrup in the bottom of the dish.
5. Spoon some of the syrup over each apple before serving. Serve warm, either whole or halved, with ice cream or whipped cream if you like.
Variations & Tips
Add nuts: Sprinkle chopped pecans or walnuts into the dish during the last 10 minutes of baking for a little crunch and a more classic fall-dessert feel.
Make it extra cozy: A pinch of nutmeg or apple pie spice works well if you want a warmer spice flavor, especially if you are serving these after dinner on a cool evening.
Keep the apples upright: If the apples wobble, slice a very thin piece from the bottom so they sit flat in the baking dish without tipping over.
Check for doneness by size: Smaller apples may finish closer to 35 minutes, while larger apples can need the full 45 minutes or a bit longer. The easiest way to tell is when a knife slides in with very little resistance.
Prep ahead: You can assemble the dish a few hours ahead and refrigerate it until baking time. That makes this recipe especially handy for busy school nights or when you want dessert ready with minimal last-minute effort.
