
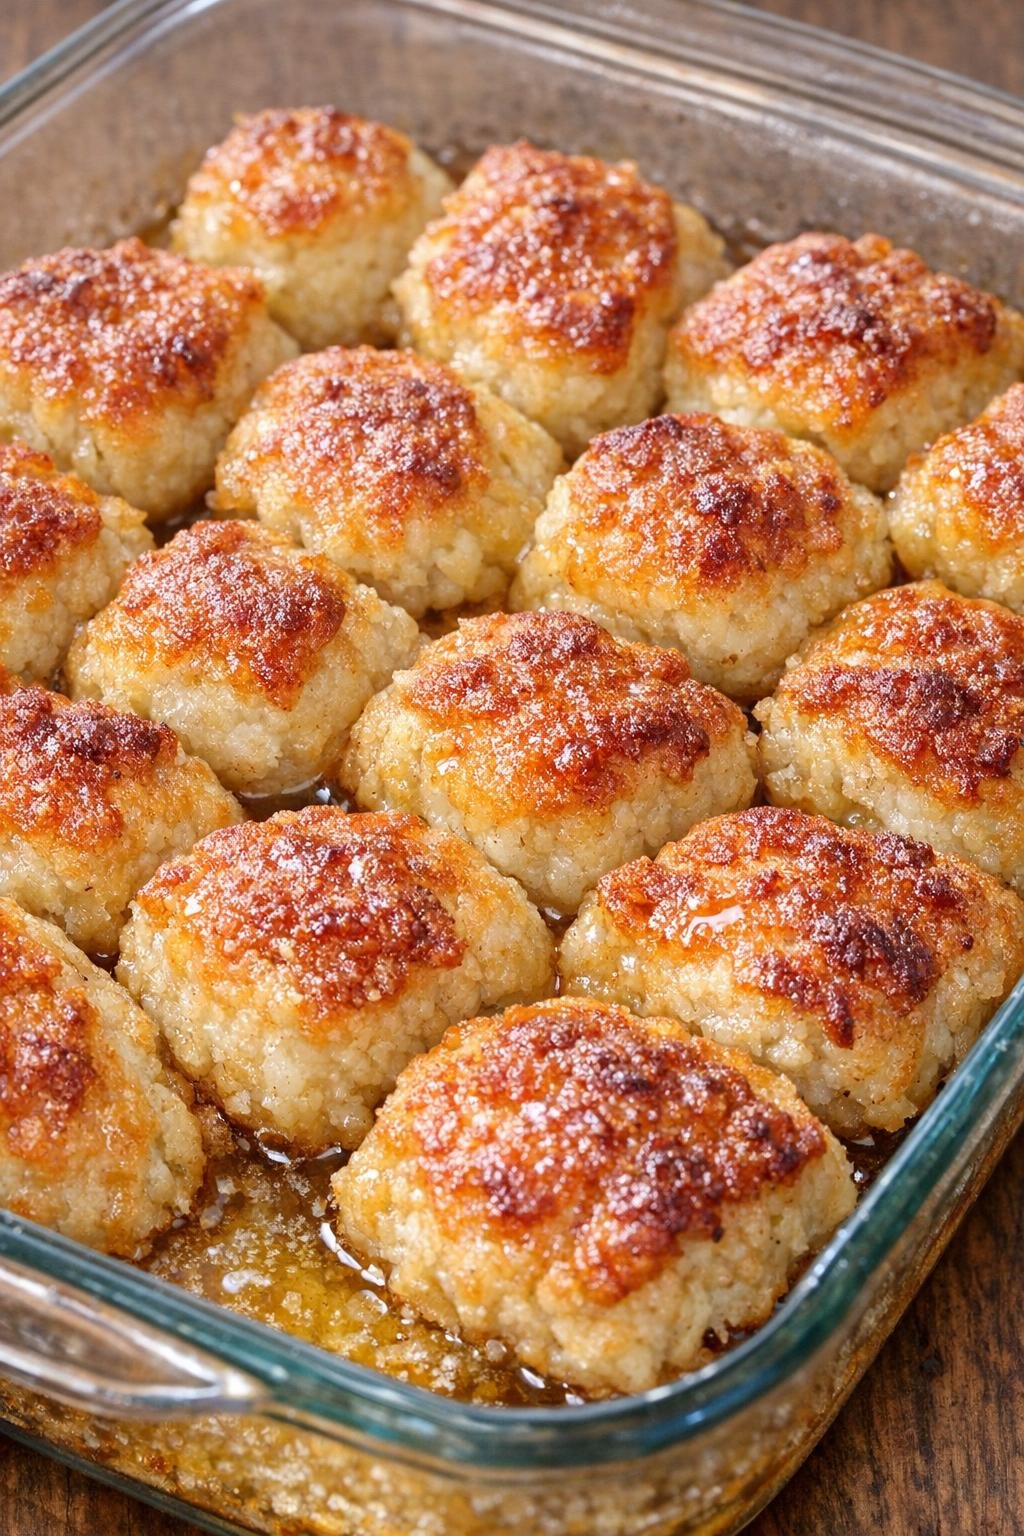
There is something mighty comforting about a simple biscuit recipe that stretches a few pantry staples into a warm pan of goodness, and these southern 3-ingredient depression era biscuit bites do just that. Recipes like this call to mind hard times when home cooks made do with what they had, yet still managed to put something tender, buttery, and satisfying on the table. These little bites are easy to stir together, bake up beautifully golden, and fit just as well at a tailgate as they do beside a weeknight supper.
Serve these biscuit bites warm with a bowl of ham and beans, chili, vegetable soup, or fried chicken if you want a full Southern-style meal. They are also wonderful on a breakfast spread with scrambled eggs and sausage, and for tailgates or parties I like to set them out with a little crock of honey butter, sorghum, or pepper jelly for folks to help themselves.
Southern 3-Ingredient Depression Era Biscuit Bites
Servings: 6
Ingredients
2 cups self-rising flour
Directions
1. Preheat the oven to 450°F. Brush 2 tablespoons of the melted butter into a glass casserole dish or 8-inch baking dish so the bottom and sides are lightly coated.
2. Place the self-rising flour in a mixing bowl and pour in the heavy cream. Stir gently just until a soft dough forms. Do not overmix.
3. Scoop or pinch off small bite-size portions of dough and place them close together in the prepared dish. Drizzle the remaining 2 tablespoons melted butter over the top.
4. Bake for 12 to 15 minutes, or until the tops are golden brown and the edges are crisp. Let cool for 5 minutes before serving warm.
Variations & Tips
For extra richness: If you want these a little more indulgent, brush an extra spoonful of melted butter over the top right when they come out of the oven. That gives them a softer top and a prettier shine.
For a more Southern touch: A spoonful of honey, a dab of pepper jelly, or even a swipe of apple butter turns these plain biscuit bites into something special without changing the simple spirit of the recipe.
For easier mixing: The dough should look soft and a little shaggy. If it seems too dry, add a splash more cream; if too wet, dust in a little more self-rising flour. Weather and flour brands can make a difference, as old-time bakers well knew.
For crisp edges: Set the dough pieces so they touch in the dish but are not tightly packed. That way you get tender sides where they meet and those lovely crisp, buttery edges around the outside.
For make-ahead help: You can mix the dough just before guests arrive and get it into the buttered dish ahead of time, then bake it fresh when you are ready to serve. These are at their very best warm from the oven.
