
These easy no-bake treats are ideal when you need a make-ahead dessert for Halloween parties, cookie platters, or a quick low-carb sweet bite from the fridge. The method is simple, but a few small details make a big difference: a little coconut oil helps the melted chocolate set with a cleaner snap, chilling the first layer keeps the filling centered, and using well-stirred, thick peanut butter prevents it from running to the edges.
Serve them straight from the refrigerator or freezer on a dessert tray with fresh strawberries, raspberries, or a mug of hot coffee for the adults and cold milk for the kids. They also fit nicely alongside other small party sweets, since their rich chocolate-peanut butter flavor means a little goes a long way.
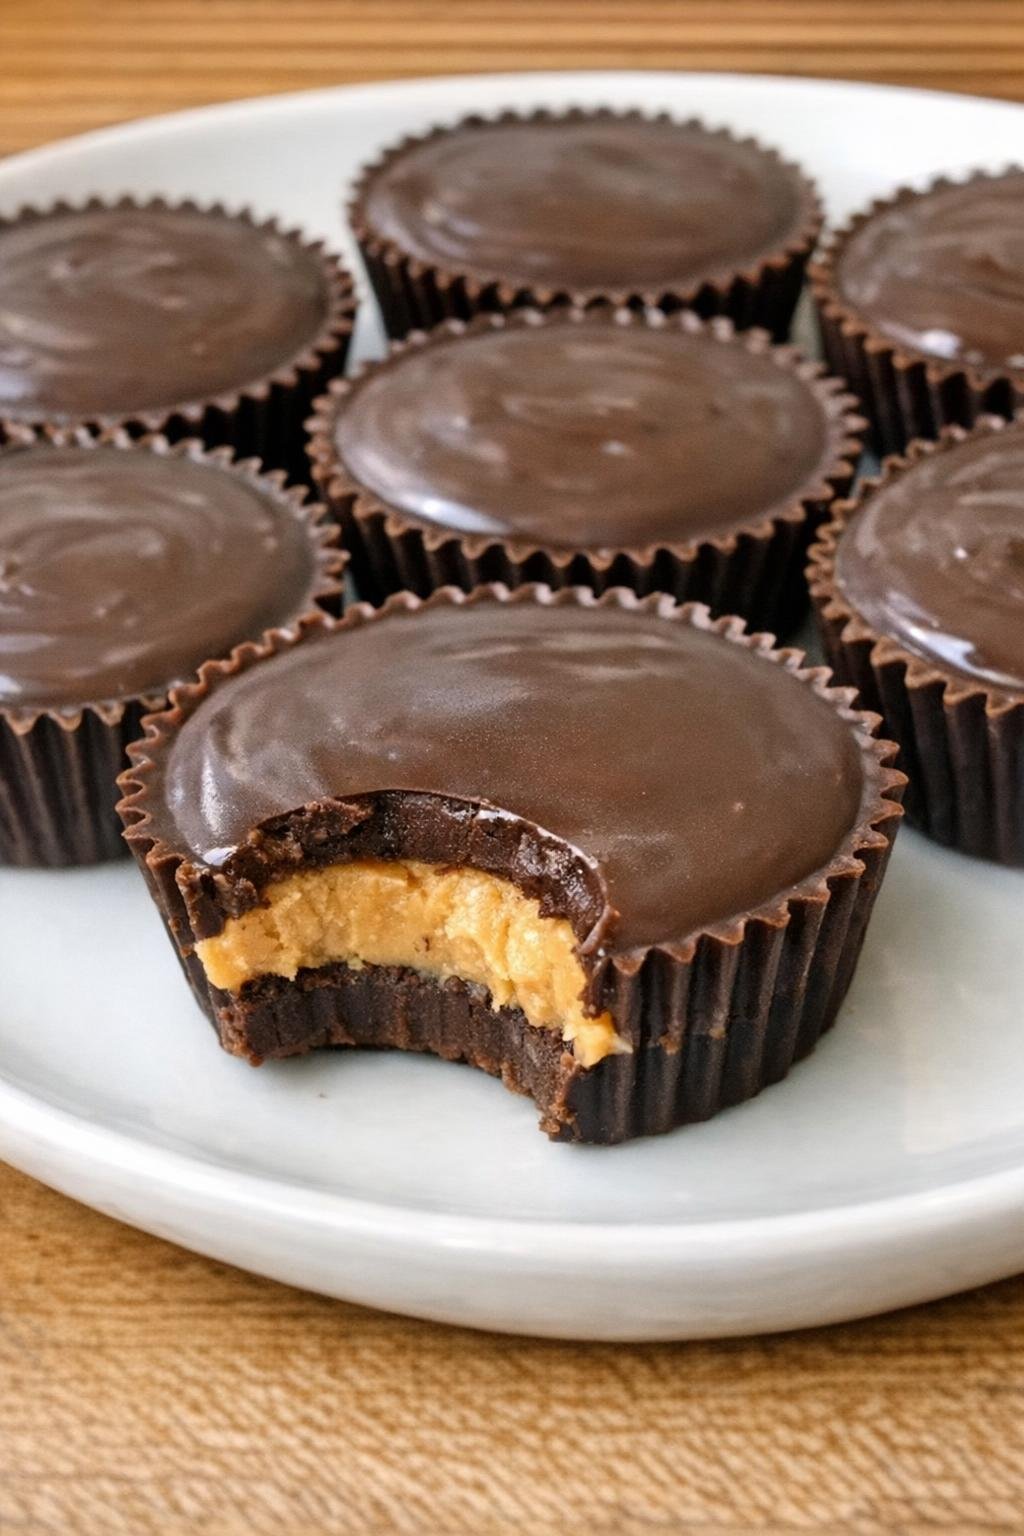
Low Carb 3-Ingredient Chocolate Peanut Butter Cups
Servings: 12 peanut butter cups
Ingredients
1 cup sugar-free dark chocolate chips
Directions
1. Line a 12-cup mini muffin pan or a 12-cup standard muffin pan with paper liners, depending on how large you want the cups. If your natural peanut butter is loose, stir it very well and chill it for a few minutes so it thickens.
2. Place the sugar-free dark chocolate chips and coconut oil in a heatproof bowl. Microwave in short bursts, stirring between each, until smooth and glossy. Make sure no water gets into the bowl, since even a small drop can make the chocolate seize.
3. Spoon a small amount of melted chocolate into the bottom of each liner and gently spread it to cover the base. Chill the pan for 10 minutes, until the chocolate is starting to firm up.
4. Add a small dollop of peanut butter to the center of each chilled chocolate base, leaving a little space around the edges so the filling stays enclosed.
5. Cover the peanut butter with the remaining melted chocolate, smoothing the tops if needed. Chill for about 20 to 30 minutes in the refrigerator, or until fully set. For faster setting, place them in the freezer for part of the time.
6. Store the cups chilled until ready to serve. These are best made ahead so they have time to fully firm up and develop that clean chocolate snap.
Variations & Tips
Freezer shortcut: If you need them ready sooner, chill the bottom chocolate layer in the freezer for about 5 minutes instead of 10 minutes in the refrigerator, then freeze the finished cups briefly until set. Watch closely so the chocolate firms without becoming difficult to spread.
Thicker center: For a more pronounced peanut butter layer, use slightly less chocolate for the bottoms and save more for the tops. Keeping the peanut butter cold and thick helps it stay mounded in the middle instead of spreading outward.
Chocolate melting tip: Melt the chocolate gently and stir often. Sugar-free chocolate can scorch more easily than standard chips, so short microwave intervals work better than one long heating cycle.
Storage tip: Keep these in an airtight container in the refrigerator for about 1 week, or freeze them longer for a firmer bite. They taste especially good served cold.
Paper liner tip: Mini liners give you a candy-style treat, while standard liners make a larger dessert cup. If you want the cleanest edges, peel the liners off after the cups are thoroughly chilled.
