
Some recipes earn a permanent spot in the family rotation because they are simple, dependable, and a little bit irresistible. This no-bake treat is one of those easy dessert recipes that comes together with just a handful of store-bought ingredients, making it perfect for holiday platters, potlucks, cookie exchanges, or a Friday night project with the kids. It has that familiar cookies-and-cream flavor everyone recognizes, but dressed up just enough to feel special.
Serve these little sweets on a dessert tray with fresh strawberries, salty pretzels, or a bowl of mixed nuts to balance the richness. They also pair nicely with coffee, cold milk, or hot cocoa, and they make a lovely homemade addition to care packages, bake sale boxes, and neighborly drop-offs.
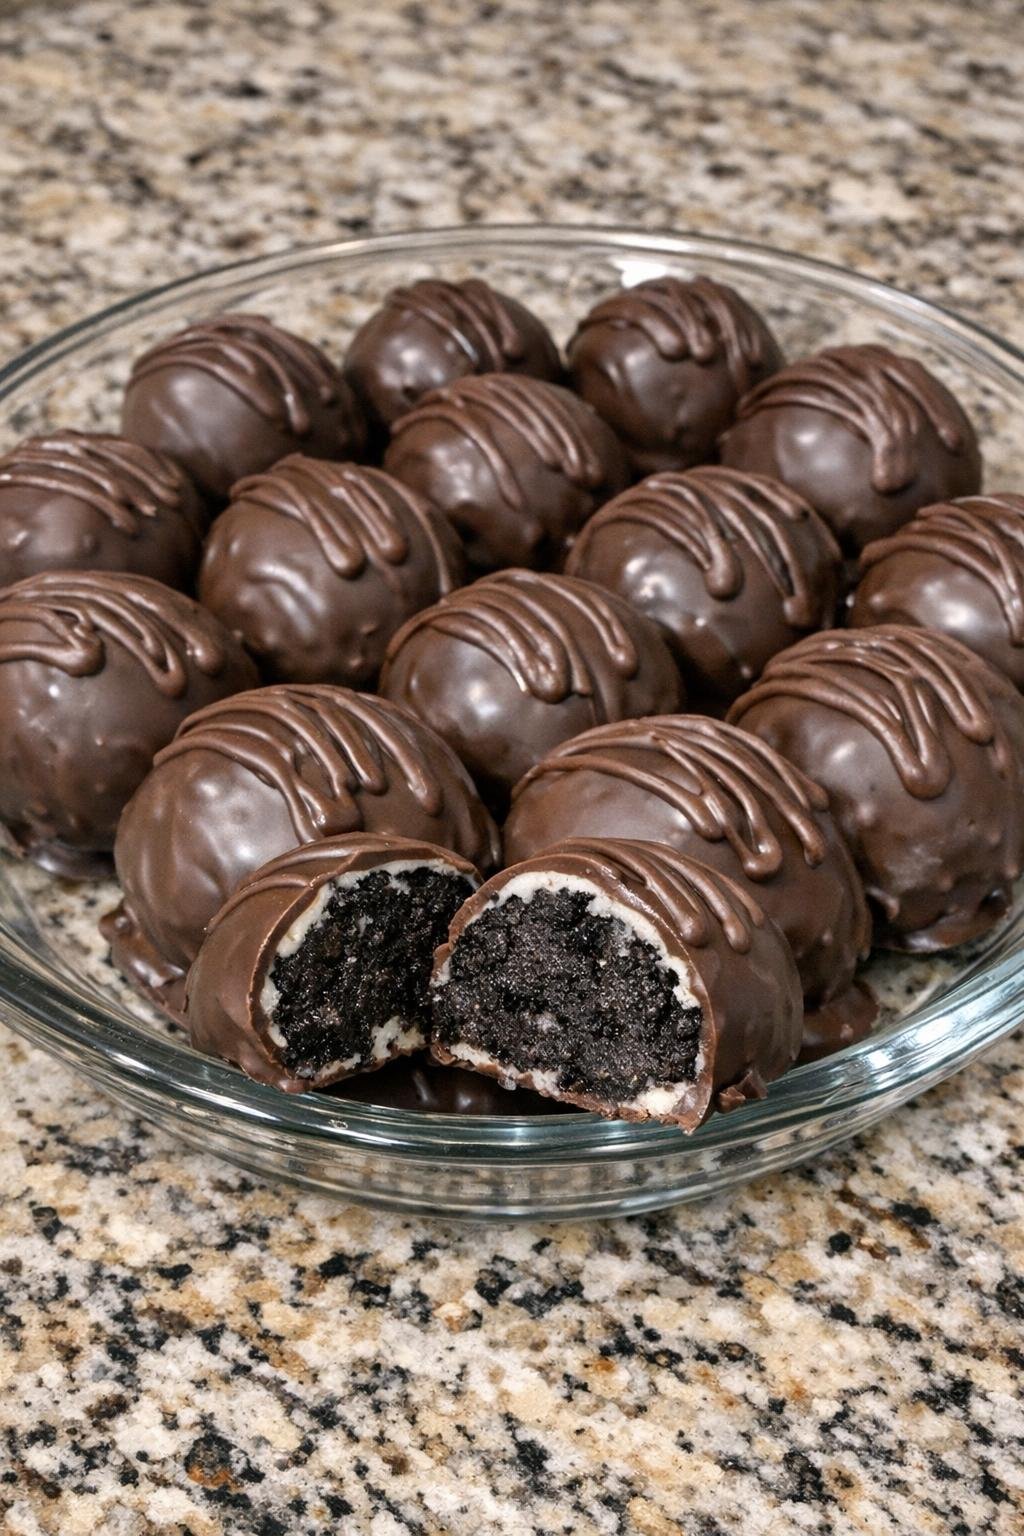
3-Ingredient Oreo Balls
Servings: 36 Oreo balls
Ingredients
36 chocolate sandwich cookies (Oreo)
Directions
1. Add the chocolate sandwich cookies to a food processor and pulse until they become fine crumbs. Transfer the crumbs to a mixing bowl and blend in the softened cream cheese until the mixture is fully combined and smooth.
2. Scoop and roll the mixture into 36 small balls, about 1 inch each, and place them on a parchment-lined baking sheet or tray. Chill for 20 to 30 minutes, until firm.
3. Melt the chocolate according to the package directions until smooth. Using a fork or dipping tool, dip each chilled ball into the melted chocolate, let the excess drip off, and return it to the lined tray.
4. Let the chocolate set completely at room temperature or chill briefly to speed it up. Once firm, serve right away or store in the refrigerator until ready to share.
Variations & Tips
White Chocolate Finish: Swap the melting chocolate for white melting wafers if you want a sweeter look and flavor. A little sprinkle of extra cookie crumbs on top before the coating sets makes them look especially pretty on a dessert tray.
Make-Ahead Tip: These keep very well in the refrigerator, so they are wonderful for planning ahead. Store them in an airtight container for up to 1 week, or freeze them for longer storage and thaw in the fridge before serving.
Picky Eater Friendly: If you are making these with kids, let them help roll the balls or decorate the tops with a small drizzle of contrasting chocolate. Keeping the decorations simple can make them feel fun without changing the familiar flavor too much.
No Food Processor Method: If you do not have a food processor, place the cookies in a zip-top bag and crush them very finely with a rolling pin. The finer the crumbs, the smoother the centers will be.
Clean Dipping Tip: For the smoothest coating, chill the balls until firm before dipping and work with only a few at a time, keeping the rest in the refrigerator. If the chocolate starts to thicken, warm it gently again so it stays easy to coat.
