
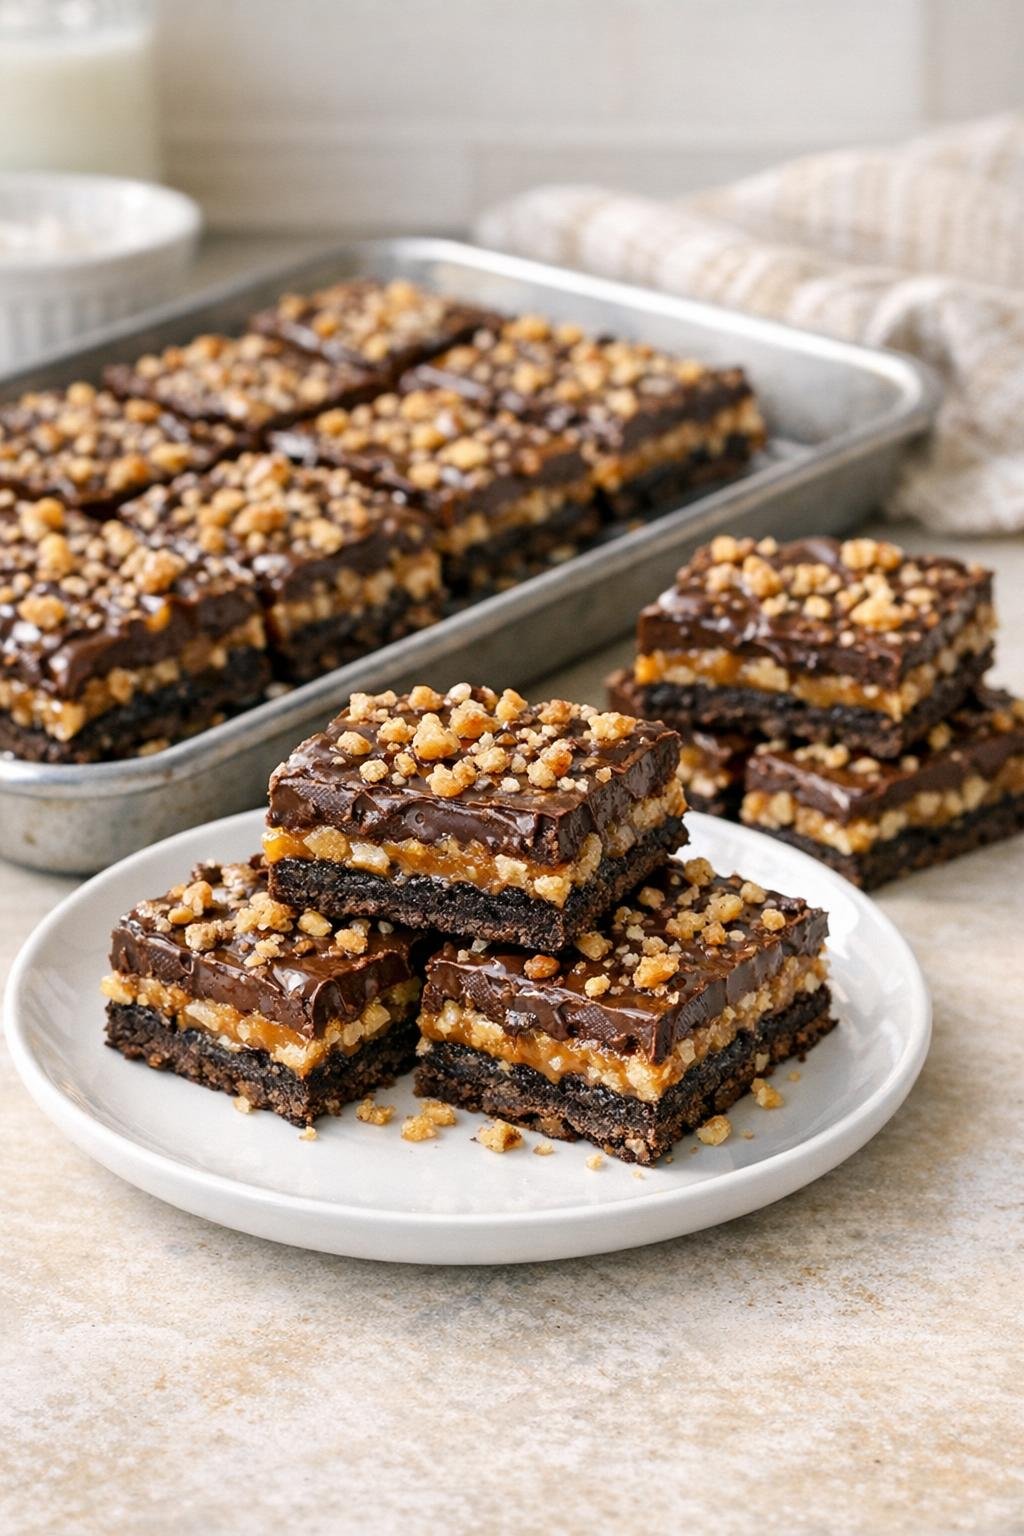
There is something mighty satisfying about a dessert that looks like you fussed all afternoon, when in truth it comes together with a handful of pantry staples and a sturdy sheet pan. These oven baked chocolate wafer crunch bars remind me of the practical sweets so many Midwestern home cooks have always favored: simple, thrifty, and dependable, but still special enough to set on the table after supper. Using whole chocolate wafer cookies keeps the work easy, and once everything bakes together into a crisp, chocolatey, buttery pan of bars, you get that homemade magic without a long list of steps.
Serve these bars slightly warm or fully cooled with a glass of cold milk, a scoop of vanilla ice cream, or a hot cup of coffee after dinner. If you are putting out a dessert tray, they sit nicely beside fresh berries, salted nuts, or a little bowl of whipped cream for folks who like an extra touch. For potlucks and church suppers, I like to cut them into small squares since they are rich and crunchy enough to satisfy in just a bite or two.
Oven Baked 5-Ingredient Chocolate Wafer Crunch Bars
Servings: 16 bars
Ingredients
1 package whole chocolate wafer cookies, about 9 ounces
Directions
1. Preheat the oven to 350°F. Lightly grease a small metal sheet pan or quarter sheet pan.
2. Arrange the whole chocolate wafer cookies in an even layer across the bottom of the prepared pan, keeping them unbroken and fitting them snugly together.
3. In a bowl, stir together the melted butter and sweetened condensed milk until smooth. Fold in the chocolate chips and crisp rice cereal until everything is well coated.
4. Spoon the mixture evenly over the wafer cookies and gently spread it so the cookies are covered from edge to edge.
5. Bake for 12 to 15 minutes, until the chocolate is melted and the top looks glossy and lightly bubbly around the edges.
6. Let the pan cool completely so the bars can firm up, then cut into squares and serve.
Variations & Tips
Add a little salt: If you enjoy that sweet-and-salty balance, sprinkle a small pinch of flaky salt over the top right after baking. It wakes up the chocolate beautifully and gives these bars a more grown-up flavor.
Nutty version: Stir in 1/2 cup chopped toasted pecans or walnuts with the crisp rice cereal for extra crunch. That little addition makes the bars taste especially nice in autumn and around the holidays.
Easy cutting tip: For the cleanest squares, let the bars cool fully and even chill the pan for 20 to 30 minutes before slicing. A sharp knife wiped clean between cuts keeps the layers tidy.
Swap the chips: Milk chocolate chips will give you a sweeter, softer finish, while dark chocolate chips make the bars a touch richer. Either one works fine, so use what you have in the cupboard.
Storage: Keep the bars in an airtight container at room temperature for up to 3 days, or refrigerate them for a firmer bite. I like to place a little wax paper between layers so they stay pretty and do not stick together.
