
In my kitchen, I’m all for little habits that prevent big disasters. Home maintenance works the same way: the jobs that take 5 to 20 minutes are often the ones people put off until a leak, a breakdown, or a smoky smell forces the issue. By then, the repair bill is usually far uglier than the task ever was.
These are 20 home maintenance chores I see forgotten over and over, and they’re in the order I’d flag them for any homeowner. I’ve included how often to do each one, the exact tool or product that makes it easy, and the kind of expensive problem it helps you avoid.
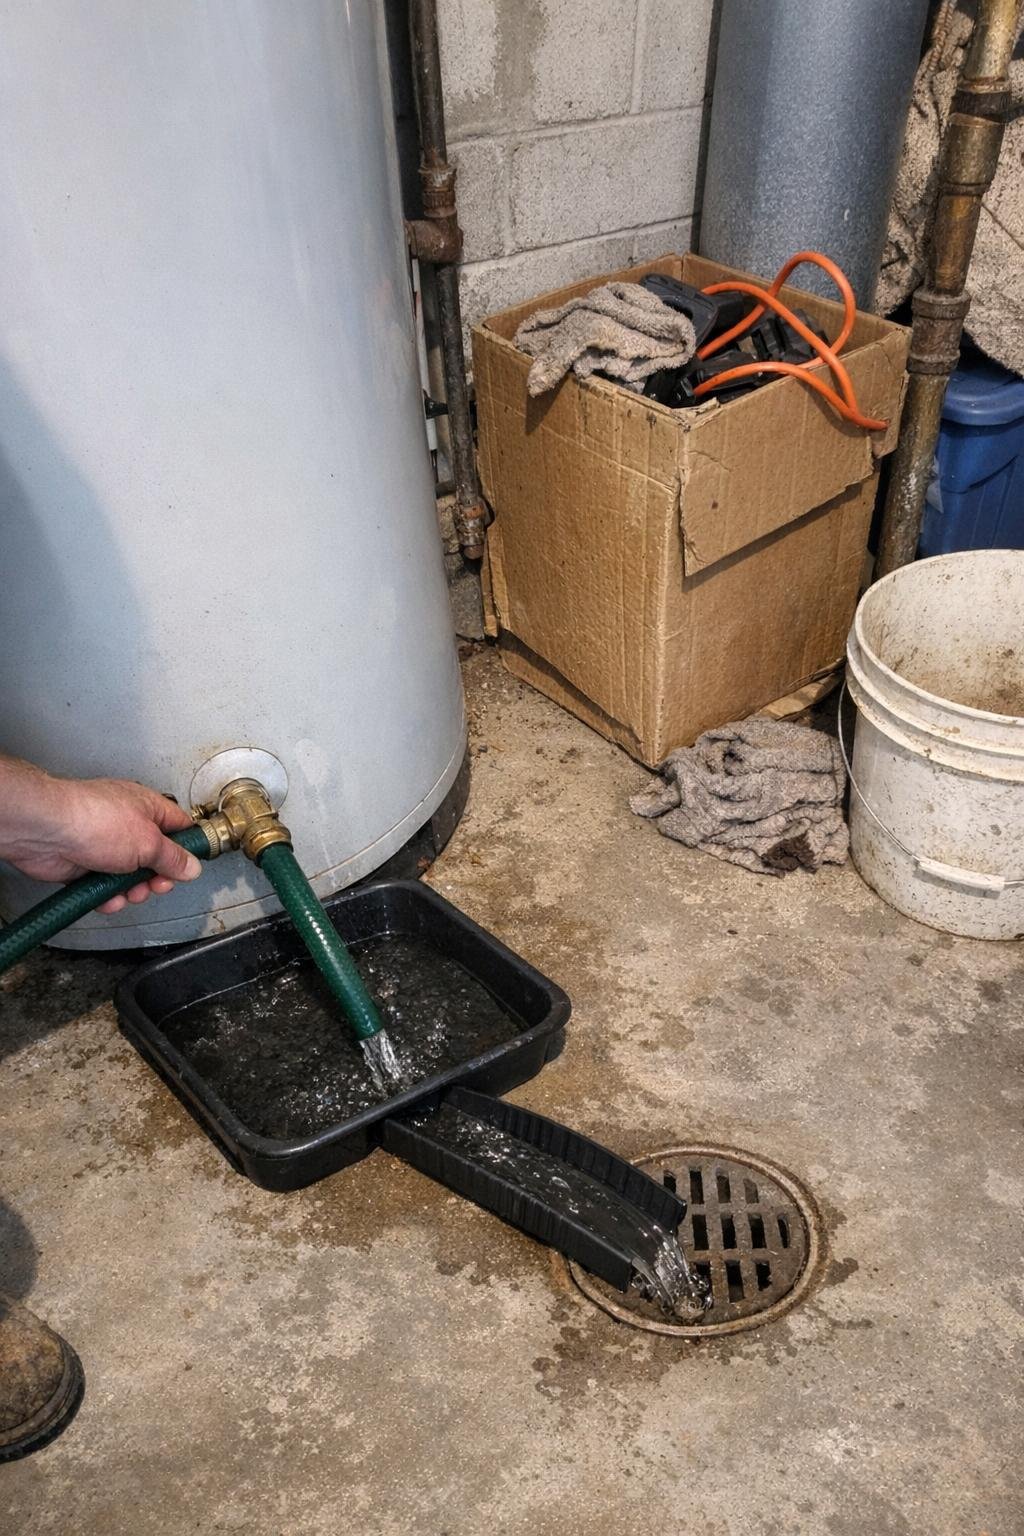
1. Drain sediment from the water heater
Do this once a year, especially if you have hard water. Turn the water heater to pilot or power it off, attach a standard garden hose to the drain valve near the bottom, run the hose to a floor drain or outside, and drain a few gallons until the water runs clearer. Sediment sits on the bottom of the tank, forcing the burner or elements to work harder and cooking the tank from the inside.
This is a 15-minute job on most tanks, and it can add real life to the unit. Skip it for years and you risk rumbling, poor hot water recovery, and eventually a failed tank that can cost around $1,200 or more to replace.
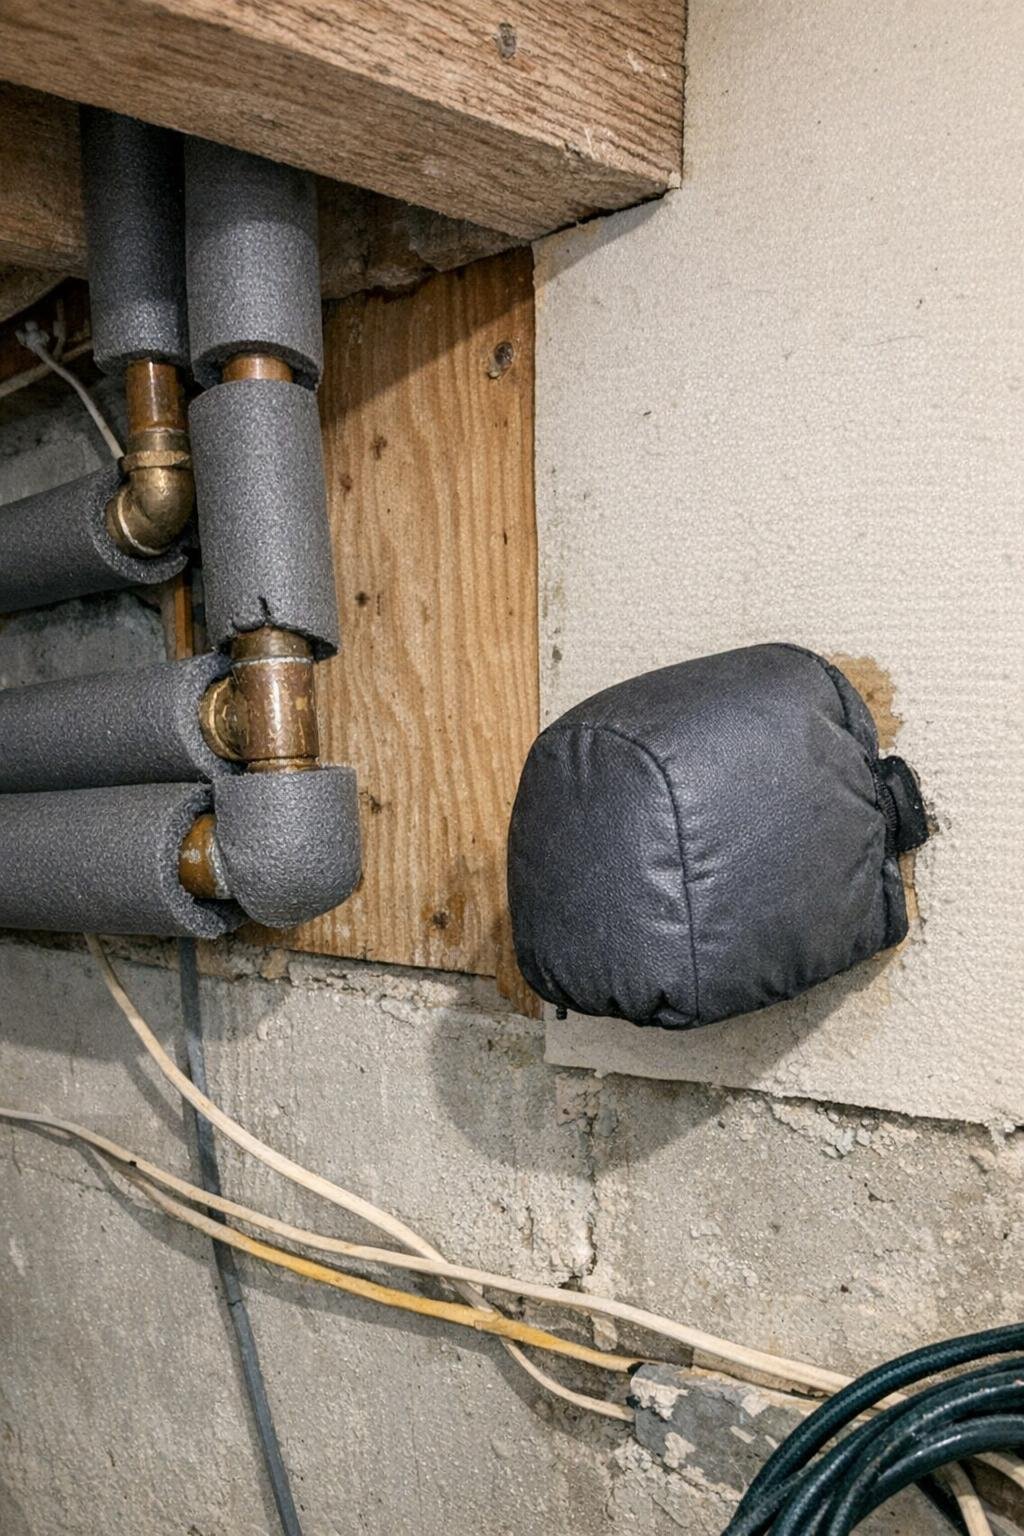
2. Insulate exposed pipes and disconnect garden hoses before the first freeze
Every fall before the first hard freeze, walk the basement, crawl space, garage, and exterior hose bibs. Snap foam pipe sleeves over exposed water lines, secure gaps with duct tape or zip ties, disconnect every garden hose, and add an insulated hose-bib cover outside. Water trapped in a hose or unprotected pipe can freeze, expand, and split the line.
This is usually a 20- to 30-minute seasonal job with supplies that cost under $25 for a typical house. Ignore it and a burst pipe can mean drywall removal, flooring damage, and a repair bill that easily climbs into the thousands.
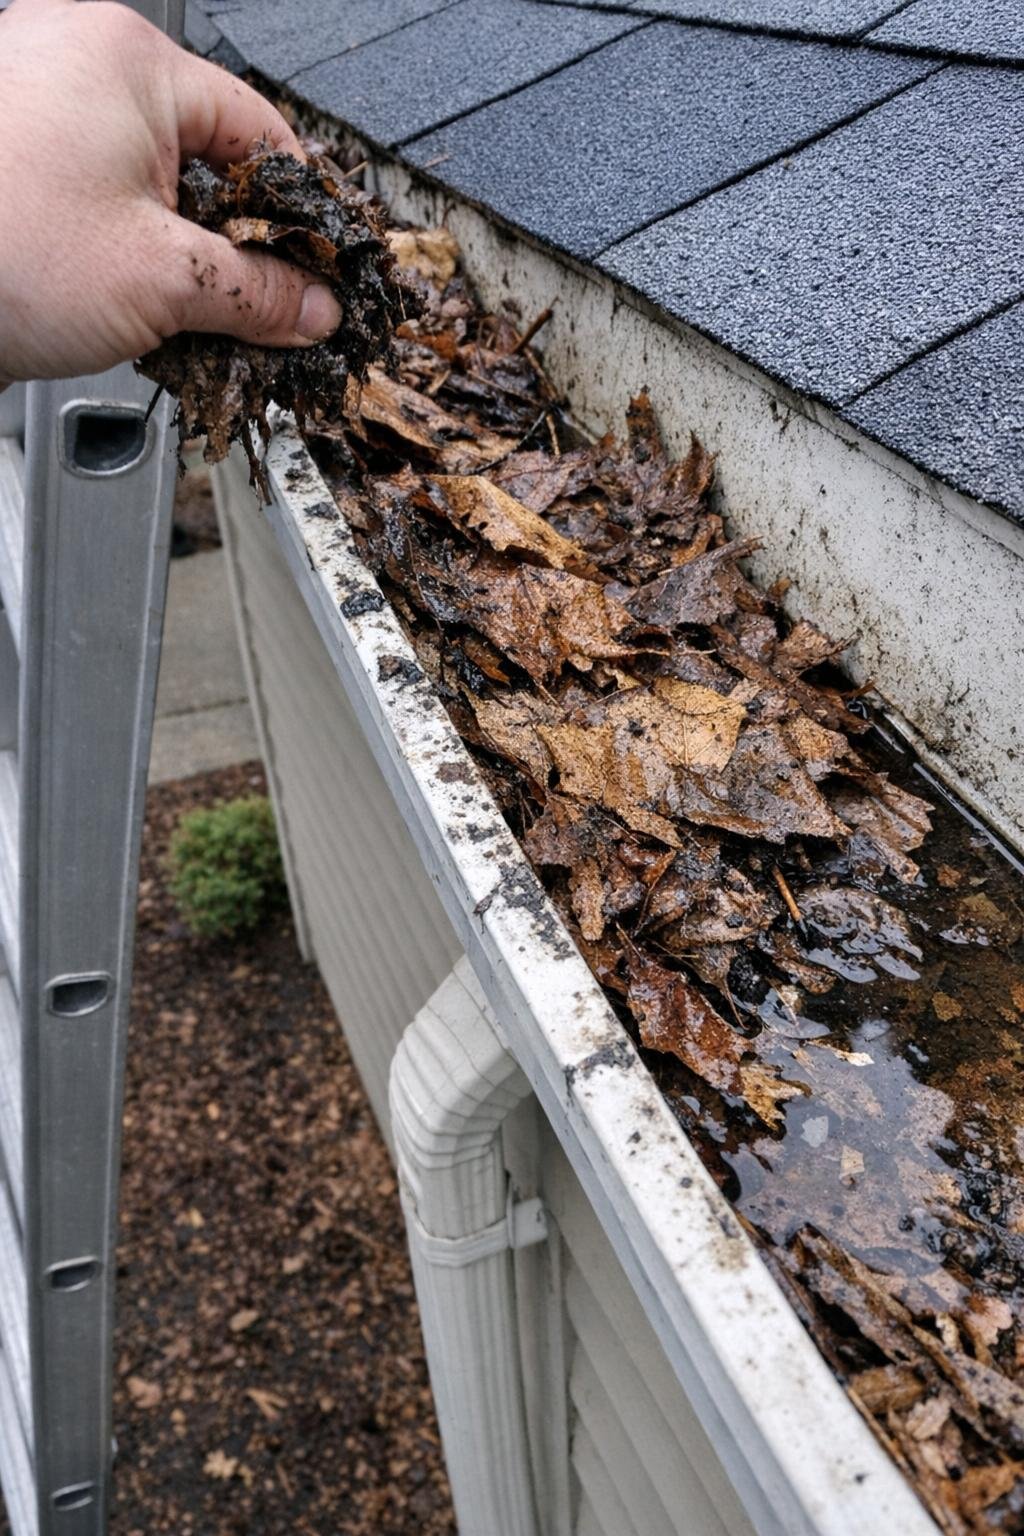
3. Clear the gutters and check downspouts run clear
Do this after leaf fall and again in spring. Use a ladder, work gloves, a scoop or small garden trowel, and a hose to remove packed leaves and sludge from the gutters; then run water through each downspout to make sure it empties freely at ground level. I also like to confirm the outlet sends water at least 4 to 6 feet away from the foundation.
Clogged gutters don’t just overflow neatly to the lawn. They soak fascia boards, stain siding, dump water beside the foundation, and can contribute to basement seepage. A little cleanup now can prevent fascia rot repairs and water damage that cost hundreds to thousands of dollars.
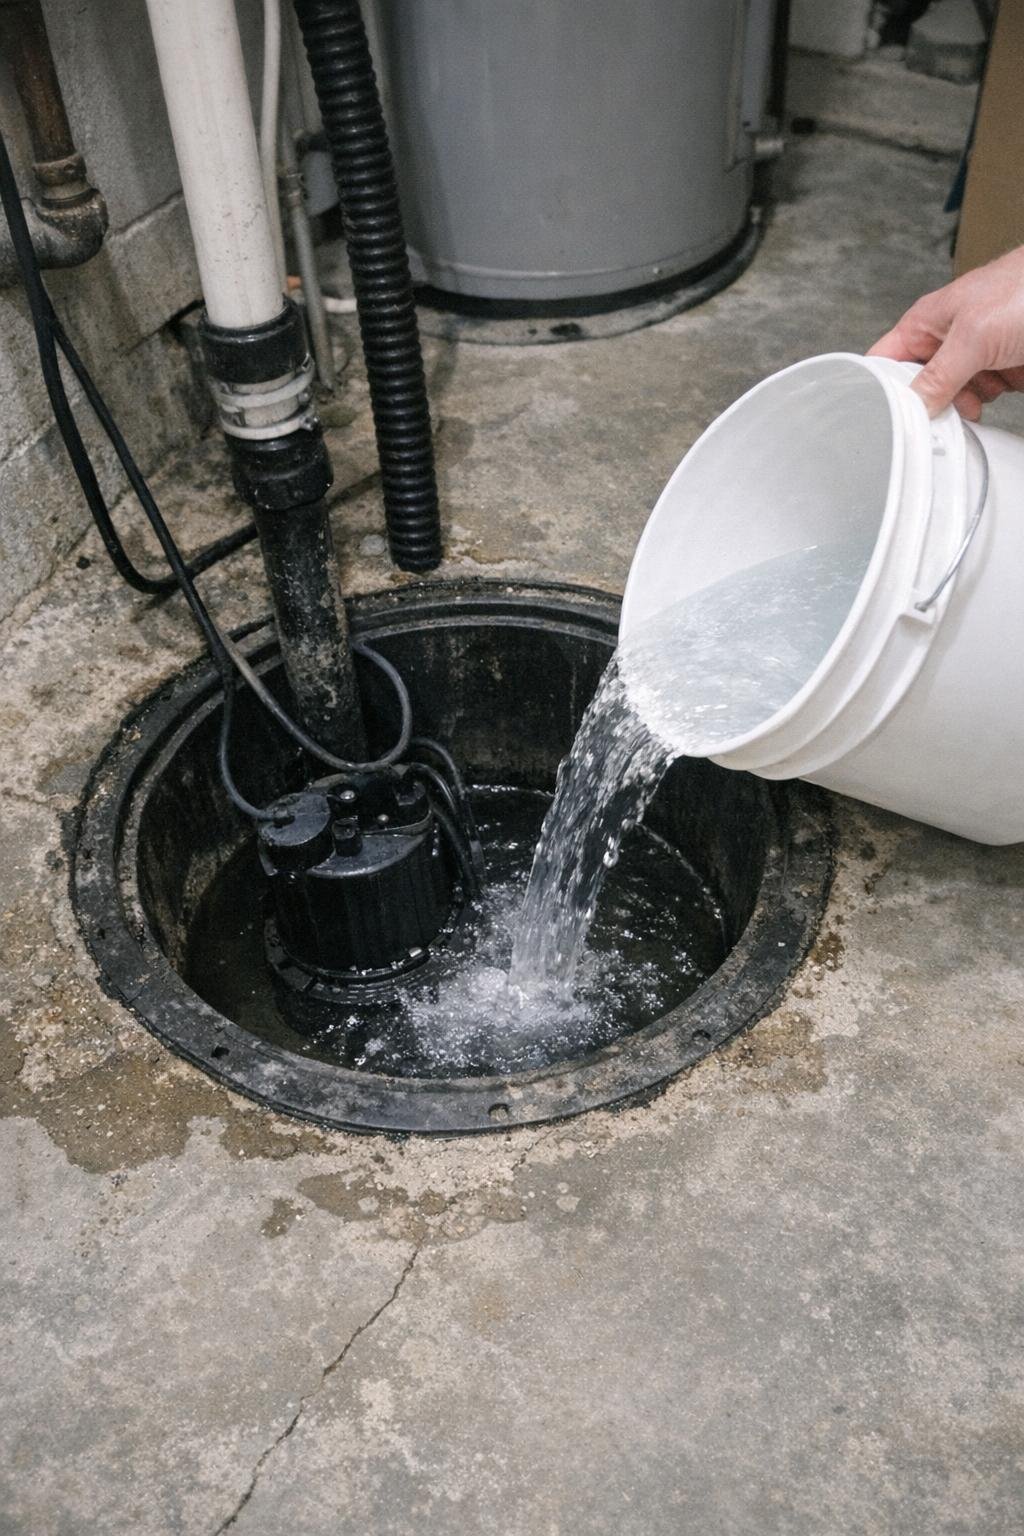
4. Test the sump pump
Test it quarterly and absolutely before heavy rain season. Pour a 5-gallon bucket of water into the sump pit and listen for the float to rise and the pump to kick on; it should start promptly and discharge the water outside. While you’re there, make sure the outlet is secure and the discharge line isn’t blocked.
I like this test because it’s simple and tells you right away whether the pump is awake. If it fails during a storm, you may be looking at a flooded basement, damaged boxes and flooring, and cleanup costs far beyond the price of a replacement pump.
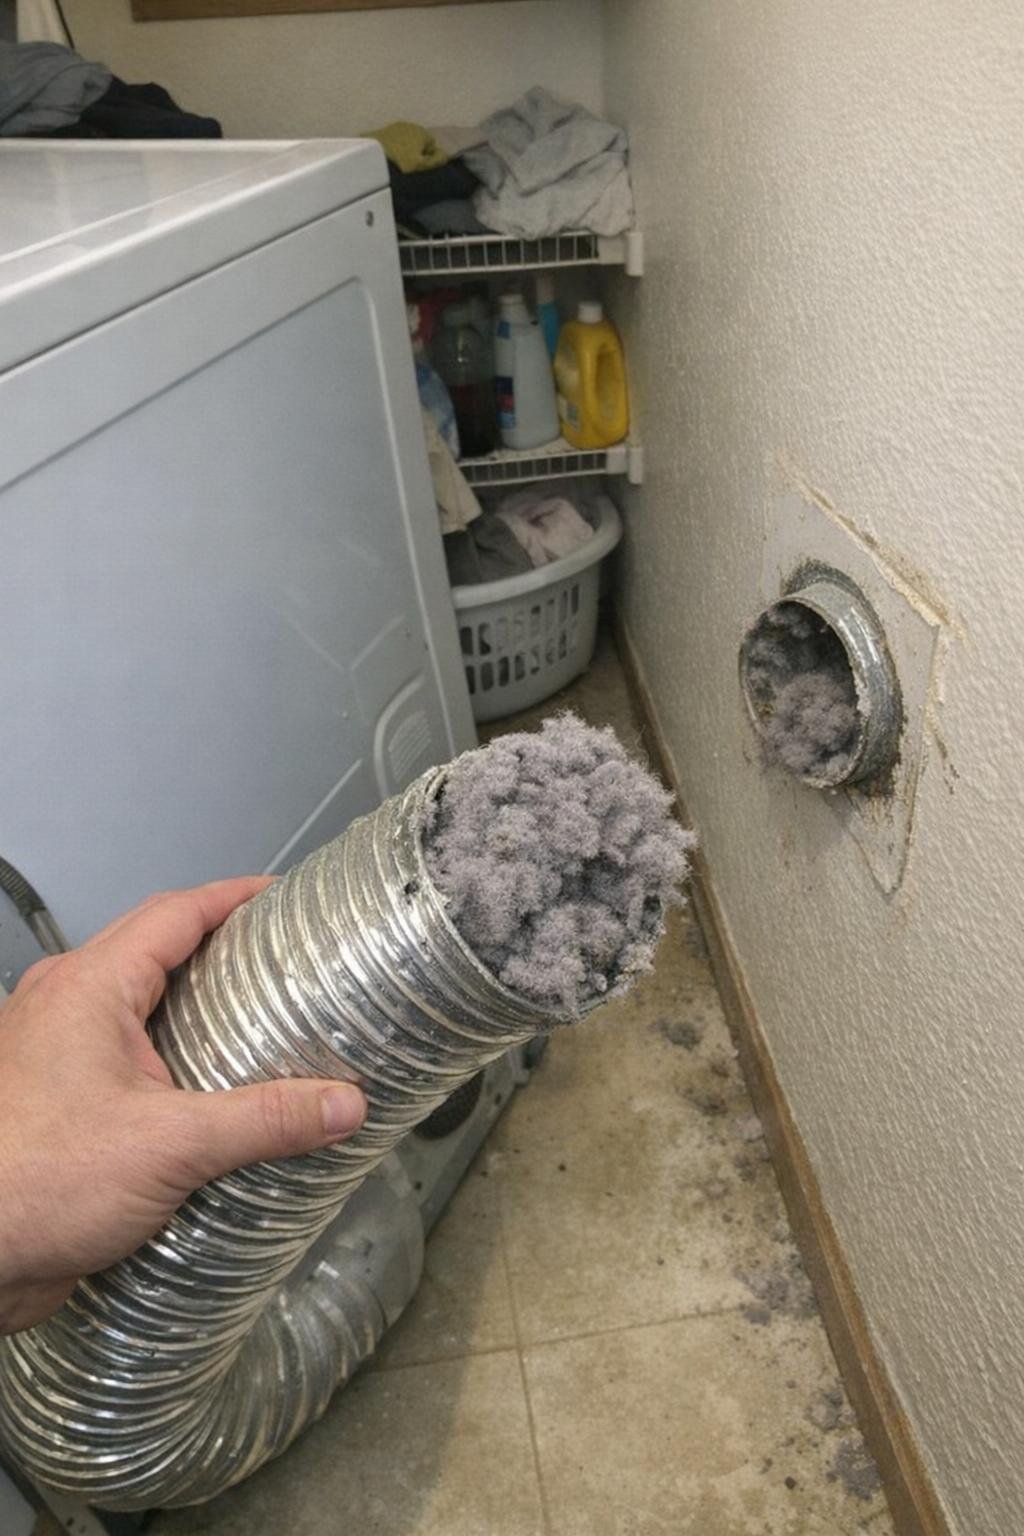
5. Clean the dryer vent duct, not just the lint screen
Do this yearly, or more often if you run several loads a week. Unplug the dryer, pull it out carefully, disconnect the vent hose, and use a $15 dryer vent brush kit with flexible rods to scrub the entire duct run to the exterior hood. Vacuum up the lint at both ends before reconnecting everything tightly.
The lint screen catches only part of the debris. Lint buildup in the duct restricts airflow, makes clothes take longer to dry, overworks the appliance, and creates one of the most common house fire hazards. This small job can prevent a dangerous fire and spare you an appliance replacement too.
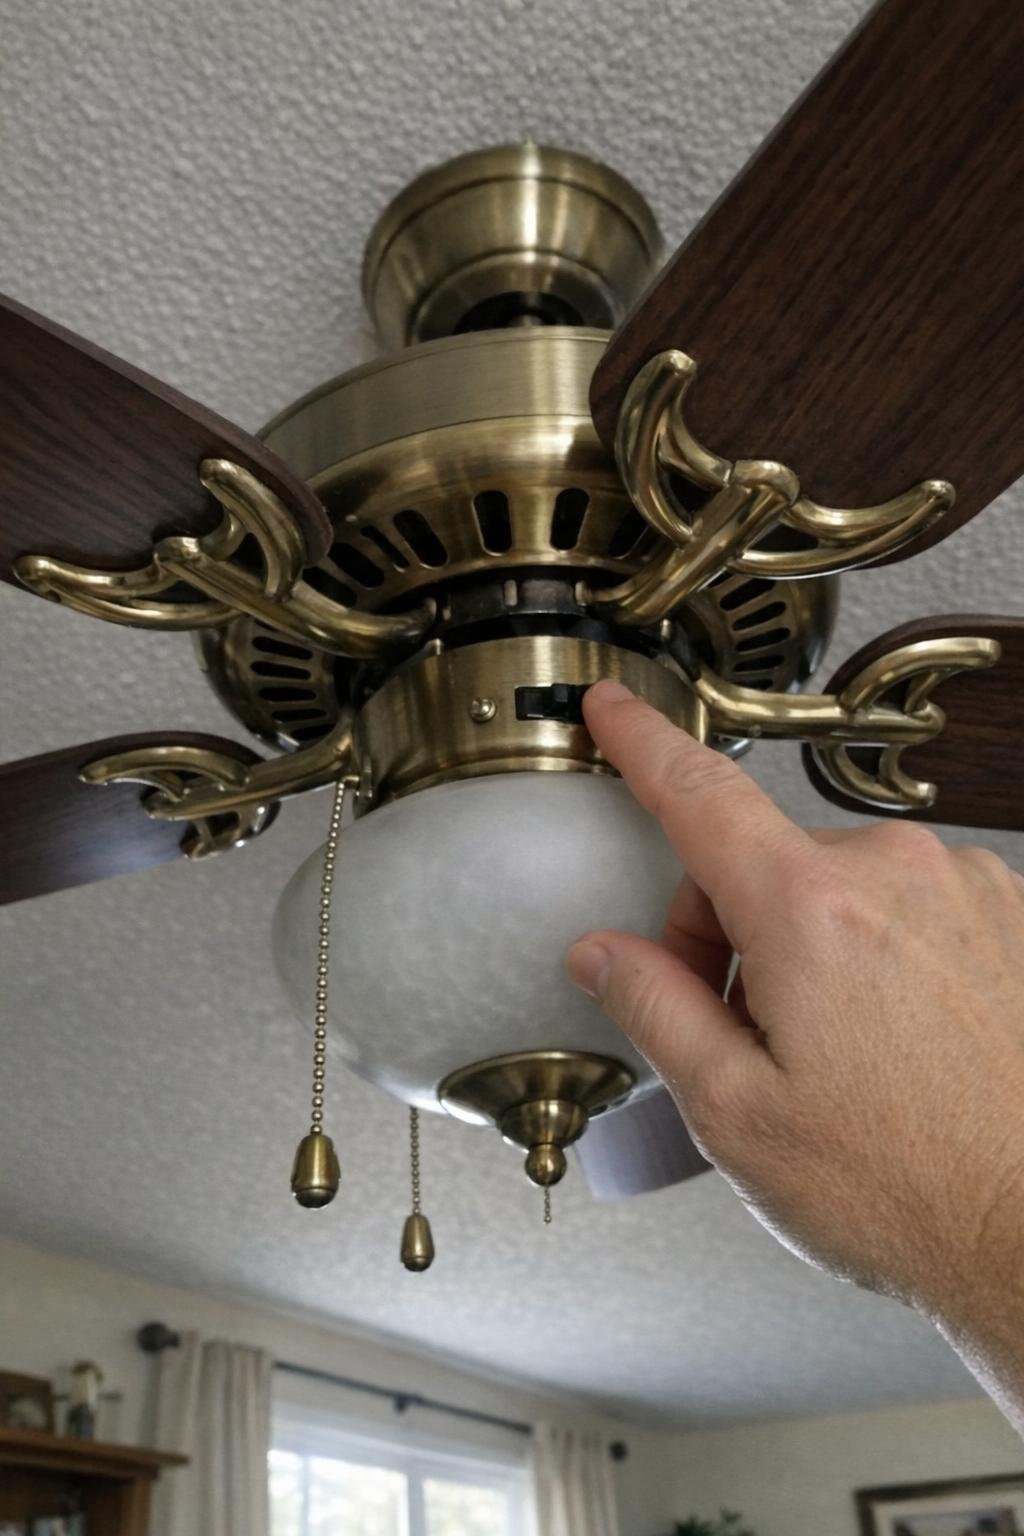
6. Reverse ceiling fans to clockwise
Each winter, flip the small direction switch on the fan motor housing so the blades spin clockwise at low speed. It takes about 30 seconds per fan, and the goal is not a breeze but gentle air circulation that pushes warm air down from the ceiling without creating a draft.
In rooms with high ceilings, this tiny adjustment can make a noticeable difference in comfort and help trim heating bills. If you never change the direction, you’re leaving warm air stranded overhead where it does you no good.
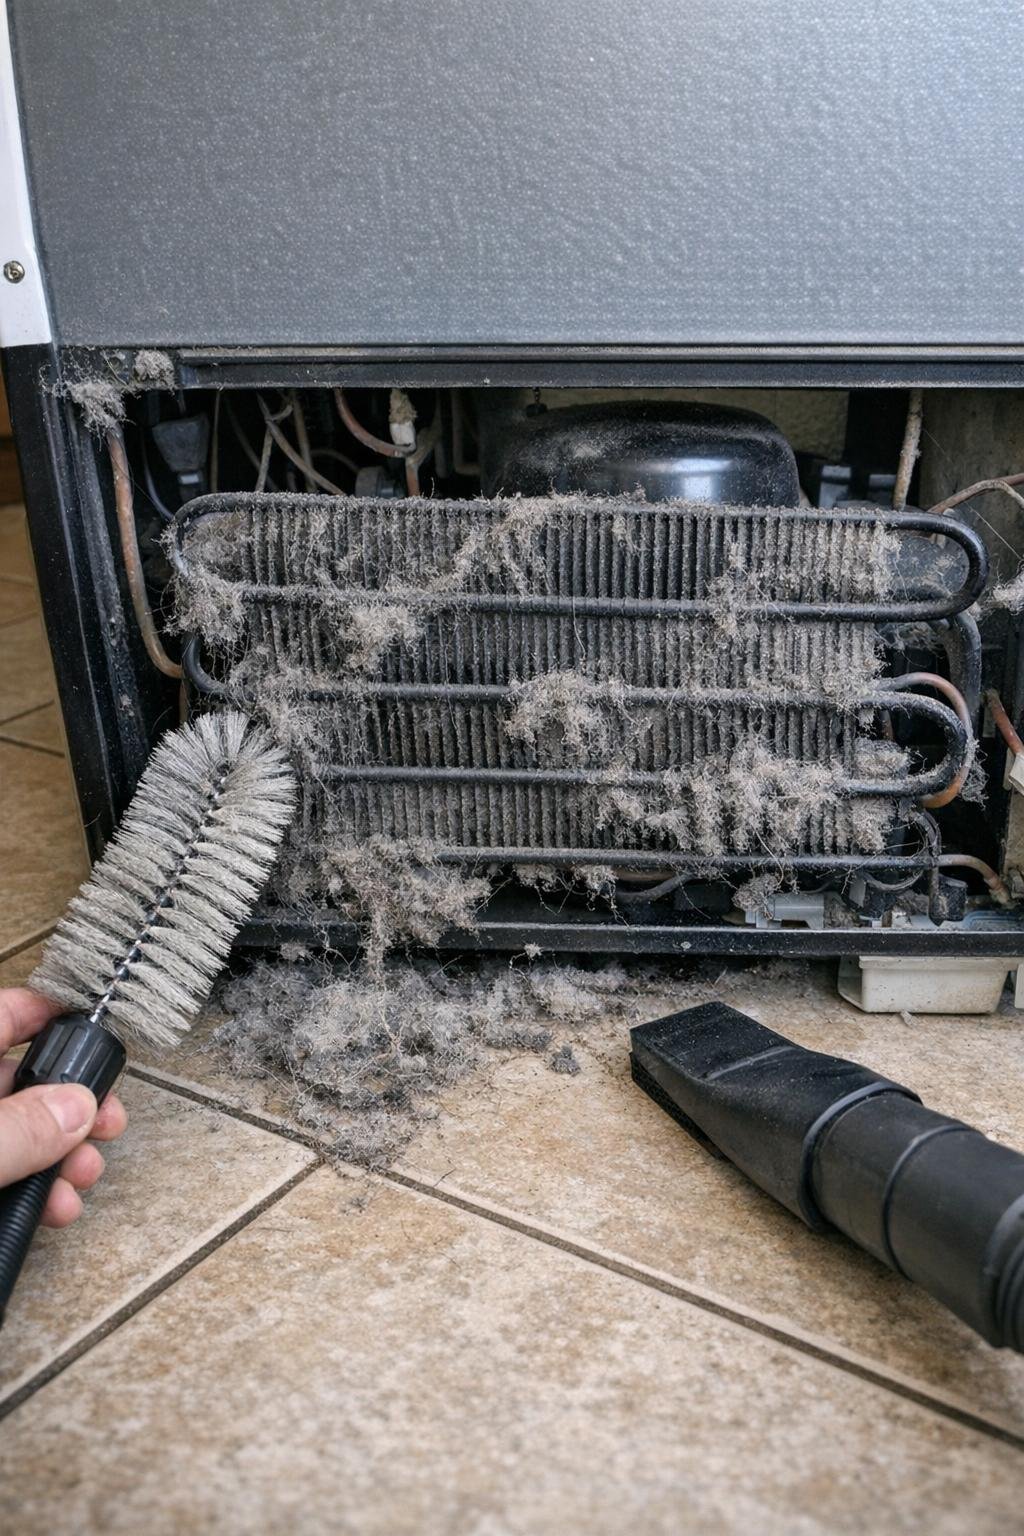
7. Clean refrigerator coils
Do this twice a year. Unplug the refrigerator, remove the lower front grille or pull the unit away from the wall if the coils are behind it, then use a long coil brush and a vacuum crevice tool to pull away dust, pet hair, and kitchen grime. The whole thing often takes less than 15 minutes.
Dirty coils make the compressor run hotter and longer, which wastes electricity and shortens the life of the fridge. I’ve seen coils so fuzzy they looked upholstered, and that kind of neglect can end with an expensive compressor failure or early refrigerator replacement.
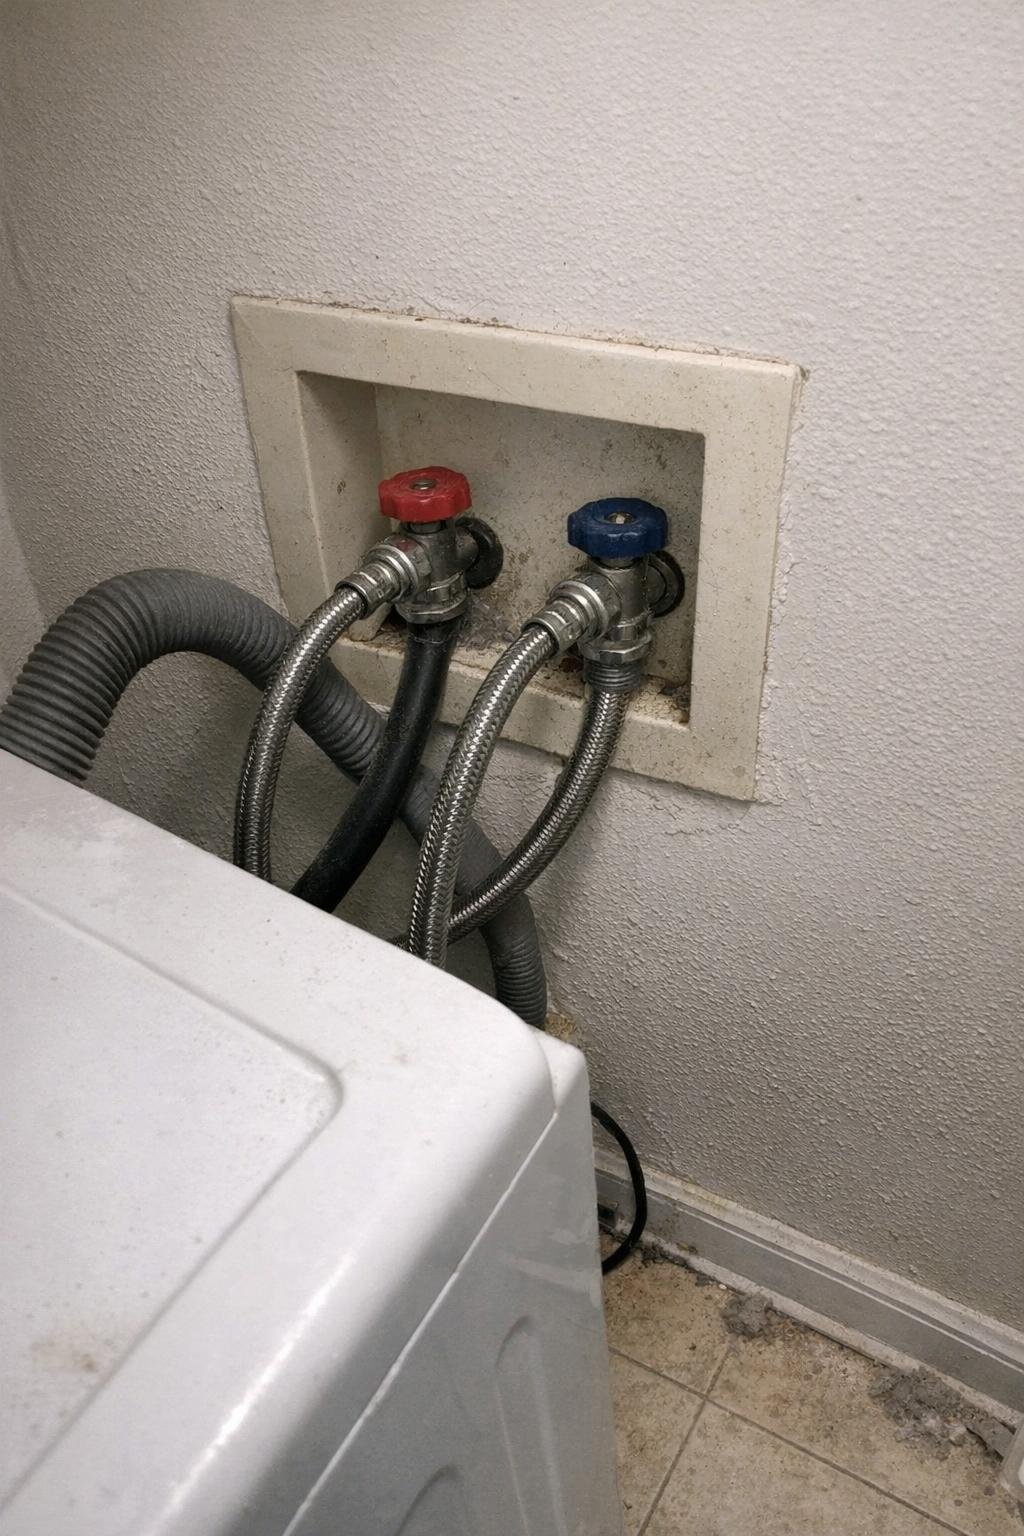
8. Replace rubber washing machine hoses with braided steel
Check the hoses now, and replace them every 5 years if they’re still rubber. Shut off the hot and cold supply valves, unscrew the old hoses, and install braided stainless steel hoses with new washers, tightening snugly but not excessively. Keep an eye out for bulges, cracks, or rust around the connections while you’re there.
This is one of those upgrades I consider cheap insurance. Rubber hoses can fail without much warning, and a burst line can flood a laundry room fast, damaging flooring, drywall, and rooms below if the machine is upstairs.
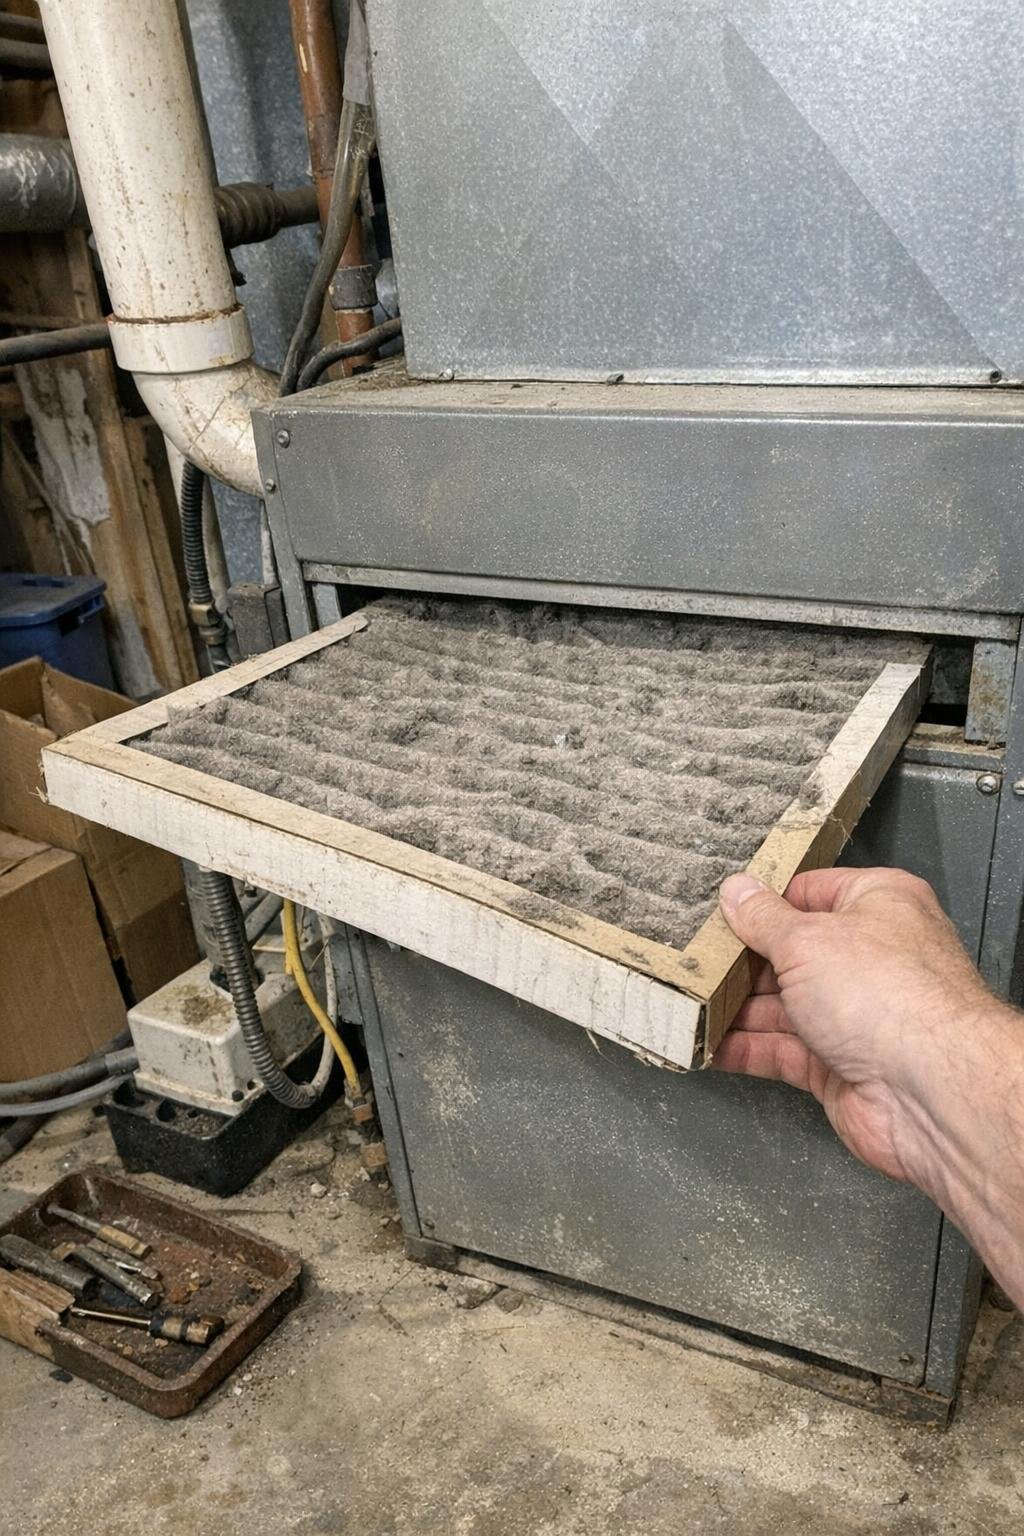
9. Furnace filter and tune-up
Change the furnace filter every 90 days, or more often if you have pets, and schedule a professional service visit before heating season. Slide out the old filter, match the size exactly, and insert the new one with the airflow arrow pointed the correct way. A technician can then check burners, ignition, blower performance, and safety controls.
A clogged filter starves the system for airflow and makes the furnace work harder than it should. That can mean poor heating, higher utility bills, and a mid-winter breakdown when service calls are busiest and most expensive.
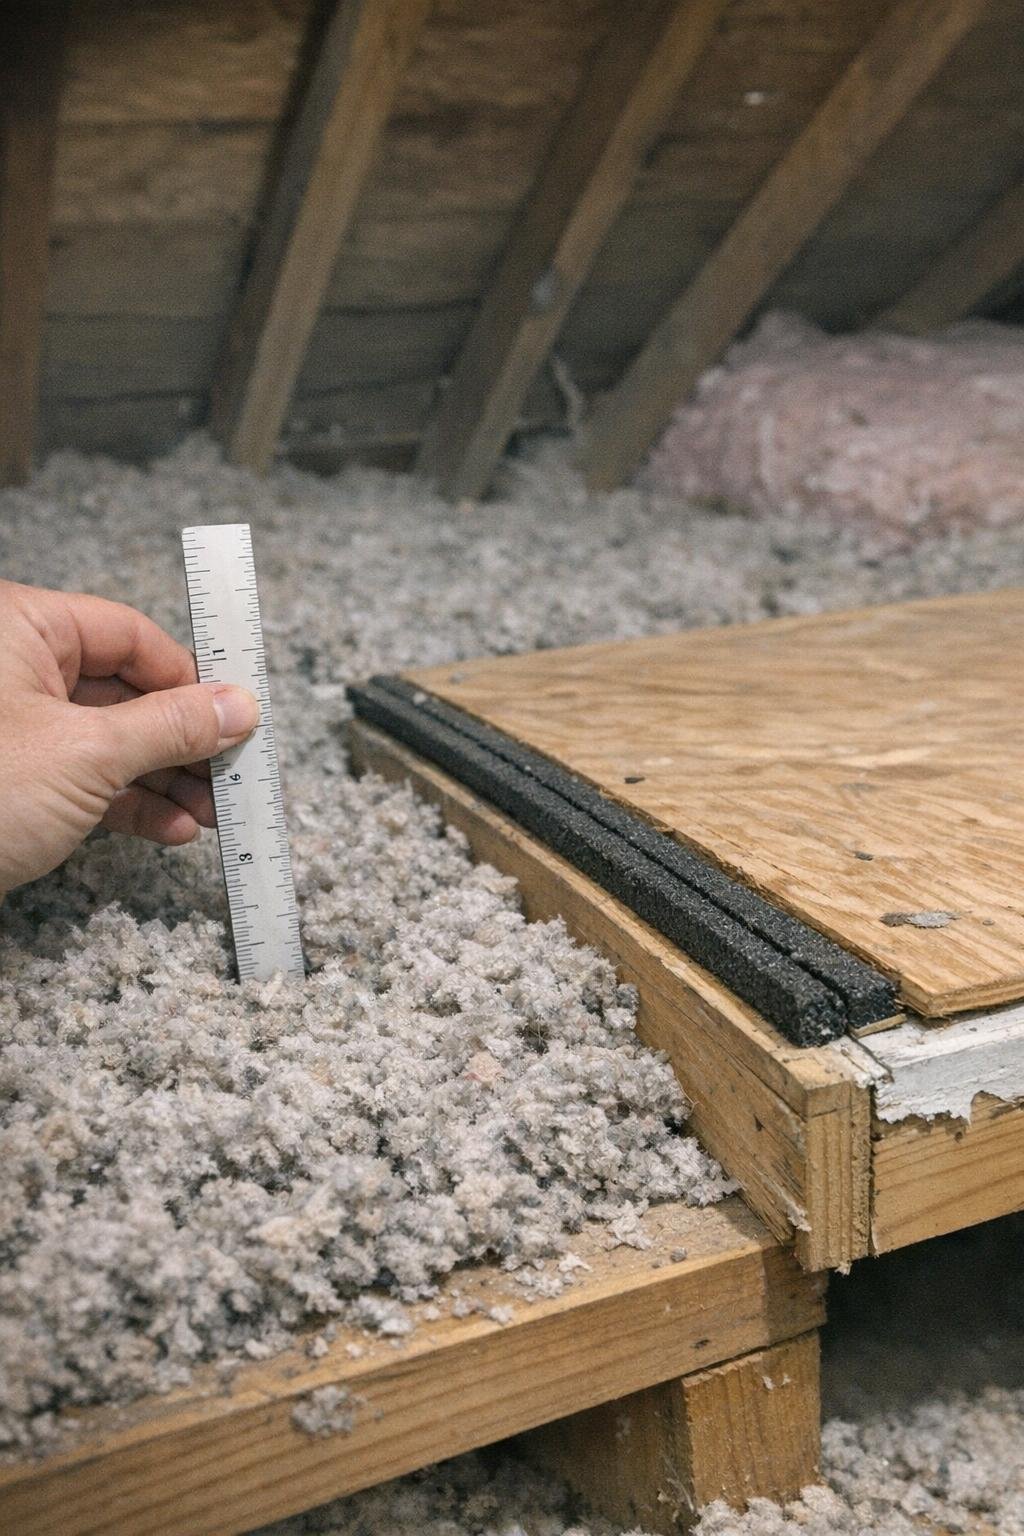
10. Check attic insulation depth and seal the attic hatch
Do this before cold weather sets in. Bring a ruler into the attic and measure insulation depth in a few spots; many homes need roughly 10 to 14 inches or more, depending on the material and climate. Then add adhesive weatherstripping around the attic hatch or pull-down stairs so warm indoor air can’t leak up into the attic.
That hatch is often one of the biggest heat leaks in the house, and it’s easy to forget because it’s overhead and out of the way. Better insulation and a tight hatch can lower heating costs in a single season and help prevent ice dams and comfort problems upstairs.
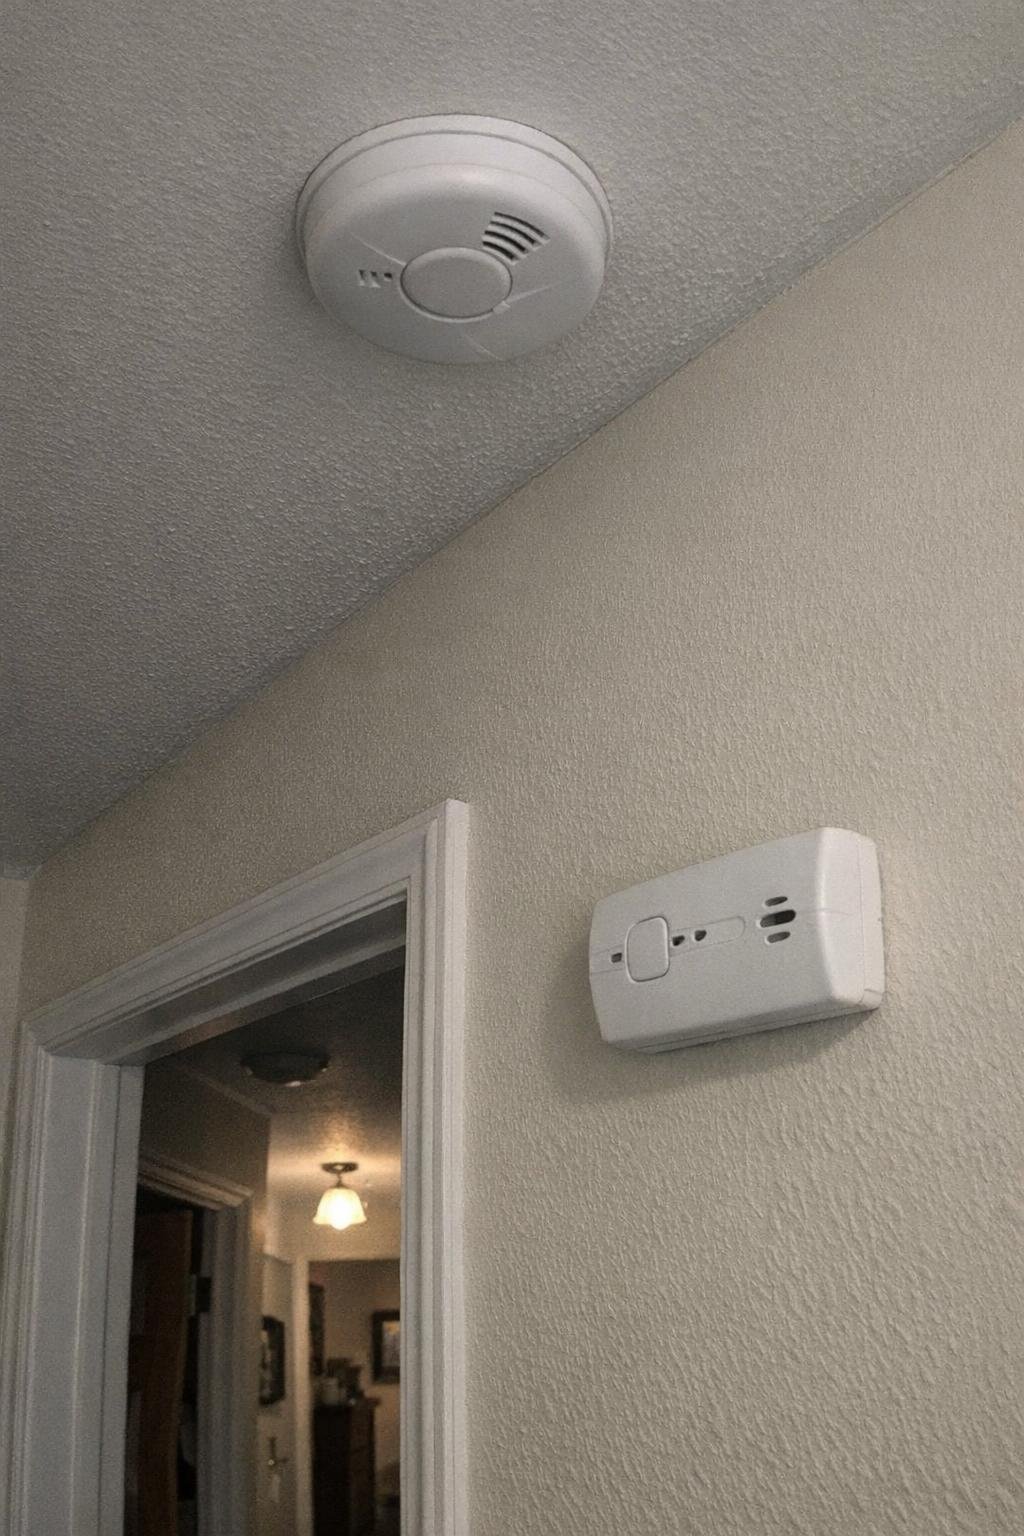
11. Test smoke and carbon monoxide detectors
Press the test button monthly, replace batteries yearly unless the units use sealed long-life batteries, and replace the detectors themselves at 10 years. Make sure carbon monoxide detectors are installed near bedrooms, because that’s where early warning matters most while people are sleeping.
This is the least glamorous task on the list, but it may be the most important. A dead detector can’t warn you about smoke or carbon monoxide, and both can become life-threatening long before there are obvious signs.
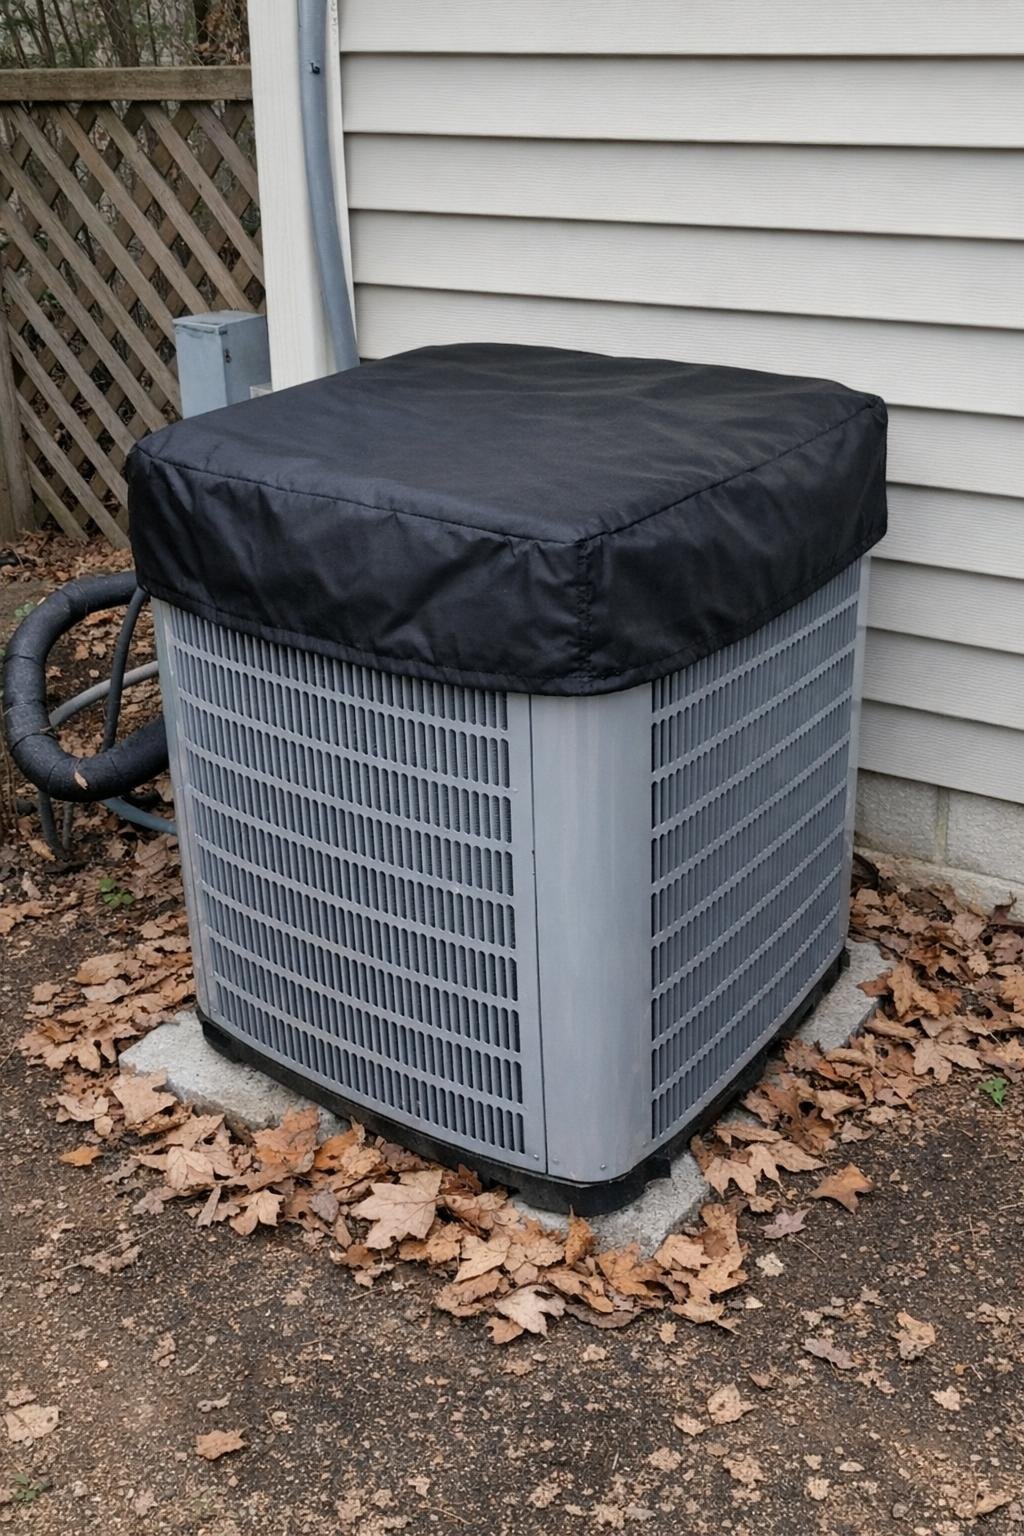
12. Clean and winterize the outdoor AC unit
At the end of cooling season, hose off leaves, grass clippings, and dirt from the condenser fins with gentle water pressure, working from the inside out if you can safely access it. Once the unit is dry, cover the top only with a condenser cover or a piece of plywood secured lightly; don’t wrap the whole unit, because trapped moisture can do more harm than good.
This quick winter task helps keep debris and falling ice out while avoiding rust-prone conditions. Skip cleanup entirely and you can head into spring with blocked airflow or, in some cases, a stressed compressor facing an avoidable repair.
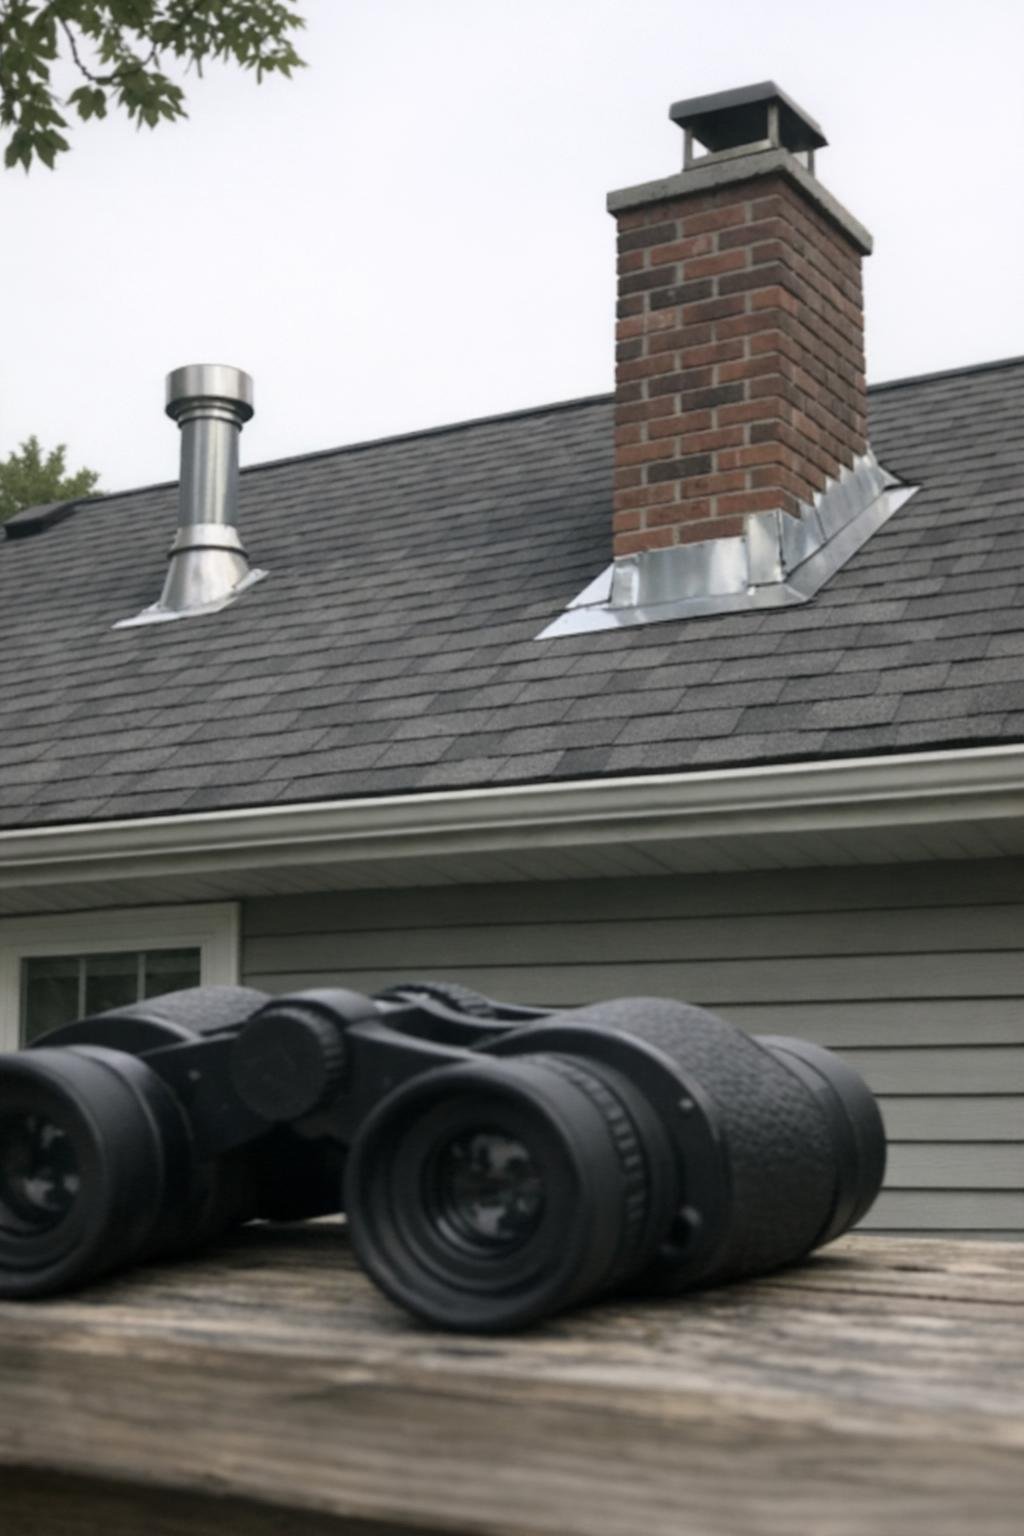
13. Inspect roof shingles and flashing from the ground with binoculars
Do this twice a year, ideally in spring and fall. Stand back with binoculars and look for curled, cracked, or missing shingles, exposed nail heads, sagging areas, and flashing that looks lifted around chimneys, vents, or valleys. You’re not trying to diagnose every roofing issue yourself, just catch obvious trouble early.
This is a perfect example of a small problem becoming a big one. A simple repair that might cost $300 now can turn into a $3,000 leak repair later once water gets into sheathing, insulation, and drywall.
14. Clean the range hood filter and check the exhaust duct
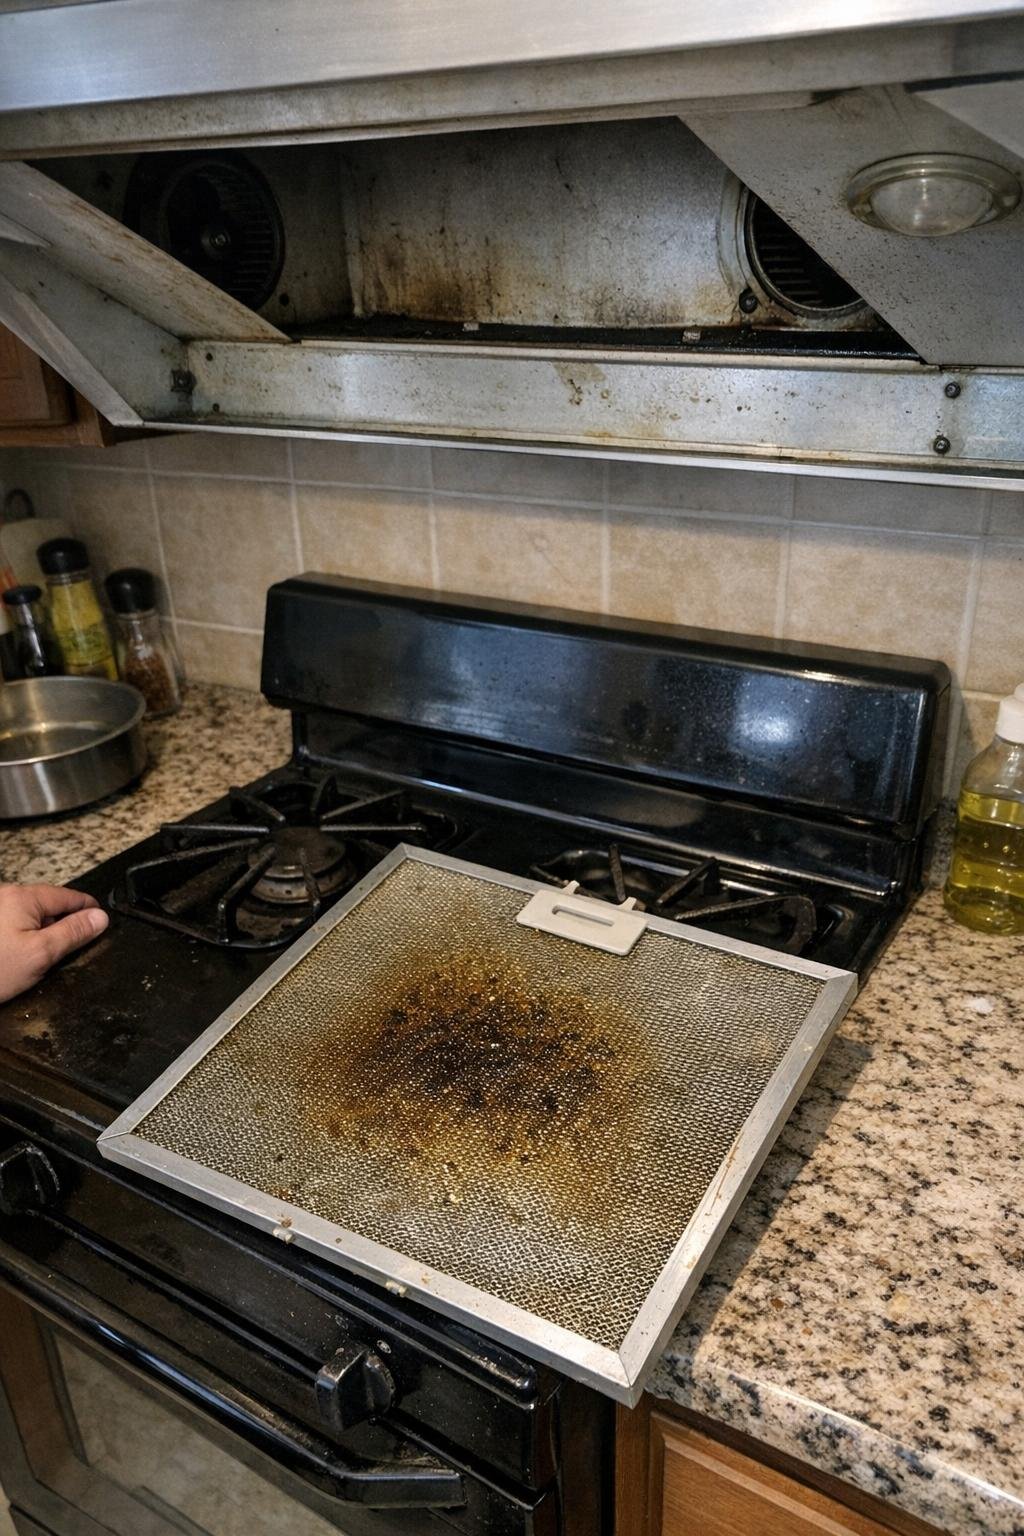
Do this monthly if you cook often. Remove the metal mesh filter, soak it in very hot or boiling water with a few tablespoons of baking soda and dish soap, then scrub off the grease and let it dry before reinstalling. While it’s out, look into the exhaust opening and check that the duct isn’t accumulating sticky grease.
As a cook, I can tell you kitchen grease gets everywhere, and the hood is no exception. A neglected filter reduces ventilation, leaves odors hanging around, and can let grease build up in the duct, which is a genuine fire hazard.
15. Deep clean toilet siphon jets and check the flapper
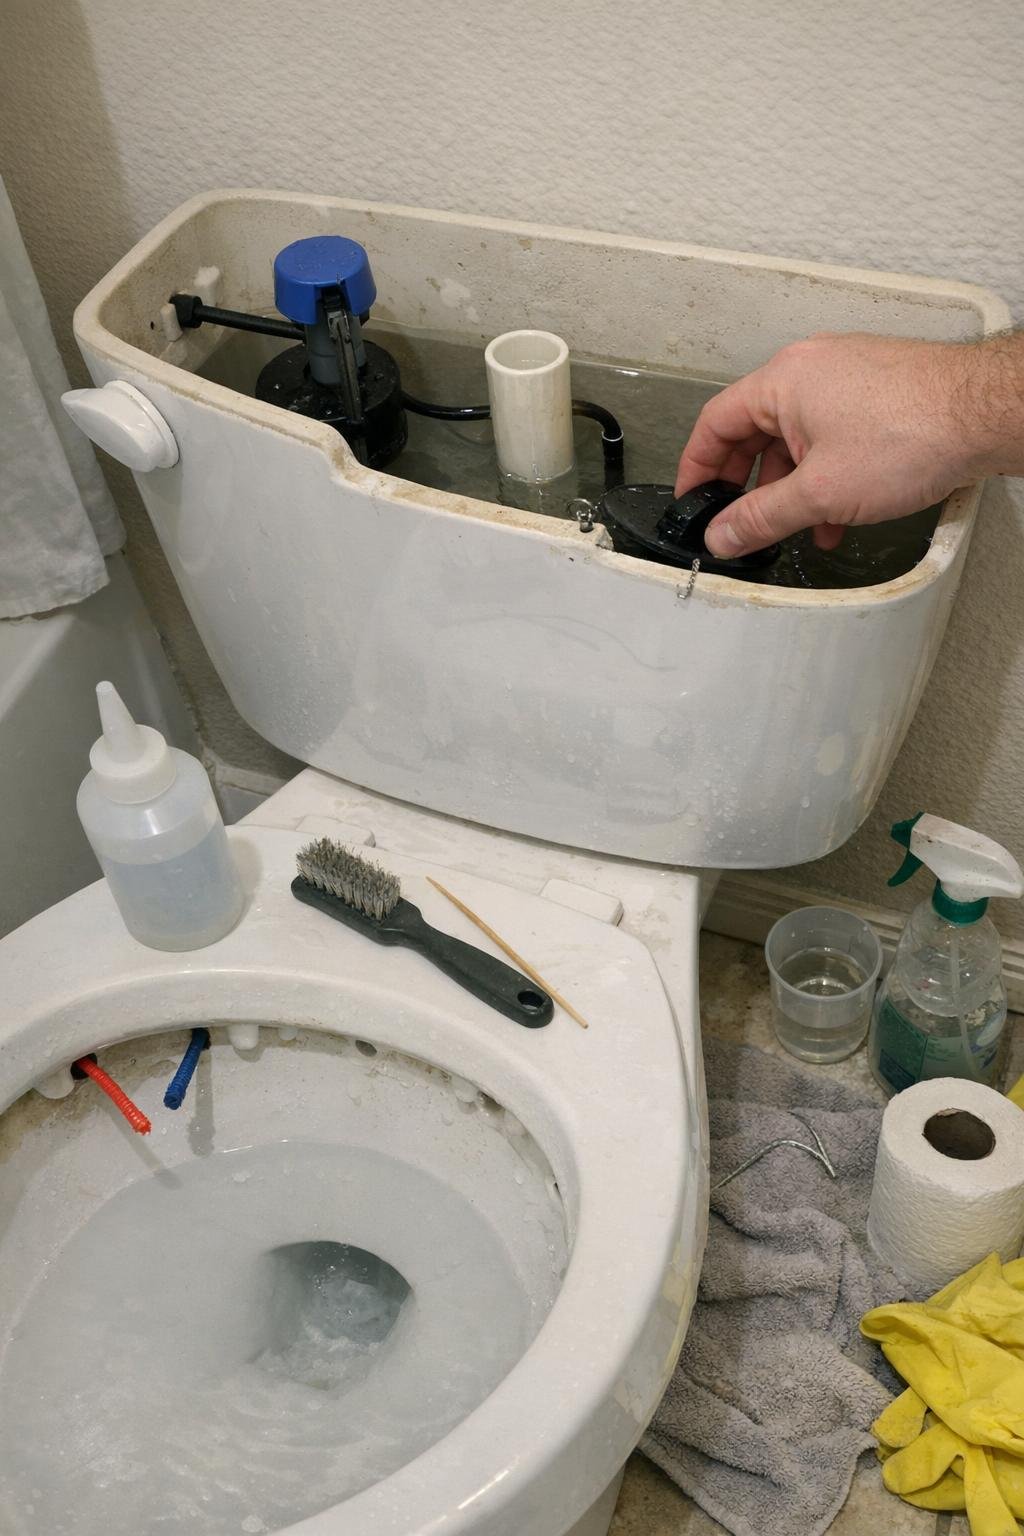
Once a year, press vinegar-soaked paper towels under the rim to cover the siphon jets and leave them for a few hours before scrubbing. Then add a few drops of food coloring to the tank and wait 15 to 20 minutes without flushing; if color shows up in the bowl, the flapper is leaking and should be replaced.
This little tune-up solves two common annoyances: weak flushing from mineral-clogged jets and silent tank leaks that waste water every day. A new flapper costs very little, but ignoring the issue can add up on your water bill month after month.
16. Seal drafts around windows and doors
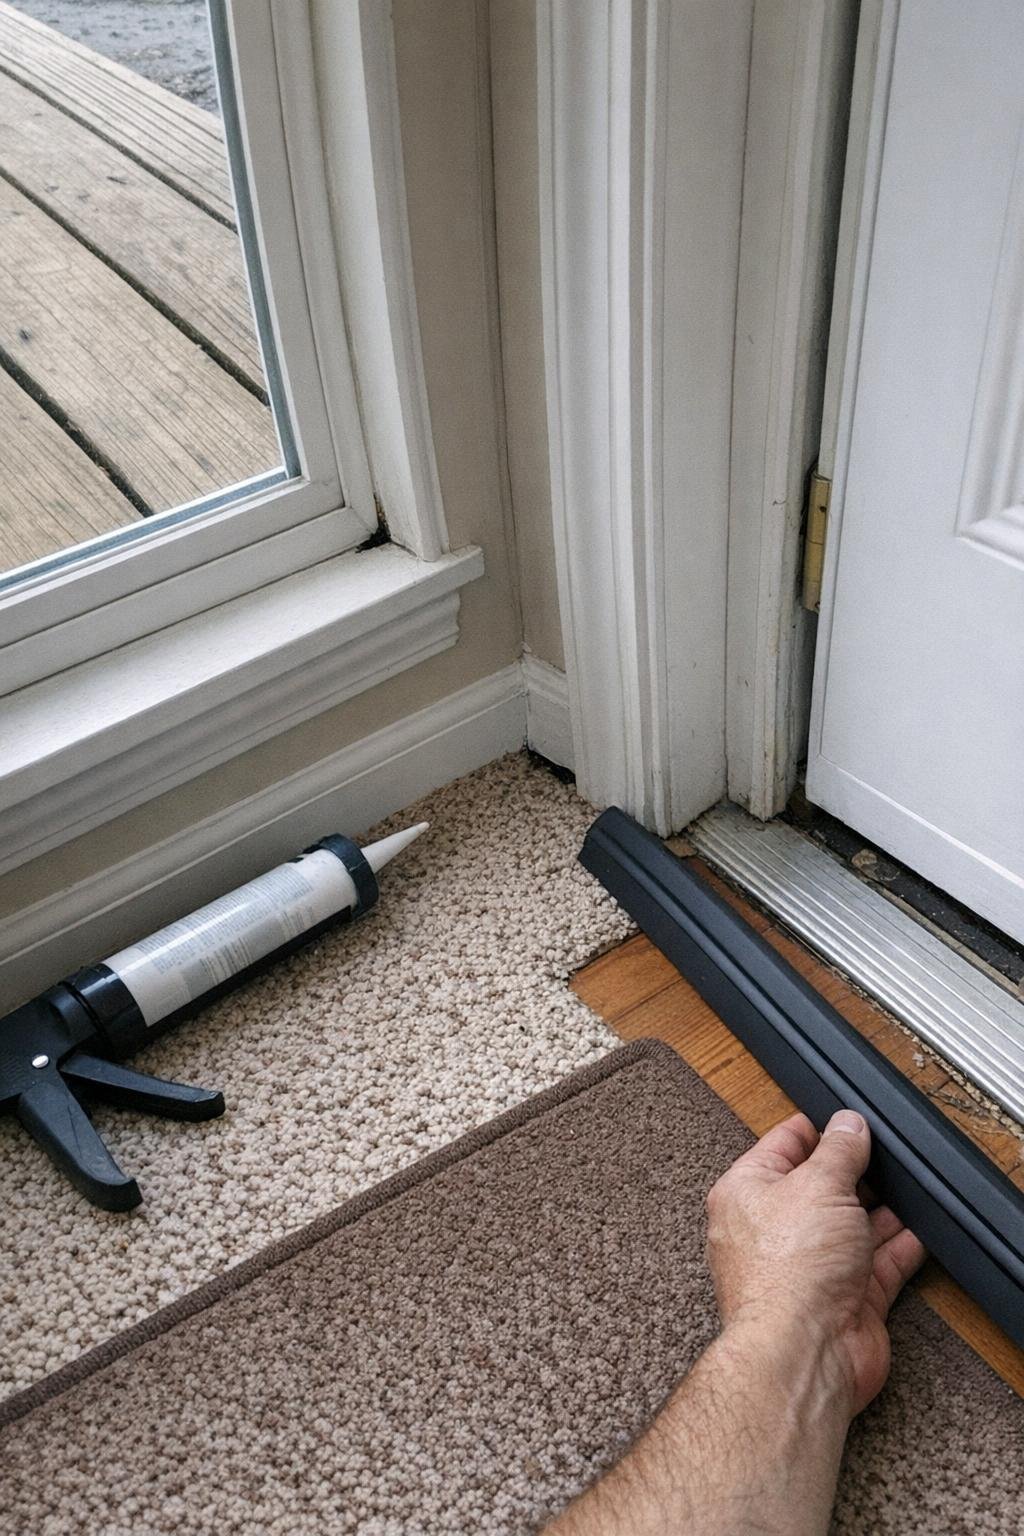
Each winter, use the candle test or simply a damp hand to feel for moving air around window trim, sashes, door frames, and thresholds. Then seal gaps with paintable caulk, fresh weatherstripping, or door sweeps where needed. Most of the work is simple and low-cost, but the comfort difference can be immediate.
Drafts are sneaky energy thieves. If you leave them alone, your furnace runs longer, some rooms stay chilly, and you keep paying to heat outdoor air that’s slipping inside through small gaps.
17. Reseal natural stone counters and grout
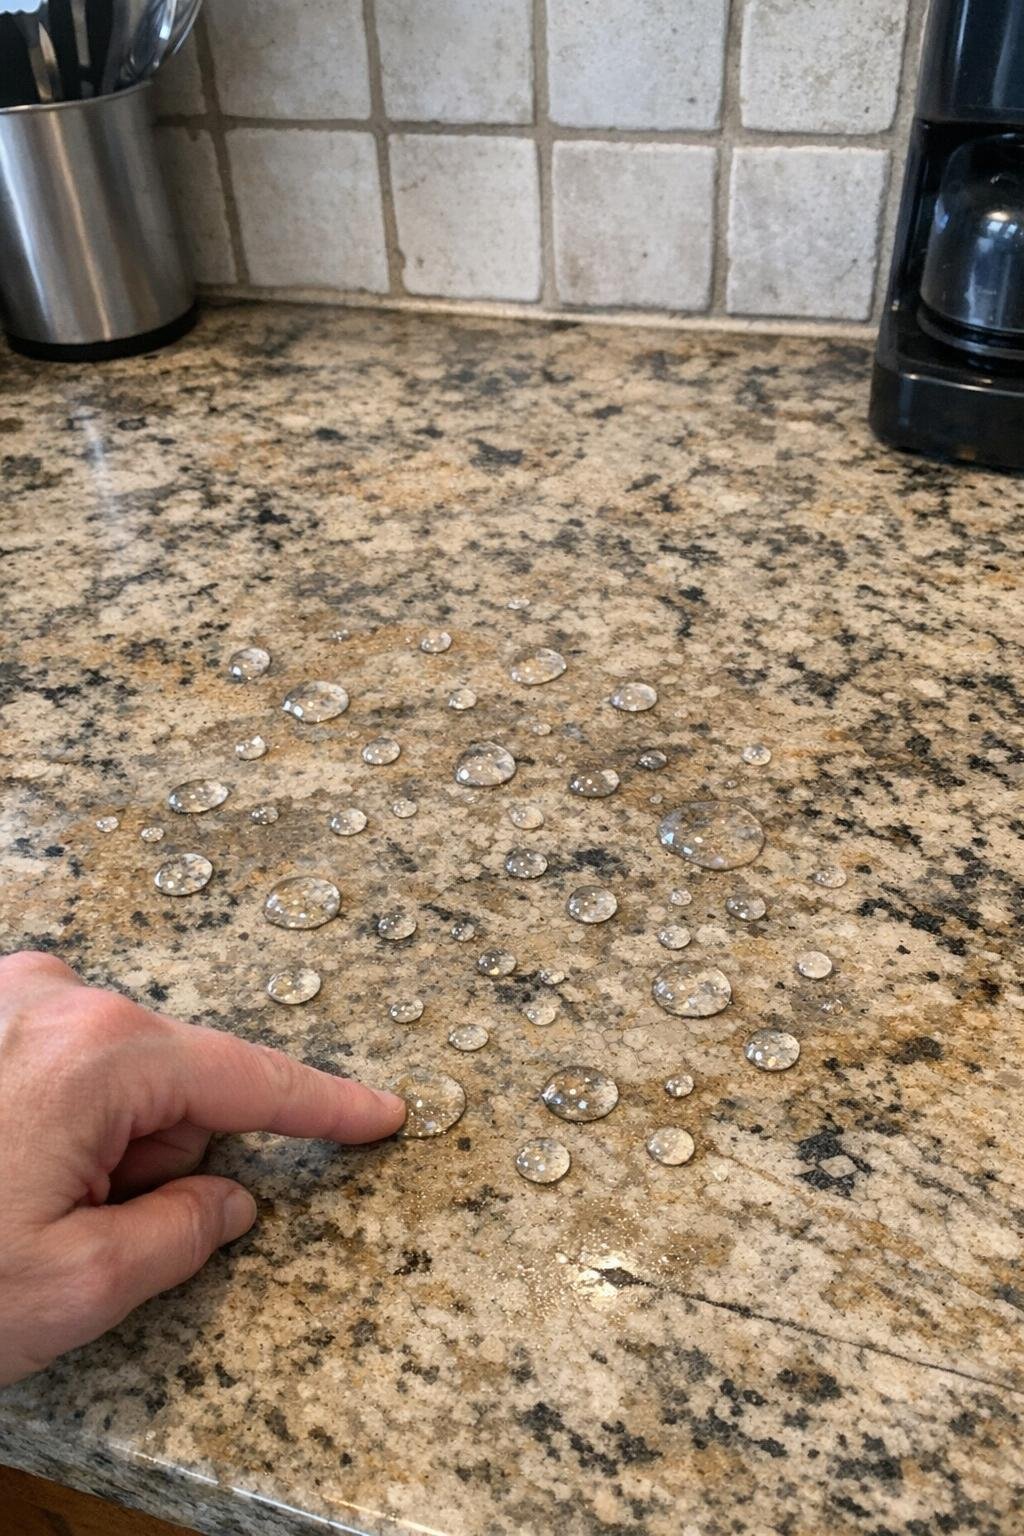
Check yearly using the water-drop test: sprinkle a few drops of water on the stone and grout, and if it darkens within 5 to 10 minutes, it’s time to reseal. Clean and dry the surface thoroughly, apply a penetrating stone sealer with a soft cloth or applicator pad, let it dwell per product directions, then buff off the excess.
Stone and grout are more porous than many people realize. Without sealer, oil, wine, coffee, tomato sauce, and everyday kitchen spills can leave permanent stains that are difficult or impossible to remove.
18. Flush the garbage disposal and clean the sink trap
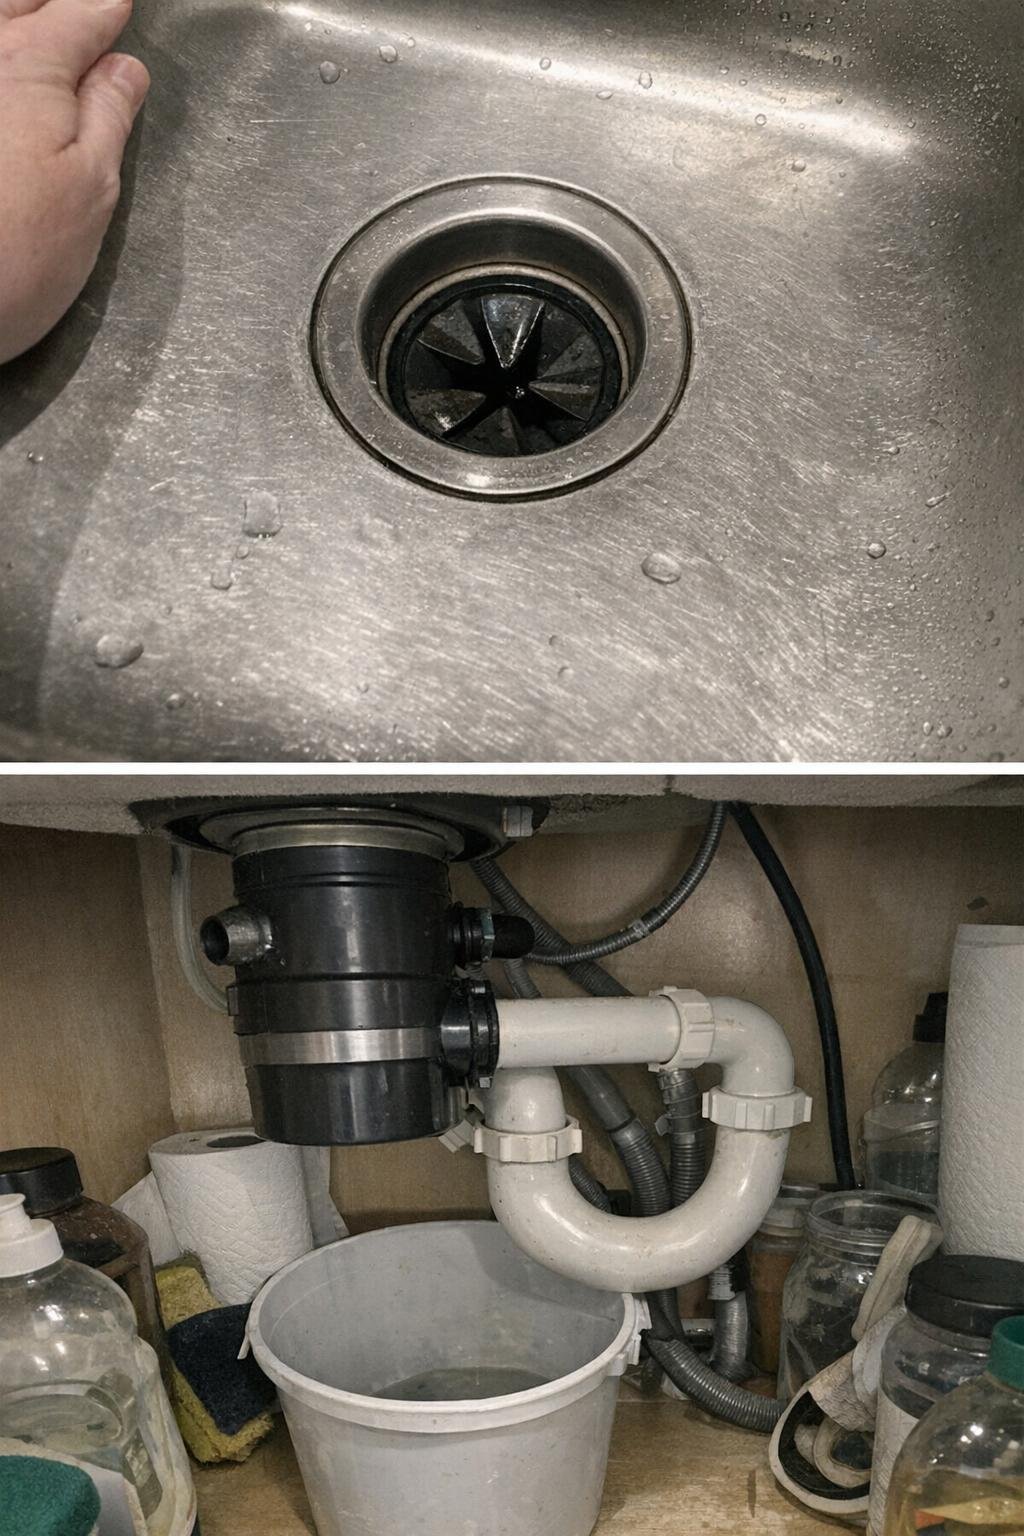
Monthly, run the disposal with a handful of ice and 1 to 2 tablespoons of coarse salt to knock residue off the grinding chamber. Once a year, place a bucket under the P-trap, loosen the slip nuts, remove the trap, and rinse out the sludge that inevitably collects there before reinstalling it carefully.
This is one of those under-sink chores nobody remembers until the basin drains slowly or starts to smell. A 10-minute cleanup can prevent the kind of clog that turns into a plumber call and an avoidable service charge.
19. Clean the chimney and inspect the damper before the first fire
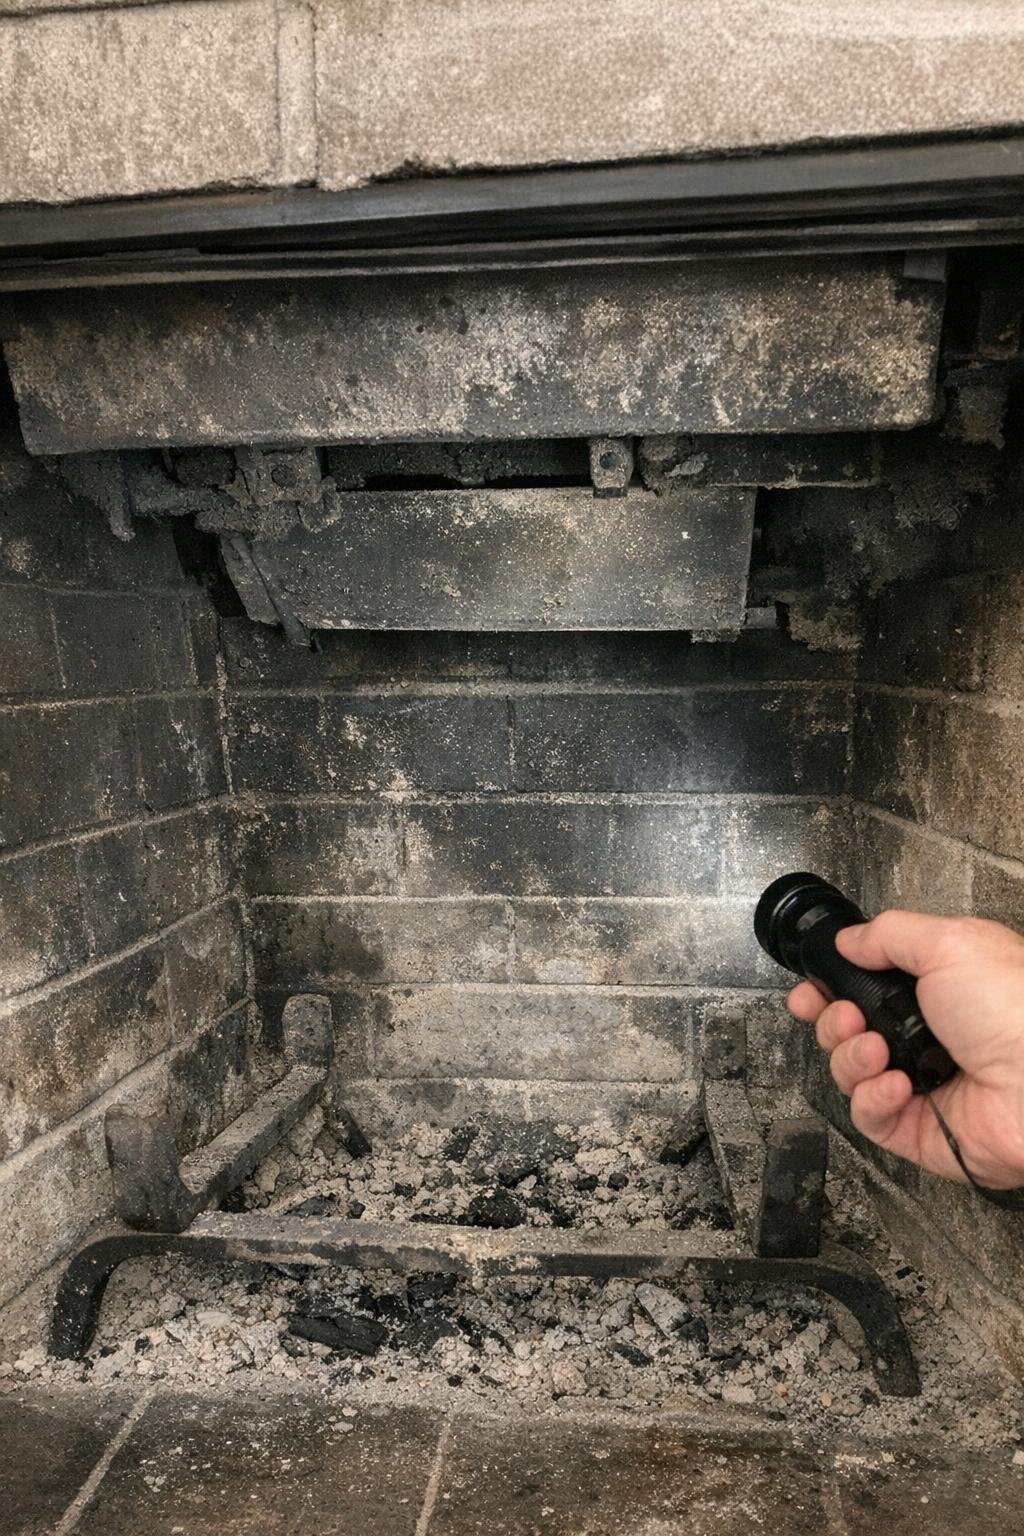
If you use the fireplace weekly during the heating season, have the chimney cleaned yearly by a certified sweep. Before the first fire, open and close the damper to make sure it moves freely and actually seals when shut, and shine a flashlight upward to look for obvious blockages like leaves or nesting debris.
Creosote buildup is not something to shrug off. It is highly combustible, and an unclean chimney or stuck damper can lead to smoke problems indoors or, worse, a chimney fire that damages the flue and masonry.
20. Test the garage door balance and safety sensors
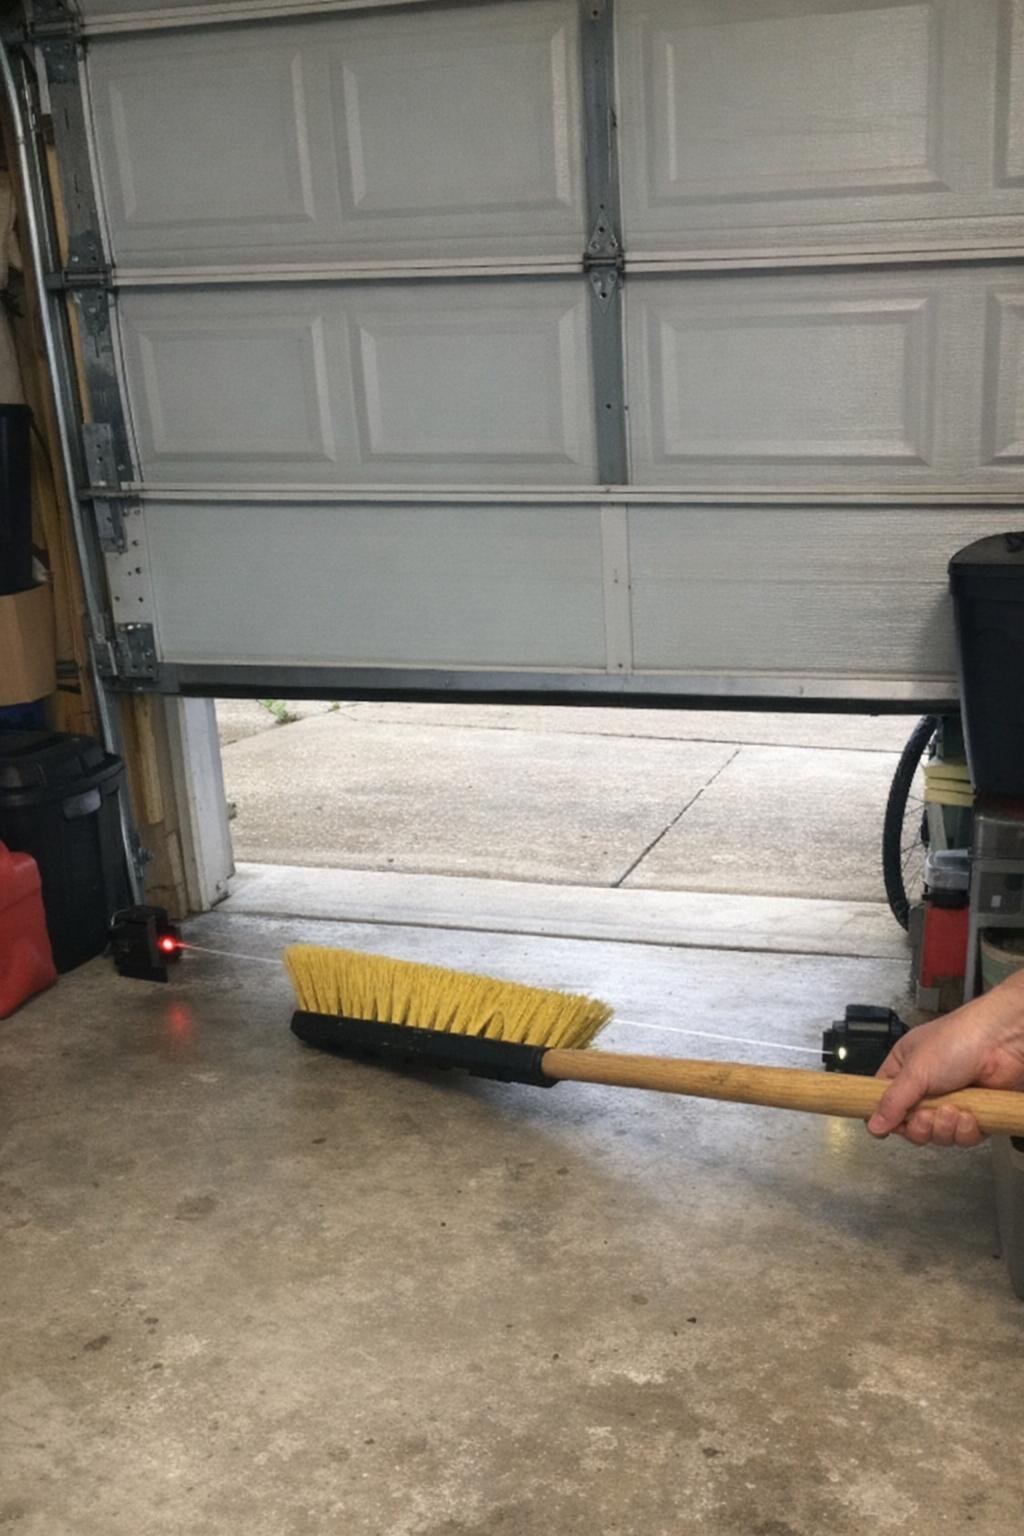
Check this monthly. Pull the opener release cord, lift the door manually to about halfway, and see whether it stays put; if it drops or shoots upward, the balance is off and the springs may need professional adjustment. Then reconnect the opener and wave a broom through the safety sensor beam near the floor to confirm the door reverses immediately.
A poorly balanced garage door strains the opener and can signal a spring problem, which is both dangerous and expensive if it fails suddenly. Catching it early may save you a roughly $400 repair and, more importantly, help prevent injury.
None of these tasks is complicated, but together they protect the systems that quietly keep a house running. Put them on a calendar, tackle a few each month, and you’ll spend a lot less on emergencies than the homeowners who wait for something to fail.
