
When I need a low-stress dessert for a potluck, book club, or one of those weeknights when I still want to bake something homemade, this simple bar recipe is exactly the kind of thing I reach for. It has that classic Midwestern bake-sale feel with pantry staples doing most of the work, and the batter comes together fast enough that it fits into a busy day without turning the kitchen upside down.
These bars are especially good served slightly warm or fully cooled with coffee, hot tea, or a glass of cold milk. For a more dressed-up dessert, add a scoop of vanilla ice cream or a spoonful of whipped cream, and if you’re bringing them to a brunch table, they pair surprisingly well with fresh fruit and a savory egg dish.
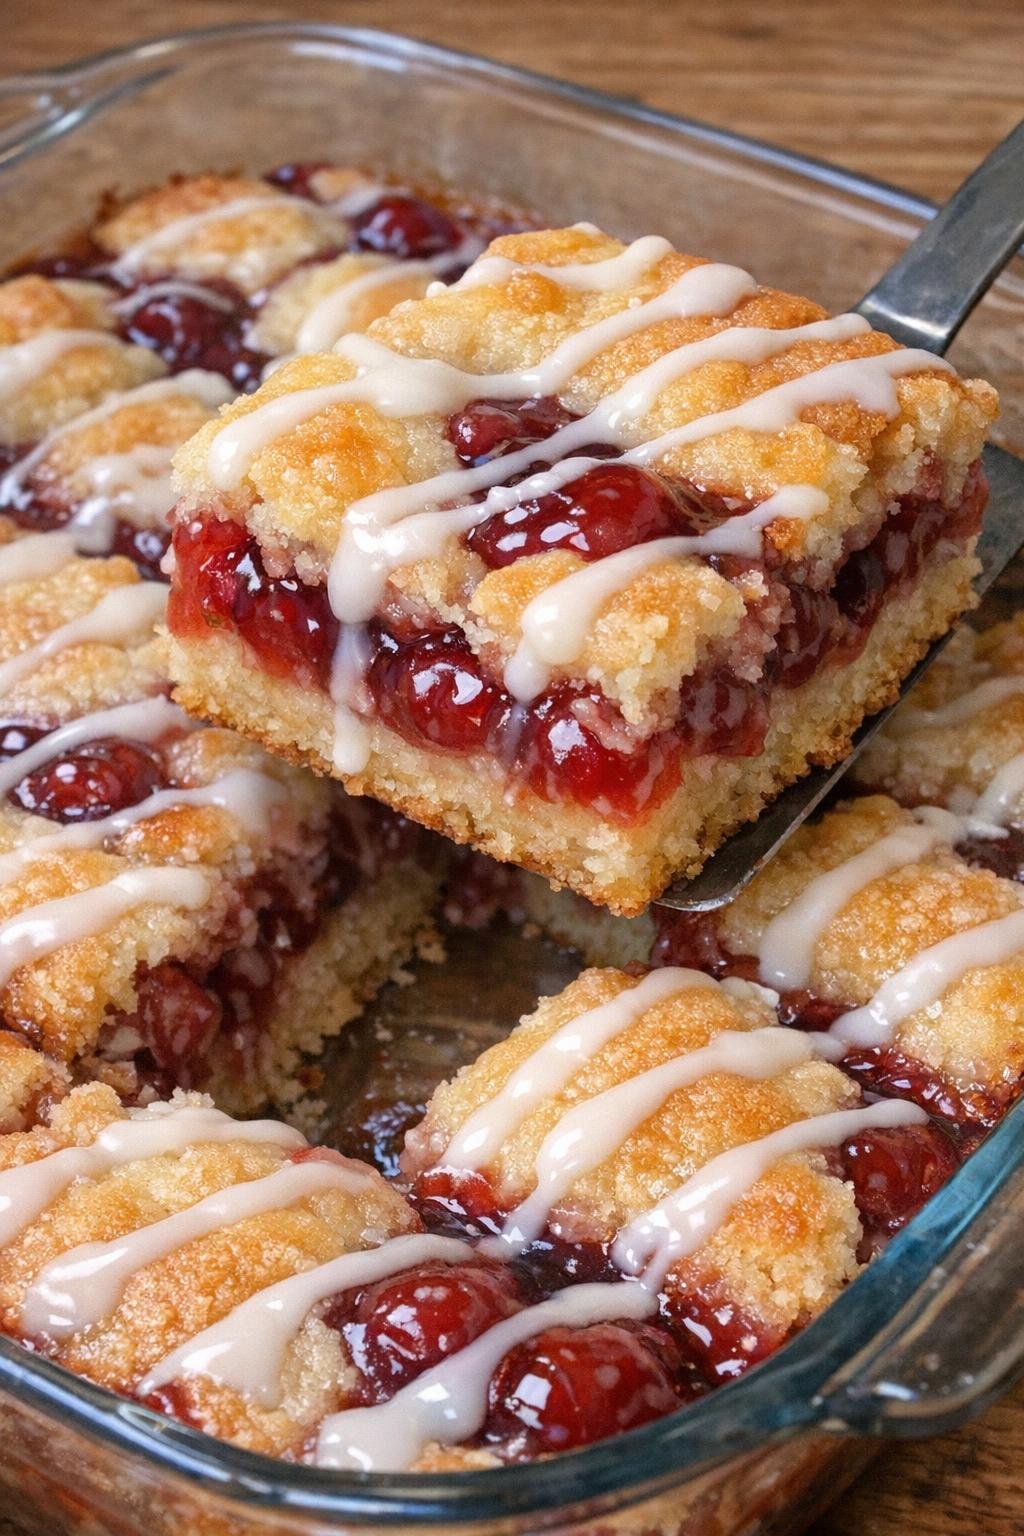
Oven Baked 5-Ingredient Cherry Pie Bars
Servings: 16 bars
Ingredients
1 cup butter, softened
Directions
1. Preheat your oven to 350°F and lightly grease a 9x13-inch glass baking dish.
2. In a large mixing bowl, beat the softened butter and sugar together until light and creamy.
3. Beat in the eggs one at a time, mixing well after each addition.
4. Add the flour and mix just until combined. The batter will be thick.
5. Spread about two-thirds of the batter into the prepared baking dish, smoothing it into an even layer.
6. Spoon the cherry pie filling evenly over the batter.
7. Drop the remaining batter by spoonfuls over the top of the cherry filling.
8. Bake for 35 to 40 minutes, or until the top is lightly golden and the center is set.
9. Let the bars cool completely in the pan before slicing into squares and serving.
Variations & Tips
Add a simple glaze: If you want them to look a little more bakery-style, drizzle the cooled bars with a quick icing made from powdered sugar and a small splash of milk. It adds a nice finishing touch, especially if you’re bringing them to a gathering.
Try a different pie filling: This same base works well with blueberry, raspberry, or apple pie filling if cherry isn’t your favorite. It’s an easy way to use the same recipe for different seasons and occasions.
Use parchment for easy lifting: If you prefer very neat slices, line the baking dish with parchment paper before adding the batter. Once the bars are fully cooled, you can lift the whole slab out and cut cleaner squares.
Do not overmix the flour: Once the flour goes in, mix only until you no longer see dry streaks. That helps keep the bars tender instead of heavy.
Cool completely before cutting: I know it’s tempting to slice early, but giving the bars time to cool helps the filling set up and keeps the layers from sliding around when you cut them.