These Low Carb 3-Ingredient Tuna Bakes are my updated take on the warm, cheesy tuna bites my grandma used to set out at every family gathering. They were always the first thing gone—simple, savory, and totally addictive. This version keeps that same cozy, melt-in-your-mouth vibe but trims things down to just three basic ingredients and a low-carb profile. They’re perfect for busy weeknights, game days, or when you need something quick and satisfying that doesn’t feel fussy.
Serve these tuna bakes hot, straight from the oven, when the cheese is still melty and the edges are crisp. I like to pair them with crunchy raw veggies and ranch or a simple green salad for a light meal. They’re also great on a party tray alongside olives, pickles, and sliced cucumbers. For something heartier, spoon them over a bed of sautéed spinach or roasted broccoli. If you’re not strictly low carb, you can tuck them into lettuce wraps or serve with whole grain crackers on the side for anyone who wants a little crunch.
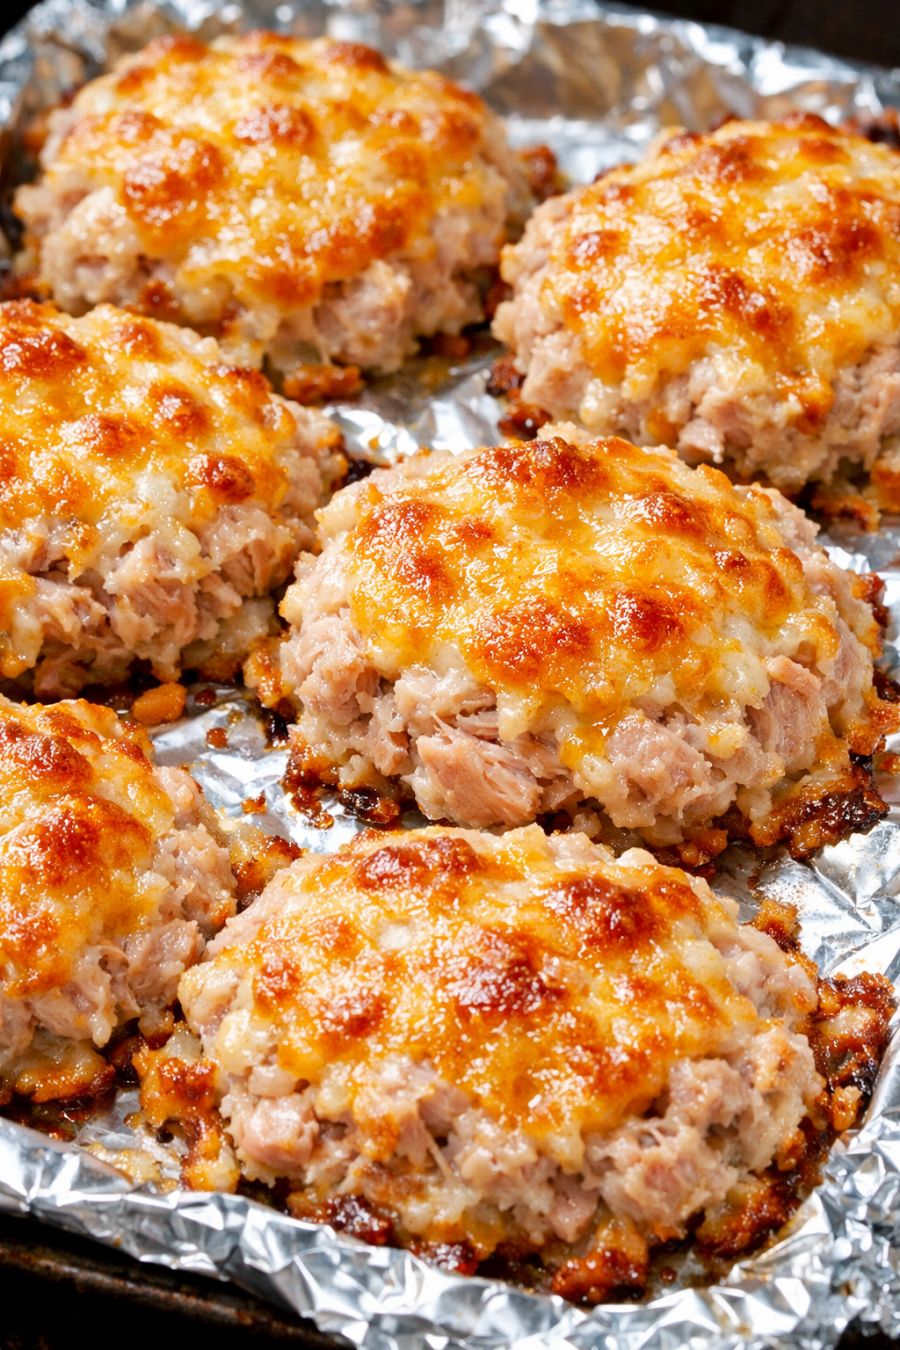
Low Carb 3-Ingredient Tuna BakesServings: 12 bites (about 4 servings as a snack or appetizer)
Ingredients
2 (5-ounce) cans tuna, drained very well
1 1/2 cups shredded sharp cheddar cheese, divided
2 large eggs
Directions
Preheat your oven to 375°F (190°C). Line a baking sheet with aluminum foil for easy cleanup, then lightly grease or spray the foil so the cheese edges get crispy but don’t stick too much.
In a medium mixing bowl, add the well-drained tuna, 1 cup of the shredded cheddar cheese, and the eggs. Use a fork or spatula to mix everything together until the tuna is broken up and the mixture is evenly combined and slightly sticky.
Let the mixture sit for 2–3 minutes so the tuna absorbs some of the egg. This helps the bites hold together better and keeps them tender instead of dry.
Using a spoon or a small cookie scoop, portion the mixture onto the prepared foil-lined baking sheet into 12 small mounds, spacing them slightly apart. Gently press each mound down just a bit so they’re like thick, rustic patties (about 1 1/2 inches wide).
Sprinkle the remaining 1/2 cup shredded cheddar cheese evenly over the tops of the tuna mounds, letting a little spill down the sides so you’ll get those golden, lacy, crispy cheese edges as they bake.
Bake on the middle rack for 12–15 minutes, or until the tops are bubbly and the cheese around the edges is deep golden and crisp. The tuna bakes should be set in the center but still moist and tender inside.
For extra browning, move the tray to the top rack and broil on high for 1–2 minutes, watching closely so the cheese doesn’t burn. You’re aiming for a lightly blistered, bubbly top and caramelized edges.
Remove the tray from the oven and let the tuna bakes cool on the foil for about 5 minutes. This short rest helps them firm up so they don’t fall apart when you lift them. Gently loosen each one with a thin spatula, transfer to a plate, and serve warm while the cheese is still melty and the edges are crisp.
Variations & Tips
You can tweak these tuna bakes a bunch of different ways without losing the simple, three-ingredient spirit. For extra flavor, use a flavored tuna (like lemon pepper or jalapeño) instead of plain; it technically doesn’t add ingredients to your prep, but it changes the taste. Swap in a different melty cheese if cheddar isn’t your favorite—Monterey Jack, Colby Jack, or pepper jack all work and still give you those golden, crispy edges. If you’re okay bending the 3-ingredient rule, a pinch of garlic powder, onion powder, or dried parsley stirred into the mixture adds a little “Grandma’s secret ingredient” vibe. You can also stir in a spoonful of finely grated Parmesan for even more savory depth. For mini meal-prep, double the batch and store leftovers in an airtight container in the fridge for up to 3 days; reheat on a foil-lined tray at 350°F (175°C) for 5–7 minutes to re-crisp the cheese. Food safety notes: Always drain the canned tuna very well and keep it refrigerated until you’re ready to mix. Don’t leave the tuna mixture sitting out at room temperature for long periods; mix, scoop, and bake promptly. Bake until the centers are hot and the eggs are fully set—this is especially important if your oven runs cool. Leftovers should be cooled, then refrigerated within 2 hours and reheated only once for best quality and safety.