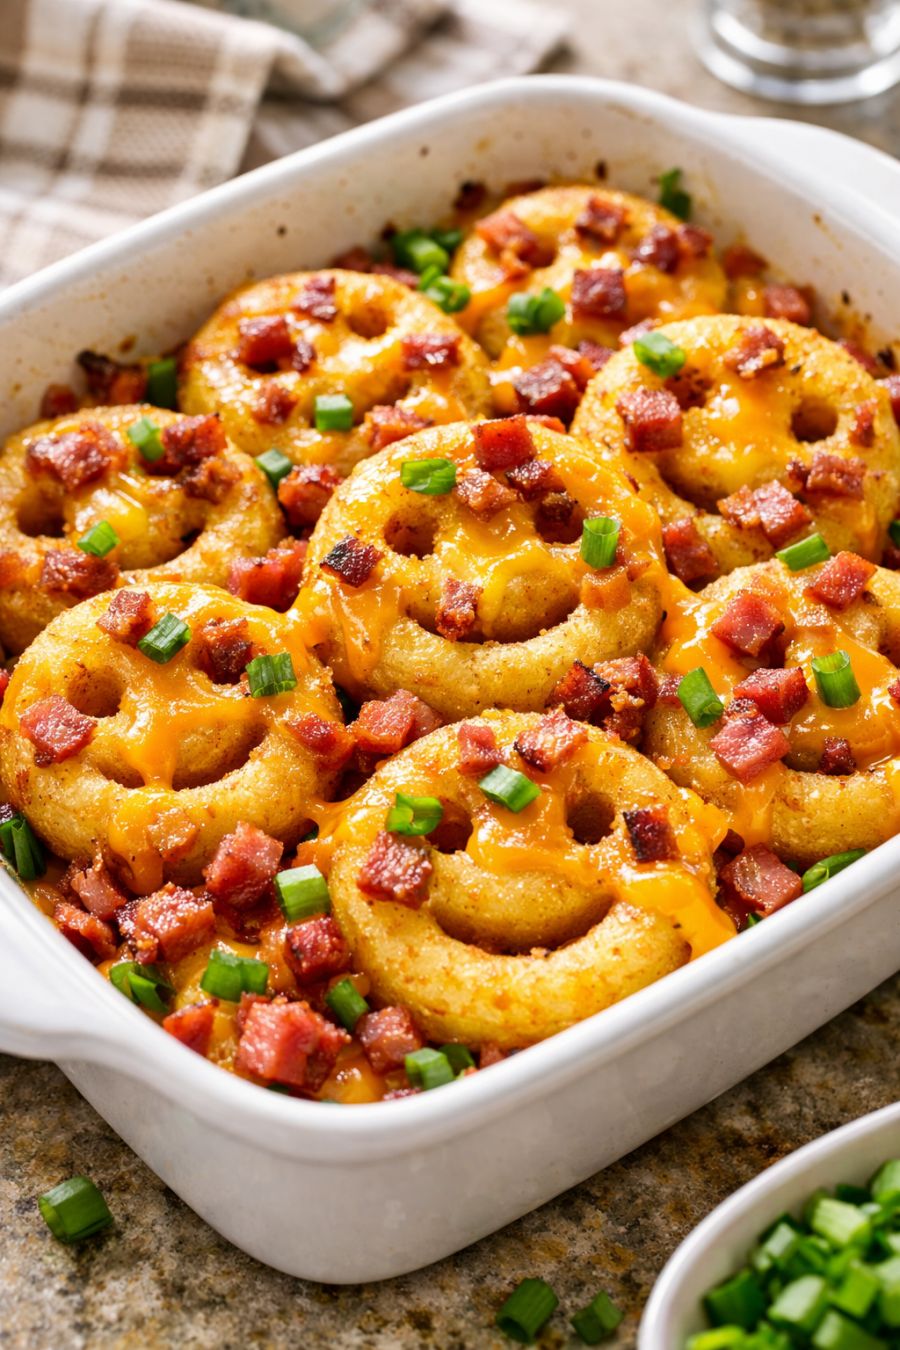
This 5-ingredient oven baked potato smiles dish is my kind of weeknight magic: you literally toss frozen potato smiles into a baking dish, add four things you probably already have, and let the oven do the work. It’s a fun, kid-approved twist on loaded potatoes that feels nostalgic but still practical for a busy schedule. I started making this on nights when I needed something comforting, low-effort, and guaranteed to make my nieces and nephews (and honestly, the adults) light up at the table.
Serve these cheesy oven-baked potato smiles straight from the dish with a simple green salad or steamed broccoli to balance out the richness. They’re also great alongside baked chicken tenders or grilled sausages if you want more protein. Add a side of extra ketchup or ranch for dipping, and some fresh fruit on the table to round out the meal for kids and grandkids.
5-Ingredient Oven Baked Potato SmilesServings: 4
Ingredients
1 (16–20 oz) bag frozen potato smiles
1 cup shredded cheddar cheese (or your favorite shredded cheese blend)
1 cup cooked diced ham or cooked crumbled bacon
1 cup milk (any kind you like, dairy or unsweetened non-dairy)
1/2 cup ketchup, plus extra for serving
Directions
Preheat your oven to 400°F (200°C). Lightly grease a 9x13-inch oven-safe baking dish or similar-sized casserole dish.
Pour the frozen potato smiles straight into the baking dish and spread them into an even layer. No need to thaw them first.
In a medium bowl, whisk together the milk and ketchup until smooth and evenly combined. This becomes a quick, tangy sauce that keeps everything moist and flavorful as it bakes.
Sprinkle the cooked diced ham or crumbled bacon evenly over the layer of frozen potato smiles so you get a little bit in every scoop.
Pour the milk and ketchup mixture evenly over the potato smiles and ham, tilting the dish slightly if needed to help it settle around the potatoes.
Scatter the shredded cheddar cheese over the top, covering the potato smiles and ham in a cozy, cheesy blanket. This is what gives you that melty, golden top layer.
Cover the baking dish tightly with foil and bake on the center rack for 20 minutes. This helps the frozen potato smiles heat through and the sauce start to bubble without drying out.
Remove the foil and continue baking for another 10–15 minutes, or until the cheese is melted, bubbly, and lightly golden in spots and the potato smiles are heated through and tender when pierced with a fork.
Let the dish rest for 5 minutes before serving so it can set slightly and cool down a bit for little mouths. Scoop onto plates and serve with extra ketchup on the side if your grandkids are big dippers.
Variations & Tips
Swap the protein: Use cooked ground beef or turkey, leftover shredded rotisserie chicken, or even vegetarian crumbles instead of ham or bacon. Just make sure any meat is fully cooked before you add it to the dish, since the baking time is mainly for heating and melting, not cooking raw meat. Change up the cheese: Try mozzarella for extra stretch, pepper jack for a little kick, or a Mexican blend for a different flavor. If you only have sliced cheese, just tear it into pieces and scatter over the top. Make it veggie-packed: Add a layer of thawed frozen peas, corn, or mixed veggies over the potato smiles before you add the ham and cheese. Pat them dry so they don’t water down the sauce. Lighter version: Use turkey bacon or lean ham, and choose reduced-fat cheese and low-fat milk. The texture will still be cozy and creamy. Extra crispy top: During the last 2–3 minutes of baking, switch the oven to broil and watch closely until the cheese gets browned and bubbly. Food safety tips: Always keep the frozen potato smiles frozen until you’re ready to assemble; don’t let them sit at room temperature for long. Any meat you add (ham, bacon, or alternatives) should be pre-cooked and cooled properly before using. Leftovers should be cooled quickly, covered, and refrigerated within 2 hours of baking, then reheated in the oven until steaming hot in the center before serving again.