
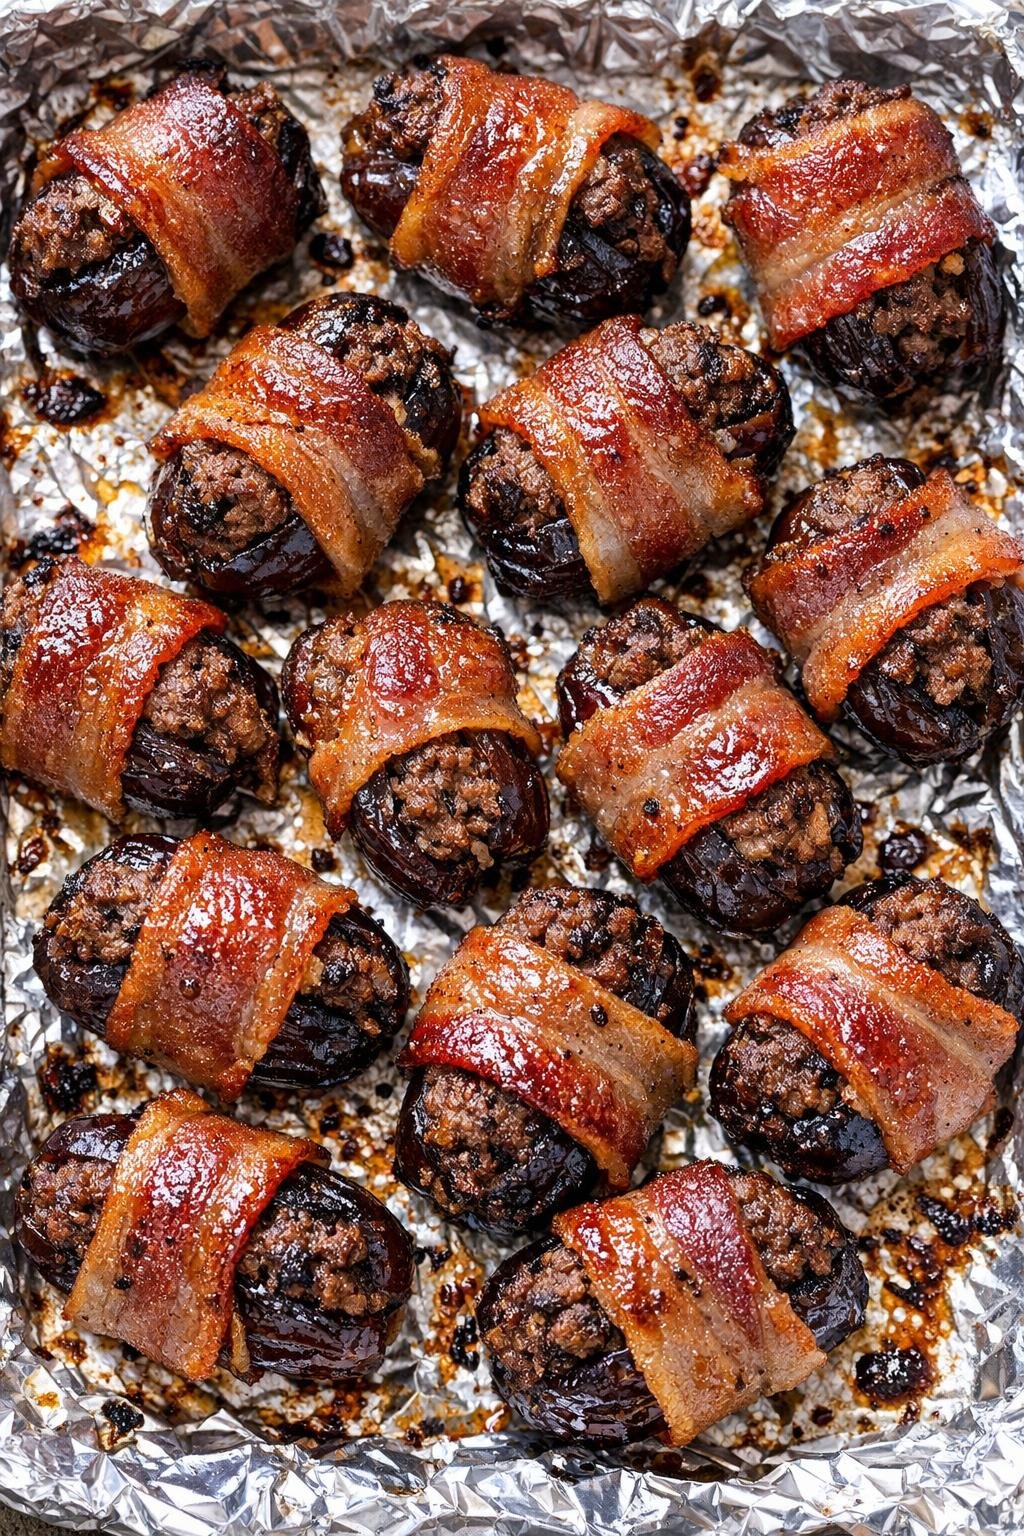
These oven baked 3-ingredient beef stuffed dates are one of those old-fashioned little appetizers that disappear faster than anything else on the table. My grandfather shared this sweet and savory combination with me years ago, and it is still one of my favorite tricks for family get-togethers, game days, and holiday snack trays. The rich beef, soft sweet dates, and crisp bacon make a cozy bite that feels special without asking much of the cook.
Serve these warm on a platter with toothpicks for easy grabbing, alongside a simple veggie tray, sharp cheddar, or a bowl of mixed nuts for a nice balance of flavors. They also fit beautifully on a holiday appetizer spread with deviled eggs, crackers, and a sparkling cider or iced tea, since the sweet-salty flavor pairs well with both casual and festive menus.
Oven Baked 3-Ingredient Beef Stuffed Dates
Servings: 8
Ingredients
24 Medjool dates, pitted
1 pound ground beef
12 slices bacon, cut in half
Directions
1. Preheat your oven to 400°F and line a baking sheet or shallow pan with tin foil for easy cleanup.
2. In a skillet over medium heat, cook the ground beef until fully browned, breaking it up into small crumbles as it cooks. Drain off any excess grease and let the beef cool slightly so it is easier to handle.
3. Open each pitted date and fill the center with a small spoonful of cooked beef, gently pressing the date around the filling.
4. Wrap each stuffed date with a half slice of bacon and place seam-side down on the foil-lined baking sheet.
5. Bake for 20 to 25 minutes, or until the bacon is browned and crisp and the dates are glossy and caramelized. Serve warm.
Variations & Tips
For easier assembly: Cook the beef a little ahead of time and let it cool before filling the dates. Cooler beef is much easier to tuck neatly into the dates without tearing them.
For extra secure bacon: If your bacon wants to unwrap, tuck the loose end underneath the date or use a plain toothpick while baking, then remove it before serving.
For a milder bite: Use regular bacon instead of thick-cut so it crisps more quickly and doesn’t overpower the sweetness of the dates, which can help with picky eaters.
For make-ahead prep: Assemble the dates a few hours in advance, cover, and refrigerate. When it is time to bake, place them straight onto the prepared pan and add a couple of extra minutes if needed.
For a party platter look: Transfer the baked dates to a warm serving dish and scatter a little chopped parsley around the platter for color. It makes this simple recipe feel extra special without changing the ingredient list.