
Some recipes earn their place by being fancy, and some earn it by showing up year after year on crowded tables, church suppers, school events, and family reunions until they feel like part of the family itself. This one has that kind of staying power. With just a handful of pantry staples and a method simple enough for a busy afternoon, it bakes up into the sort of old-fashioned treat that reminds me of Midwestern lunchroom desserts, recipe clippings tucked into tins, and the dependable goodness of something made to share.
These bars are mighty fine with a cold glass of milk or a hot cup of coffee, and if you are setting out a dessert table, they fit right in beside vanilla ice cream, fresh strawberries, or a bowl of sliced bananas. For potlucks and reunions, I like to cut them into small squares since they are rich, and they travel especially well in the same baking dish they are made in.
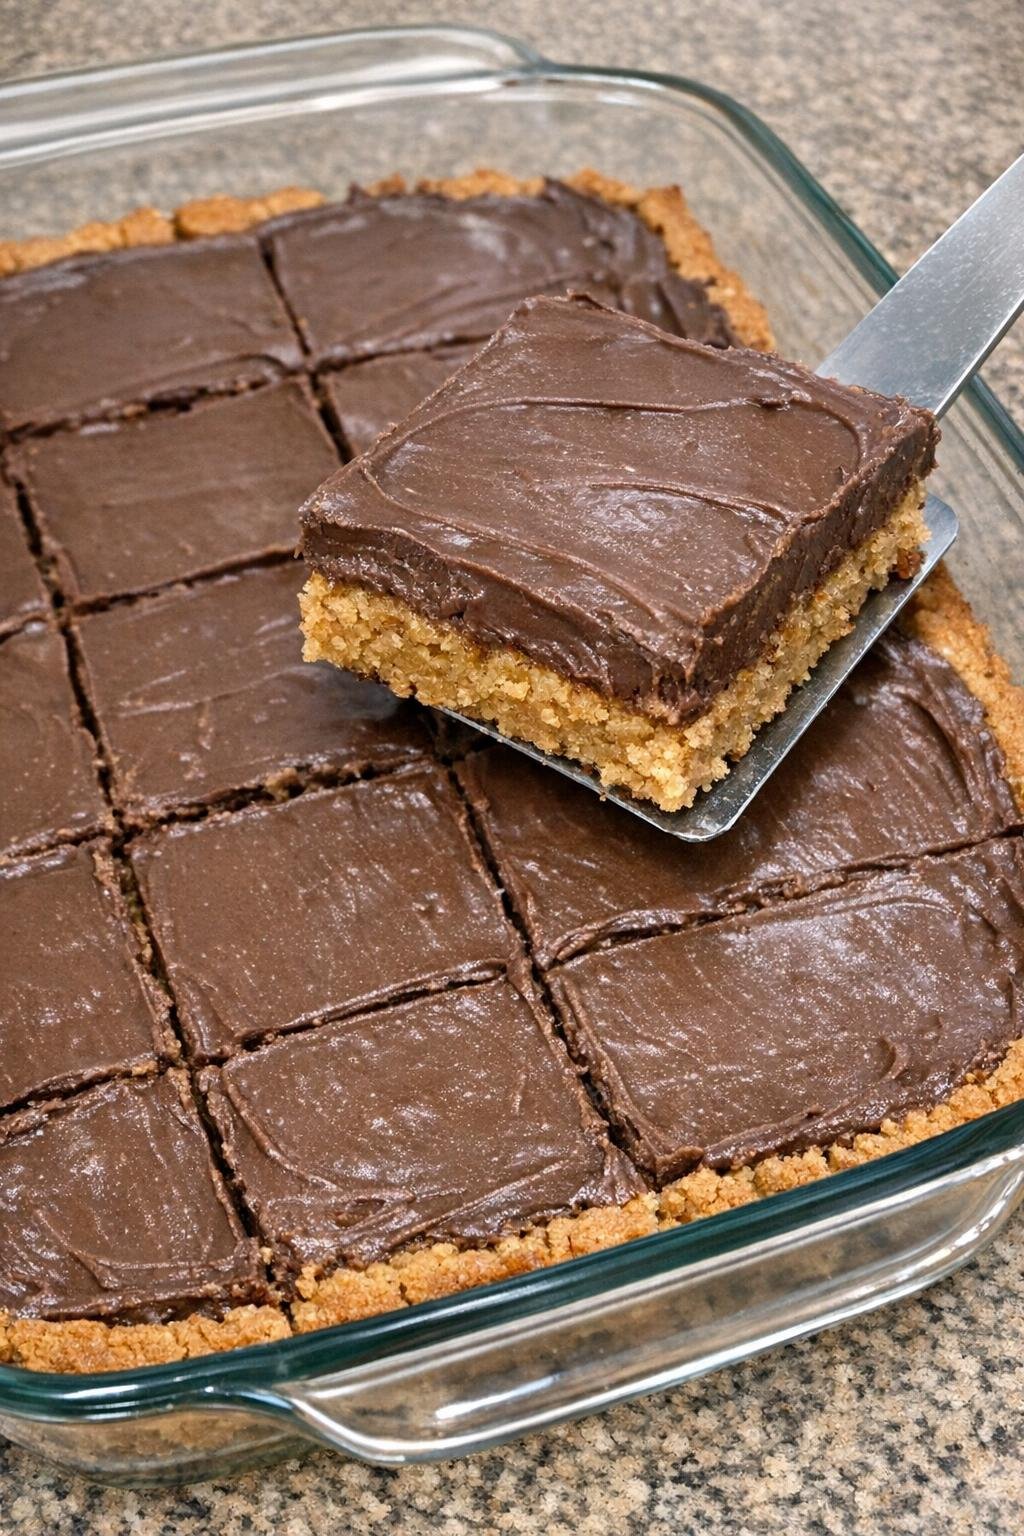
Oven Baked 5-Ingredient Lunch Lady Peanut Butter Bars
Servings: 24 bars
Ingredients
1 box yellow cake mix
1 cup creamy peanut butter
1/2 cup butter, melted
2 eggs
1 can (16 oz) chocolate frosting
Directions
1. Preheat the oven to 350°F. Grease a 9x13-inch glass baking dish.
2. In a large mixing bowl, combine the yellow cake mix, creamy peanut butter, melted butter, and eggs. Stir until a thick dough forms and no dry streaks remain.
3. Press the dough evenly into the prepared baking dish, smoothing the top with clean hands or the back of a spoon.
4. Bake for 18 to 22 minutes, until the edges are lightly golden and the center is set. Do not overbake if you want a chewy texture.
5. Let the bars cool for about 10 to 15 minutes. Spread the chocolate frosting over the warm bars so it softens and glides into an even layer.
6. Cool completely before cutting into squares and serving.
Variations & Tips
For extra peanut butter flavor: Warm a few spoonfuls of peanut butter and drizzle it over the chocolate frosting before it sets. A light swirl with a knife gives the tops a pretty marbled look.
For cleaner slices: Let the bars cool fully before cutting, and wipe the knife clean between slices. If the frosting is especially soft, chill the pan for 20 to 30 minutes first.
To make them for a crowd: This recipe is ideal for potlucks and reunions because it holds together well and serves plenty. Cut smaller squares if you are setting out several desserts.
To avoid dry bars: Keep a close eye on the baking time and pull the pan once the center is just set. A few extra minutes in the oven can take them from chewy to crumbly.
For a homemade touch: If you prefer, you can use your favorite homemade chocolate frosting instead of canned. Spread it while the bars are still a little warm so it settles into a smooth, bakery-style layer.